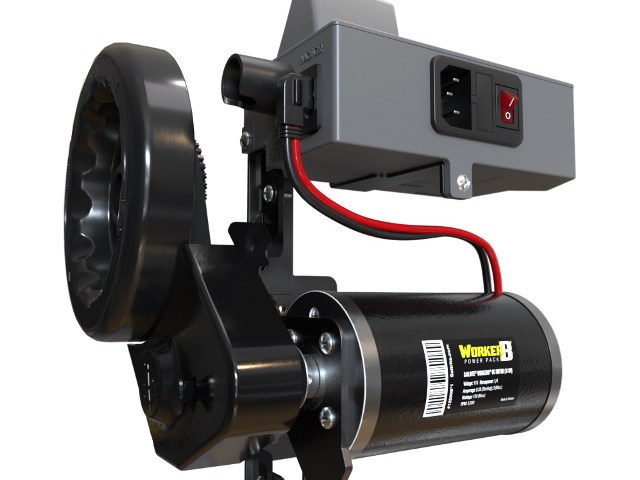
- Add Sailrite WorkerB power pack
Consew CP206RL sewing machine with recently installed larger Sailrite 'Monster' balance wheel.

To truly get machine to run as slow as I want I'm also adding a Sailrite WorkerB Power Pack Motor System. Stronger motor with speed controller. Almost price of this machine but in conjunction with the Monster wheel I will have a machine I can fully control down to stitch byyyy stitch. I looked at under machine speed reduction and other options but this new kit from Sailrite will be perfect.
Well not much here. Installed the new motor and speed controller. Fairly simple. Biggest issue was there are no written instructions- you have to watch their video. So its watching, pause, perform step resume- spent more time playing with video-aggravating. Again its a simple replacement of existing motor but at $300 I didn't want to assume I know what I'm doing.
Basically its just removing existing belt cover, motor and mounting bracket. Install new mounting bracket, motor and speed controller, belt cover. Kit also comes with new foot controller and everything else to install.
Gripes other than lack of instructions is the power switch with pilot light is on the back of controller-why? You have to fumble to turn off- pilot is useless as you cant see it.
That aside this kit is awesome!. The controller limits top end speed when foot pedal fully depressed. So you have full variable speed control within dial setting. At slow speeds motor has a lot more torque so it continues sewing where stock motor would bog. When resistance hit (sewing say fabric then hit webbing) control boosts power a bit without really speeding up to punch on thru. Its just a dream to use. But the slowing down as much as you want on the fly is just awesome.
No real pics of install.
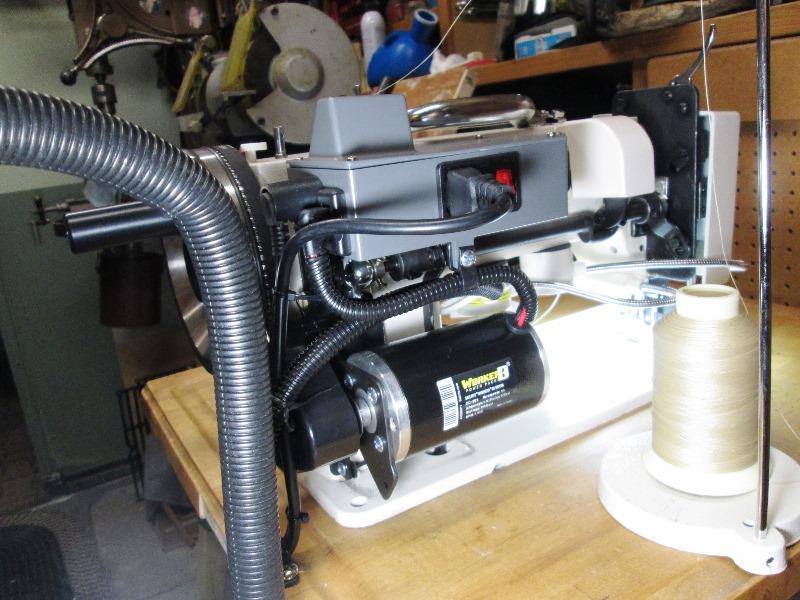
View from back side. I loomed all the cables (motor and my lights) and secured to table. Note the motor bracket has a foot so when tiling machine back it acts a stop/rest.
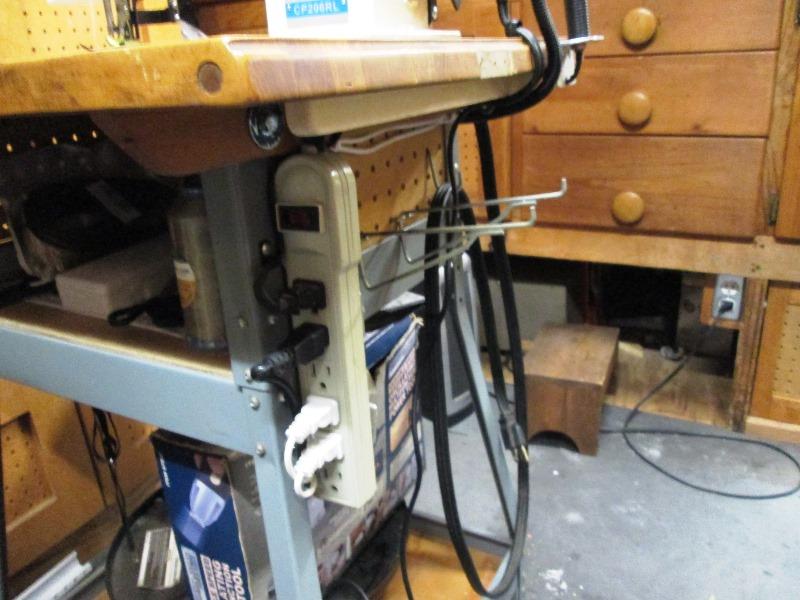
My table has a power strip that everything is plugged into. Securing the cables just keeps everything out of the way. Power strip was used as a means to turn machine on/off. The new system has its own power switch (even though its inconveniently located) so I can turn off machine and still have lights. New controller also has a built in 110v receptacle so you can plug in lights right at machine but I dont use it as power switch also turns receptacle off. My lights have their own switches. When not sewing I turn off machine so I dont accidentally power machine if steeping on pedal inadvertently.
All that pointless just my use. IF you have one of these machines and slowing down is goal- I cant recommend this addition enough. It is expensive. Between this motor system and the larger balance wheel upgrade have invested more than machine cost. In use though more than worth it.
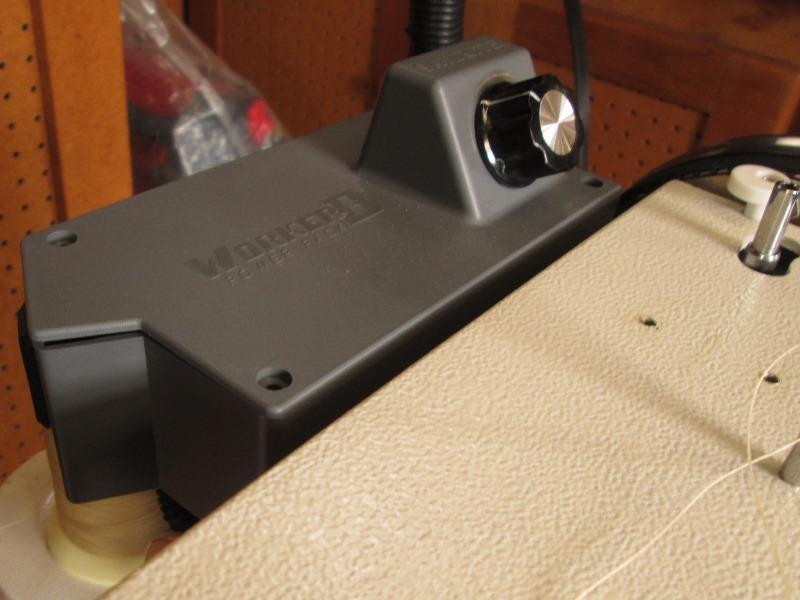
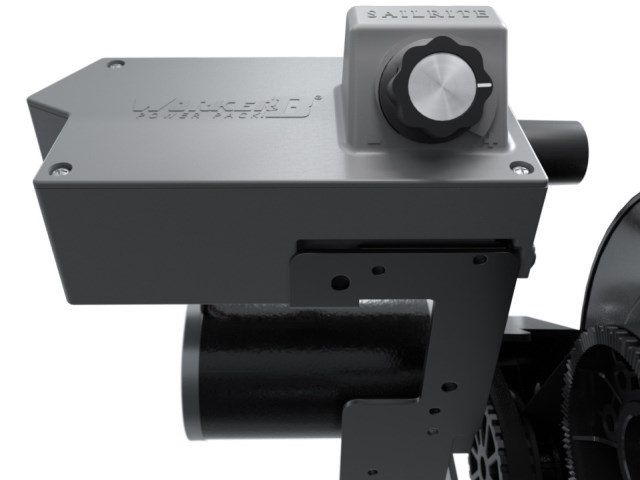
View at front showing control knob, on the left is aux. power receptacle. At the rear out of sight is power switch.
I am modifying by either moving controllers power switch or adding one in line for access setting at machine. Well that's what Id like to do, void 2 year warranty. Even a visible pilot would be helpful. Having powered machine without easy access to kill power is just crazy.
Switch addressed- mounted a power switch to front of machine, See switch page
Modify foot pedal
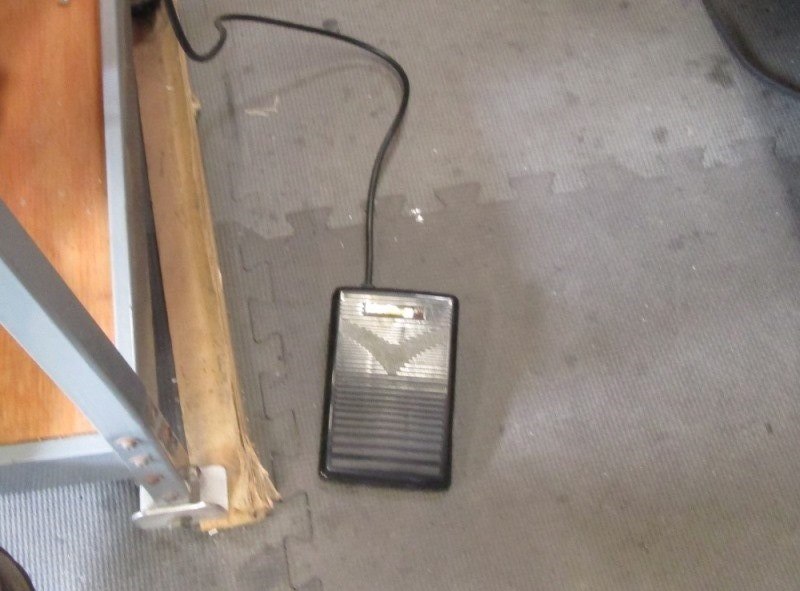
Simple but very annoying. The cord on foot pedal exited on the right side of pedal. I use right foot to control so setting at machine the power cord is looped out away from machine? Dont know how many times I caught the cord walking by.
Enough of that
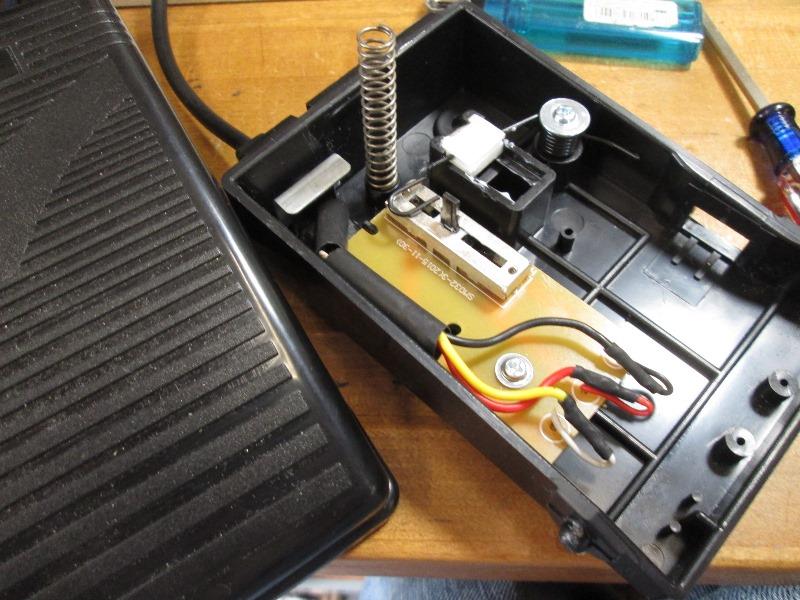
Opened up pedal. Cut power leads about 1" from board. Removed the cord. Drilled hole at rear of case and squared up to reuse cord restraint duplicating original. Insert cord thru end of case. Soldered on about 2" to the leads of cord then soldered back to leads on board. Cut a new notch at back of pedal to clear cord when depressed.
Fixed...
Back to Consew sewing machine tool mods section
Back to Shop tool mods section