Building a quick and dirty sheet metal brake
Not a how to just what I did to finish another project, though it did become its own project. Working on a table for plasma cutter, plan was bending up some sheet metal making a chute to funnel waste . However after a good hour, though I managed to bend one of 4 sides with (2) 90° flanges, with 3 more pieces left plus I need to bend up some pieces to make attachment pieces, realized this just wasn't going to work. I need a brake. Chute for plasma table on hold. Harbor Freight has some really cheap small ones that would work for this project. So I stopped. Thinking I would pick one up then finish the chute for plasma table.
One of those tools would be nice when needed. I've rarely needed to bend anything of any size, generally only a single bend and manage, clamping stuff to accomplish. I've looked online at different home built brakes- most either due to size or really more than I need just never persued . Though IF I had a brake I imagine it would open up a whole world of stuff I 'could' do. Looking at H/F site, just seemed with all the scrap I have laying around I could scab something together to finish this project.
Looking at various home built stuff on line I stumbled where person used a piano hinge screwed between 2 2x4s, clamped another board to hold material. At first trying to clamp the assembly to table he ended up nailing on a board underneath and clamping in vise....Very crude and deliberately so, allowing him to do what he needed with junk on hand. Luv it-guys creating on the fly, regardless of form, to do what's needed for a one time function.
Looked around some more, came to the conclusion, though I could do something temporary for this project-just a little more time something that might be used again, albeit still quick and dirty. But what kept coming back was the Piano hinge? Clamping in vise? DING DING DING.
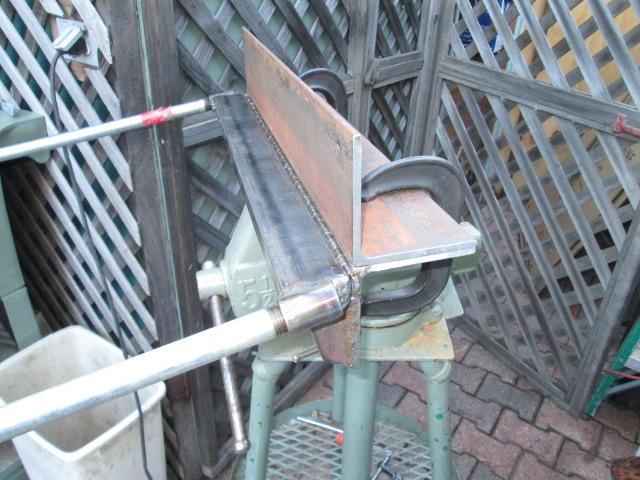
I happened to have a scrap of 1/4" x4"x4" angle iron, 45" long. Hmm, If I cut it in half would give me a 22". 24" min would be nice but for this project all I need is 16" so would work. One section will clamp in vise, lay the other piece on top and clamp to hold material. Looking around found a 1/8"x1"x2" piece of rect. tube, 23" long. Weld piano hinge between it and the piece of the angle in vice-instant brake!
Well for making right angle bends. However, if i used a piece of flat bar, clamped on material, it might be possible to bend shallow boxes or compound flanges. Possibly, take some thought, but later. For right I have a loose plan, this is going to be as described, very basic, very simple and quick, intended for up to 90° bends (on opposing ends-cant do box-Yet). No attention to detail. I don't know how long it might last, but now that Im more than looking at what others have done Im seeing a lot of ideas on building a simple yet effective brake. This one is going to be ugly but 3 hours later I have a brake!
The Construction
In all honestly I have no idea how well or even IF this will work
As mentioned, cutting the piece of angle I have into equal lengths,
• (2) 22"lg 1/4"x4"x4" angle
• (1) piano hinge cut 22" long,
• (1) 1"x2"x23" long tube, as is and let hang out
• (2) 1/2" ips pipe coupling, weld to ends of 1"x2" to accept handles
• (1) 1/2" x30" galv pipe nipple, cut in half for handles
Assembling the $9.00 brake. (obviously more in material if bought but except hinge, all scrap I had on hand)
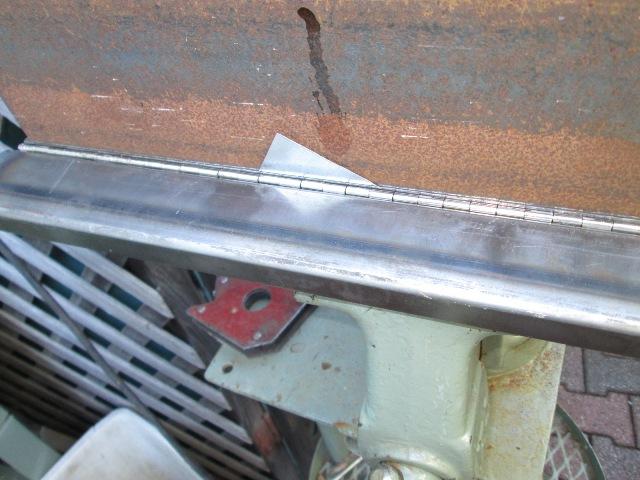
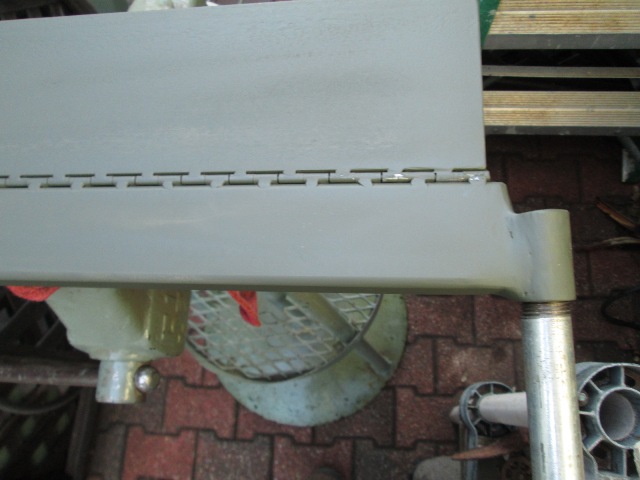
Laying out hinge placement is simply so barrels end up flush with top of table angle and folding leaf when open (180°), laid flat. Depending on diameter of hinge barrel determines how much past 90° you might bend using piano hinge (thats w/using flat bar or making fingers for top clamp). This design though good for up TO 90°, with off the shelf hinge I used is 1/4", so it will go to about 20° past 90°. Something to consider if down the road making a brake.

Hinge I picked up was nickel plate steel. After cutting to length I used a counter bore on drill press bit to enlarge hinge screw holes a little bit (and clean off nickel plating for welding). Laid on 4x4 angle with barrels aligned flush plug welded.
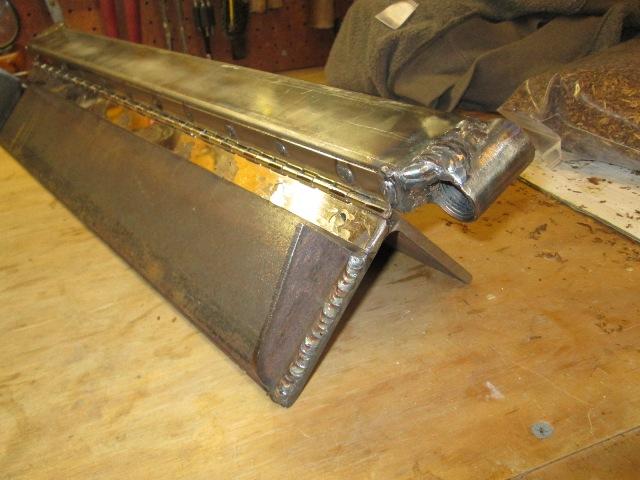
Mistake 1: I prewelded the couplings to end of 1x2 tube, I want a little bit of outward & downward angle on the handles so they would be out of they way. Mistake was I used the 30" piece on one side and a 6" piece on the other coupling to match angle.
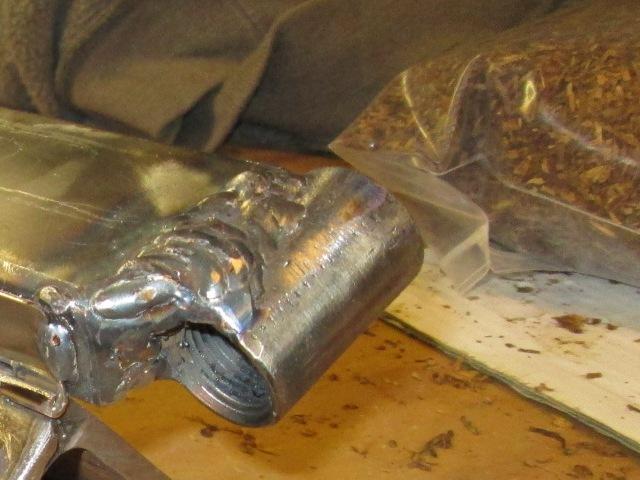
And the error was the weight and leverage of the 30" piece caused the coupling to rotate from the heat. End up scabbing on some little pieces of filler and building up weld for later cleanup blending that I can grind out. Other than it looks like crap until cleanup -likely later cut off and reweld though due to angle.
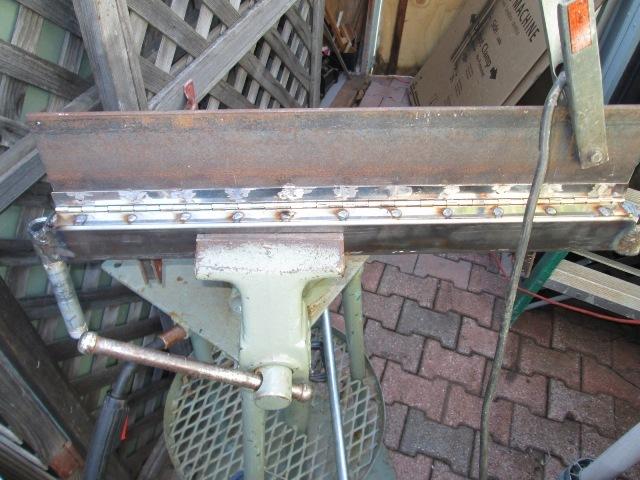
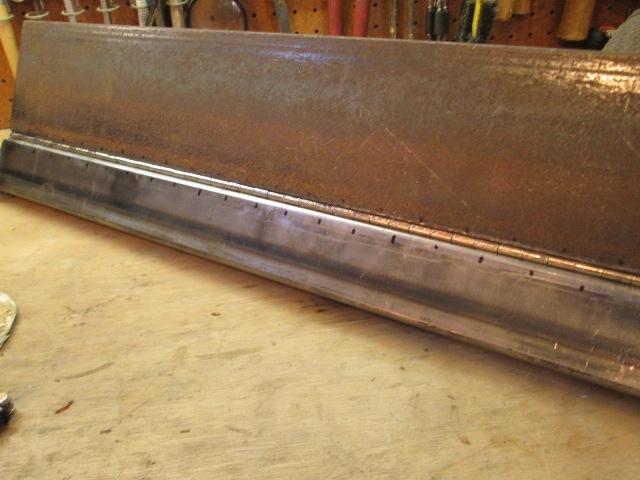
Aligning hinge on 1x2 tube was a little more effort, end up laying flat to ensure tops level when open and tack very ends of hinge to 1x2, then opened up to expose and plug weld.
Welded out, actually pretty simple (especially when not caring what it looks like-good thing in this case)
I think this might work...
Hokey smoke -it works. Clamped in a scrap, no dimpling, no jury rigging stuff, just bring up the handle.
The manual clamping works but I could see fixed bolting would simplify. Pretty stoked-simple working brake. Could add 4 or 5 bolt between angles. Weld nuts to under side of bottom, top I think would need to be slotted allowing for material thickness. Also a handle or springs to release top clamping angle for inserting material would be nice. Few minor detail I am doing but if nothing else this build let me really see how simple this is, some of the details to address and the whys if actually building a nice brake.
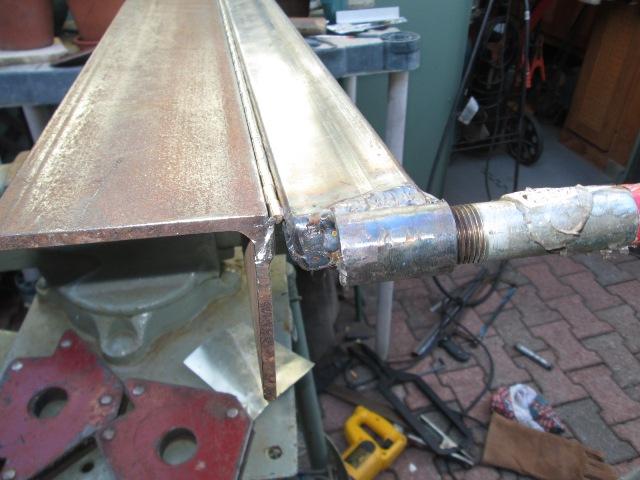
I added supports at the ends, when in open position weight of folding leaf and handles really leveraging against the hinge. Which if I would have thought, I could or should have welded the handle couple to underside and they would have acted as support.
Because of the pull against the hinge and being mount midway down its leaves Im tack welding top of barrels to their respective side. I'd really like to tack the hinge barrel loops closed but its a pretty big gap, no way without welding pin. So welding top will have to suffice. Then a lot of clean up
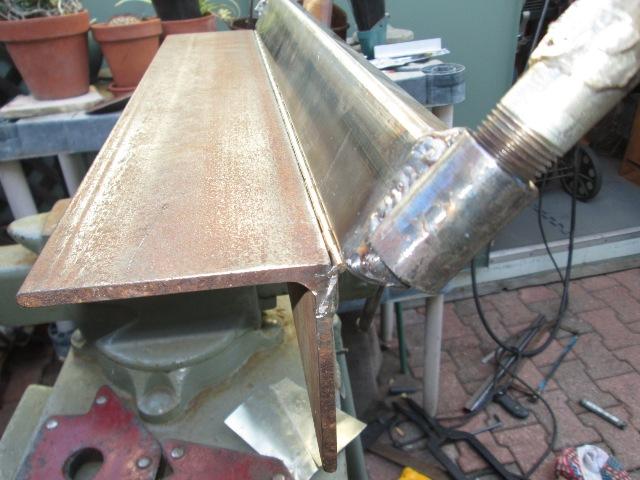
And hinge barrels welded, didn't think it thru- had to go back and feather all the edges, would not close. Minor but dumb. Grind and round all corners and edges. Blended the handle coupling welds, looks decent enough foregoing cutting out the one over rotated couplings.
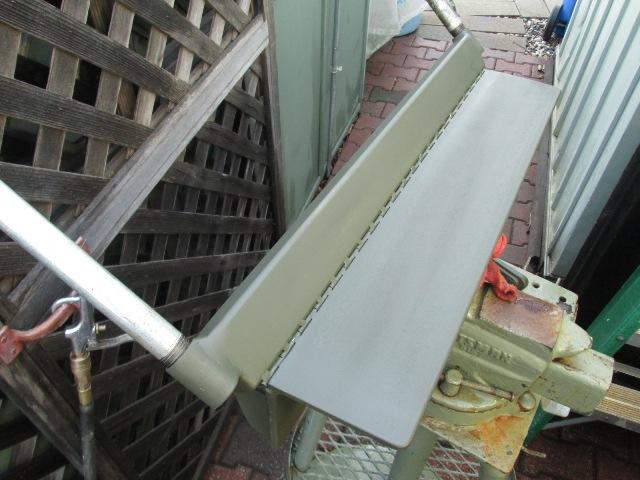
Final wire cup to clean and deburr, light coat of paint.
For scabbing turned out nicer than I had imagined.
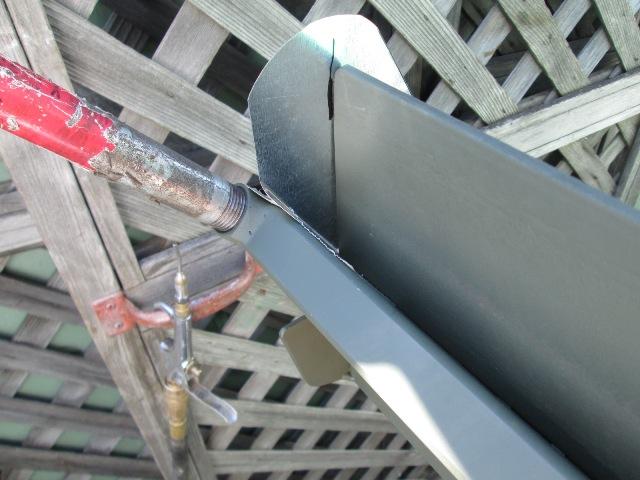
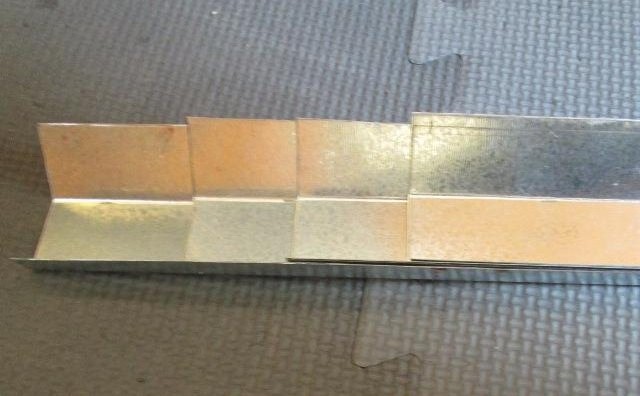
Whoo whoo! I can not believe this, probably less than a minute, to position and bend out, sharp, clean and straight. Of course this is only 12ga but you just don't know how many pieces of sheet I've buckled and tweaked in 'hand' bending.
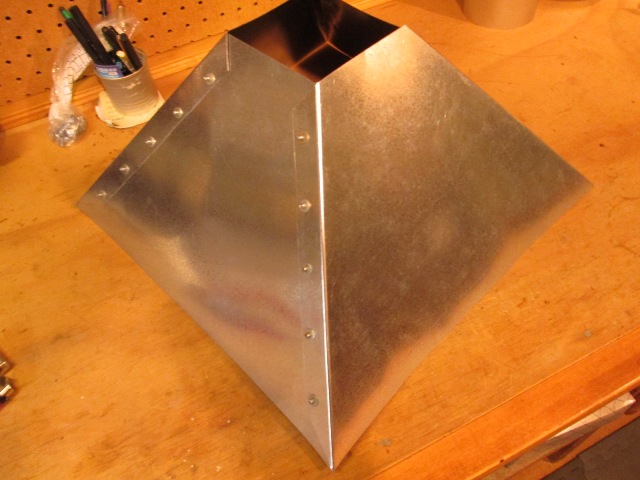
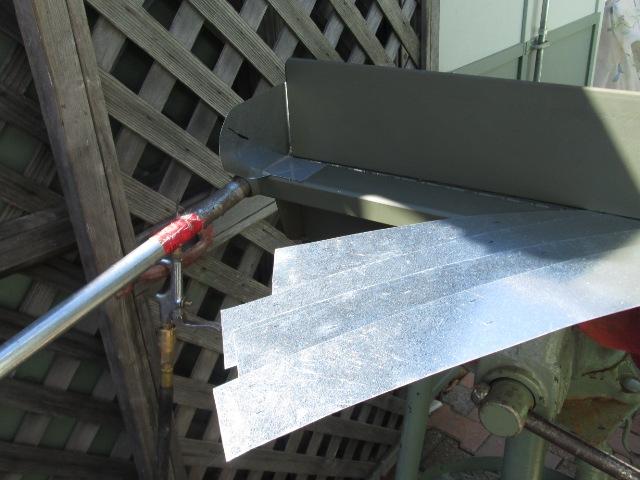
And the whole point...hopper for the plasma table (shown upside down). Wow, just too easy. Tomorrow I need to cut some strips and break an angle flange to go around top perimeter to stiffen and for mounting to table Im building. Just had to stop and build a brake.
I can see a built in protractor would be nice. Down the road Im going to see what I can do to allow this to brake 5 sided boxes, probably custom fingers-task specific. Thats around to it. There is a good chance I may build a real brake, capable of less than 90° and heavier gage material.
But this one functions, as shown on the burn table page...
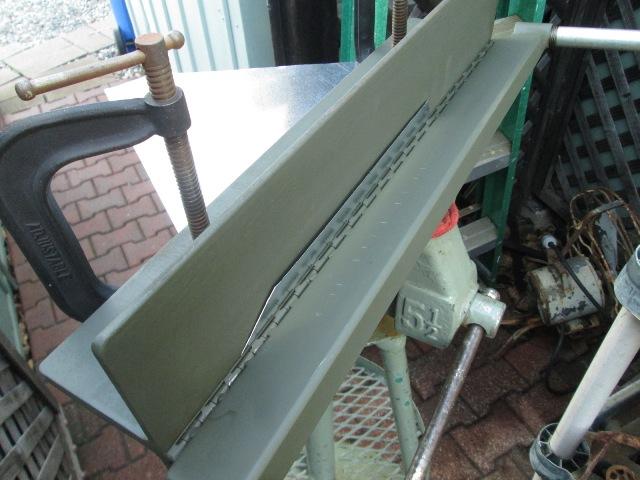
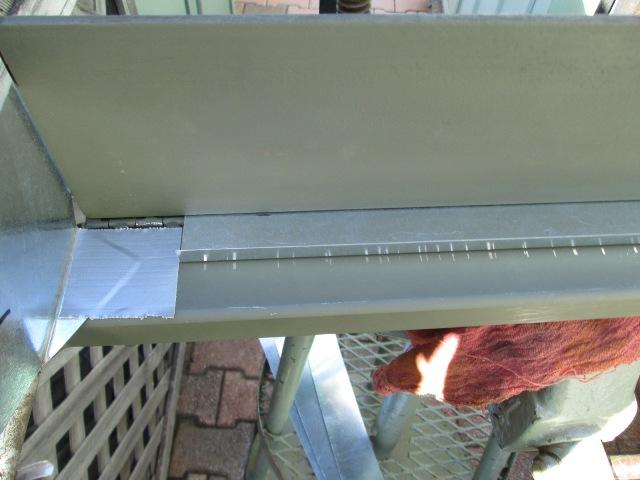
Added temporary measuring guide (scrap duct taped). Worked pretty slick as it allows repeating bends, in this case 55°. Degree markings would be handy-long as I can draw on it for odd matching stuff.
It is also works for marking where the top clamp is setting for repeatability as its different for different angles or material thickness. IE. 90° (depending on material thickness) top angle is clamped flush and back form bottom angle edge. Less than 90° top overhangs a bit. The test... Getting ready to bend 4 pieces.
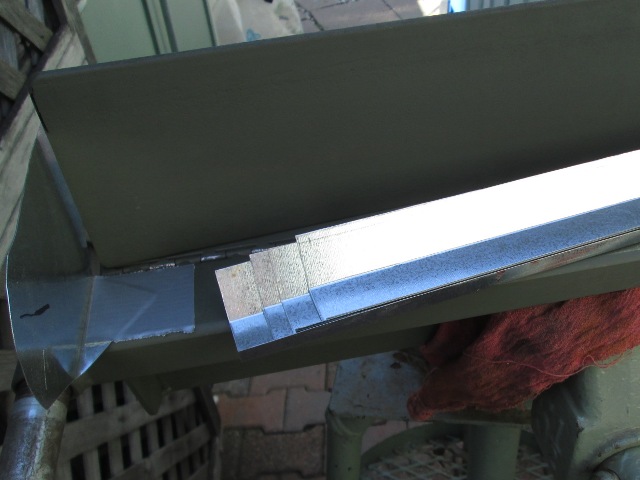
Bent all pieces with 1/2" leg on one side. Getting ready to bend the other side to 55°. This will work because the angle is less than 90° and the leg that would other wise hit top brake angle is only 1/2". This though, made me realize IF I grind the edge of the top angle iron square or slightly chamfer, flip the top angle with vertical leg in the back I can easily bend channels with 90° legs.
Feel like a caveman that discovered how to make fire...And this brake is rather limited on what it can do. But I bent 4 identical pieces...just amazed
When the project this was built for finished Ill revisit this brake. Several improvements I want to do. I want to add a stop so when setting in the vise doesn't drop all the way in. I may change or have available maybe a 2" or so top angle, the 4": weighs a ton-just hard to adjust. The main drawback of this design is not being able to bend less than 90°-but I think I figured out how. Due to piano hinge I cant do anything with bending less than 90°, however re bending twice I can.
-1st bend material to 90°, let folding leaf down, then bolt on an inverted piece of angle to the face of folding leave. This will either require an inverted angle used as material clamp like many do-easy, or the 4" angle I have now with beveled leg edge and vertical leg in back.
Which is probably what I will do. Machine (grind & file) the 4" angle with angled lead edge umm 22°. Weld tabs to a piece of 1" angle. After material bent out of the way, drop in the 'extender' continue bending. Sounds simple. Now that Im thinking about it if I cut the vertical leg of the 4" shorter, it would solve the weight issue, but more importantly wouldn't block or get hit with long material bent say to 22.5°. On the 4" I don't think cutting it from 4" to say 1 5/8" tall would be an issue when using as simple backstop for doing 90°s, nor affect ability to not flex for clamping. Cant see bending more 45° but can allow for it with out too much issue. (Again this is strictly for light gage). Plus if ability to bend to 22 and needed it would be easy to manually flatten if I need a lip or stiffened edge. Will require making another 'extender' but if allowed for, other stuff shouldn't preclude it from working.
Umm the plan.
Lastly weld on some round bar handles to the clamp angle-just easier manipulation when manually setting up. Or drill & tap bottom 'table', use 4 thumbs screws for lifting top angle to position materail, bazillion options Whether I get to it or not debate able but sounds like fun & doable.
Back to work...
Update 2020
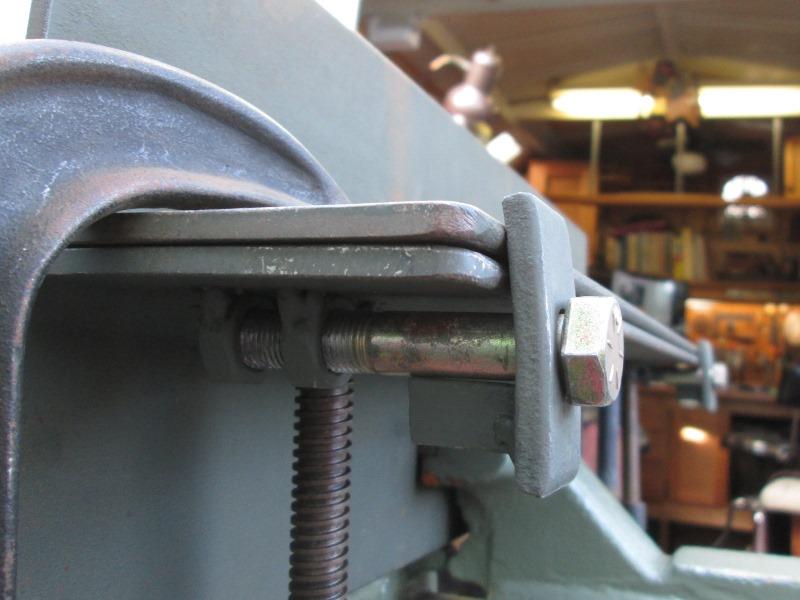
Welded on some 1/2" nuts, using bolts with 1/4" flat bar to act as stop for top angle. Bending anything with resistance would push top angle back or cock. Also keeps adjustment for material thickness, makes for repeatable bends.
Back to top of this age
Back to Simple Plasma burntable build
Back to Our shops tool mods section