Install seat covers in our 01 Ford Super duty F 250
 IN PROGRESS...
Been on the wish list for ever. Seat covers for our truck.
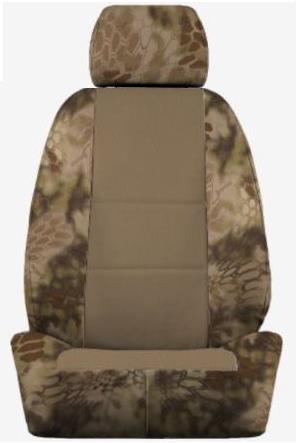
Picture generic from order page showing colors were getting.
Though I'll add pics of seat covers once installed, and/or any snafus or adjustments needed, too many good videos of installations for me to attempt recording actual install. I do have an under seat storage box that I'll have to modify the bottom center cover for.
Decided to order seat covers that simply go over existing seats cover. Many mfgs make and sell.
Went with Covers & Camo mostly due to good reviews but had color combo I wanted. They are awesome folks to work with. There are other folks making covers but at time didn't offer colors I wanted.
Opted for Kryptek highlander with taupe inserts (see above), should match truck interior well. Also added the OPS storage on back of seats but wasn't in the budget. Did get front pockets.
Note: there's like 40 pictures on this page....
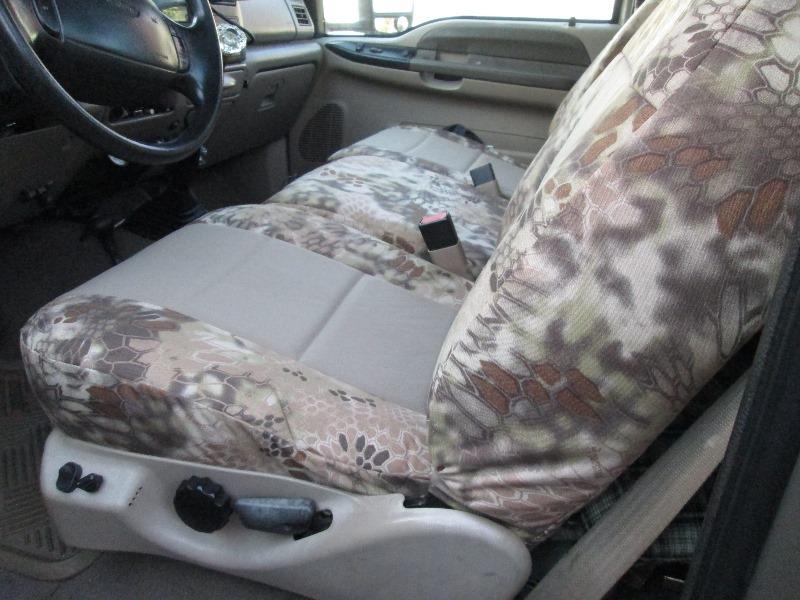
Passenger side and center is in good shape...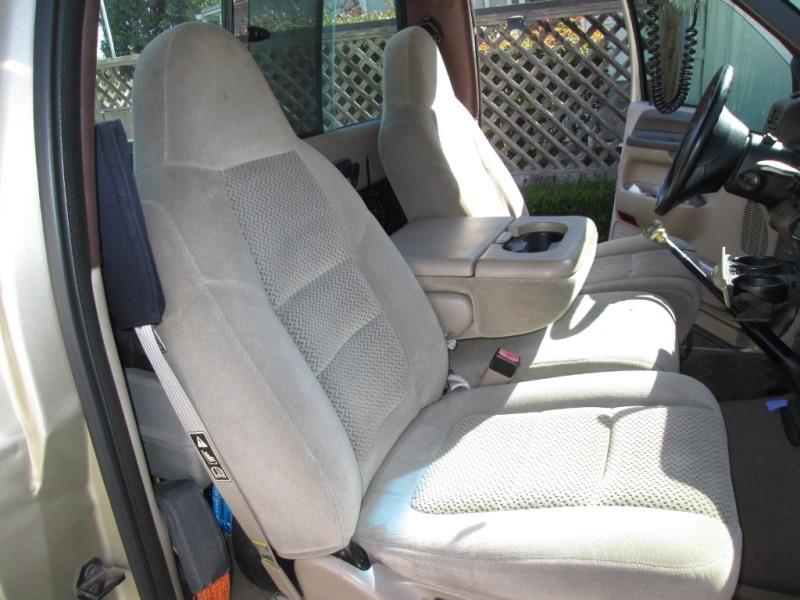
But the drivers seat is toast
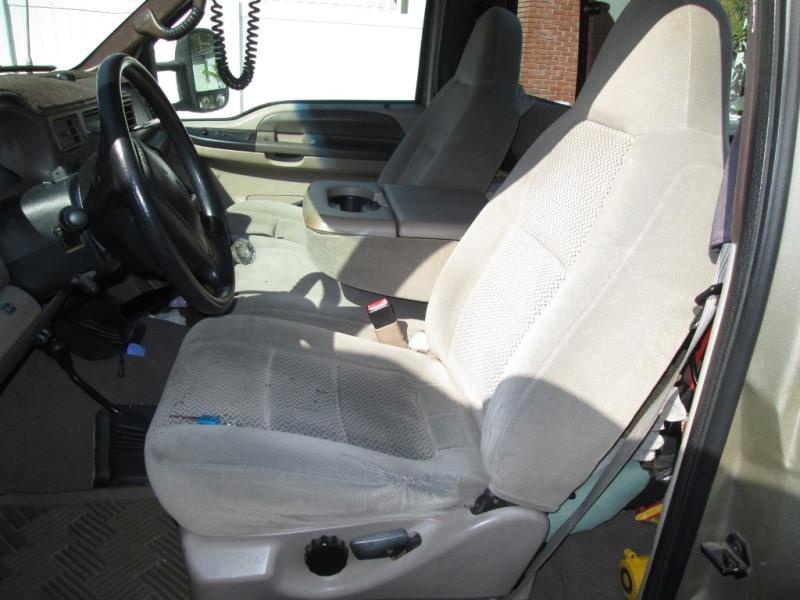
Have sewn the side bolster several times but the material is just worn to point keeps separating (from sliding in and out). Several holes .
That said ordered with 5 week lead time. With time I pre installed heating pads that will be under new covers. see Heat pad install
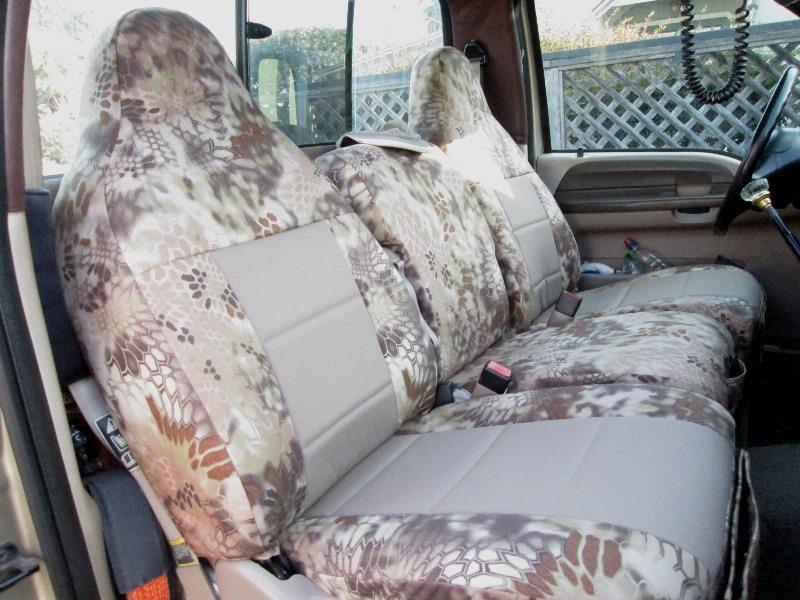
Seat covers arrived!
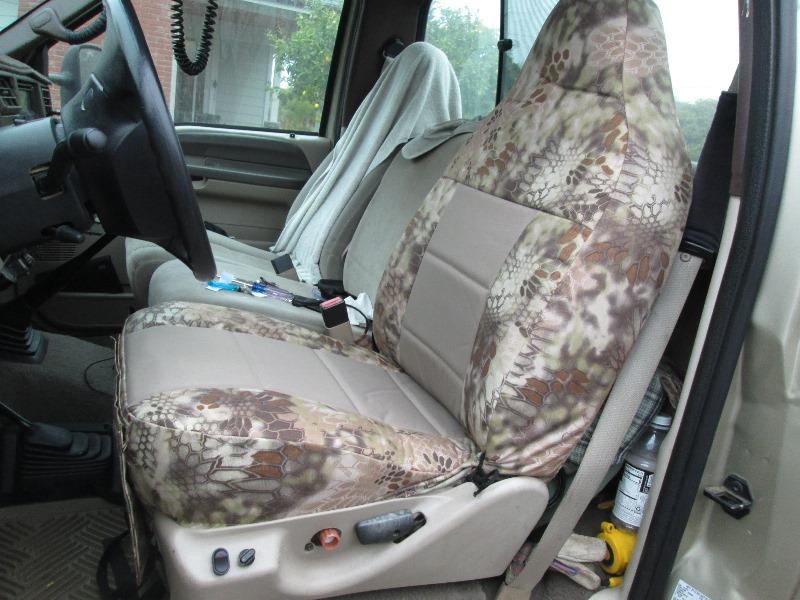
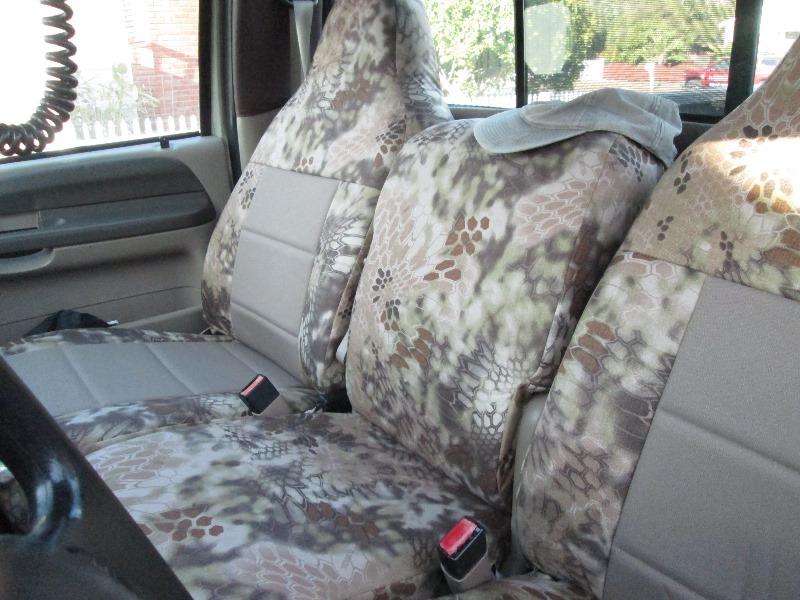
SEAT COVERS! These are awesome.

Even having ordered samples I was apprehensive what covers would look like in the truck. I simply can't believe how well they match trucks interior (Camera really doesn't show colors). Bottoms are just slid on and backs need some more tucking in but Stoked.
However right off the bat couple of issues.
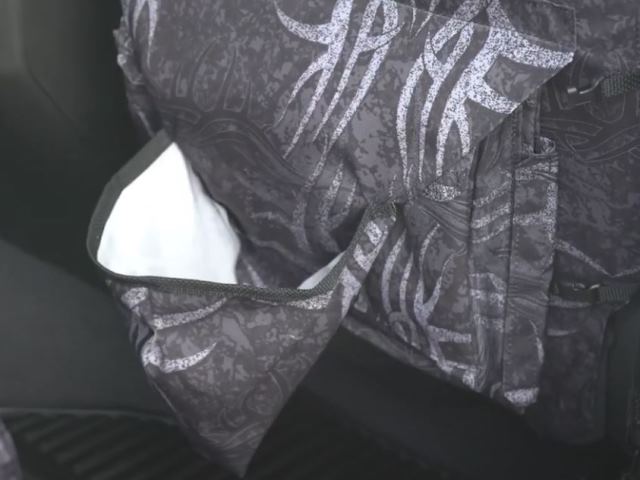
First though minor is on passenger seat ordered with the 'pistol pouch' for passenger to easily store items. However its sewn half way up from bottom into 3 sections. For its intended purpose would work well but for just general use you cant really put anything inside (not even hand) because the internal divisions are too tight.
My fix to make more usable was to VERY carefully remove the stitching on one of the divisions resulting in full 2/3rd access to inside.
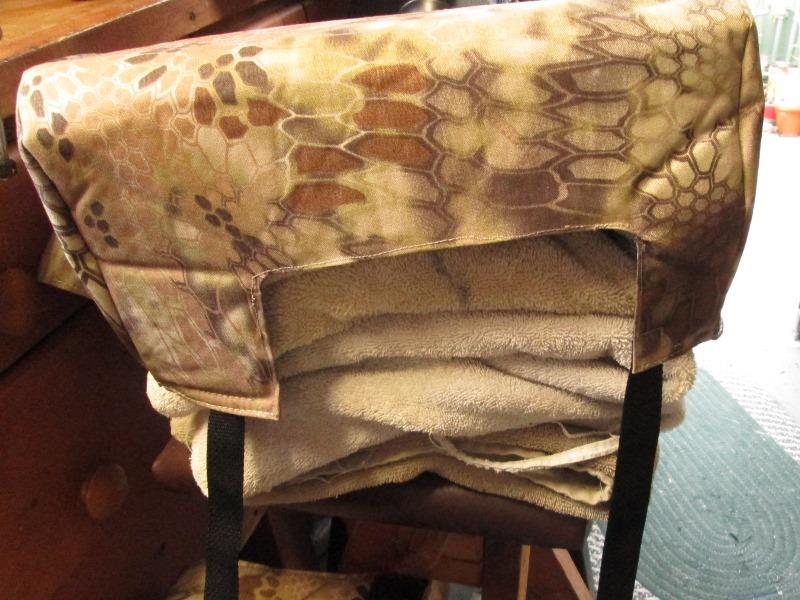
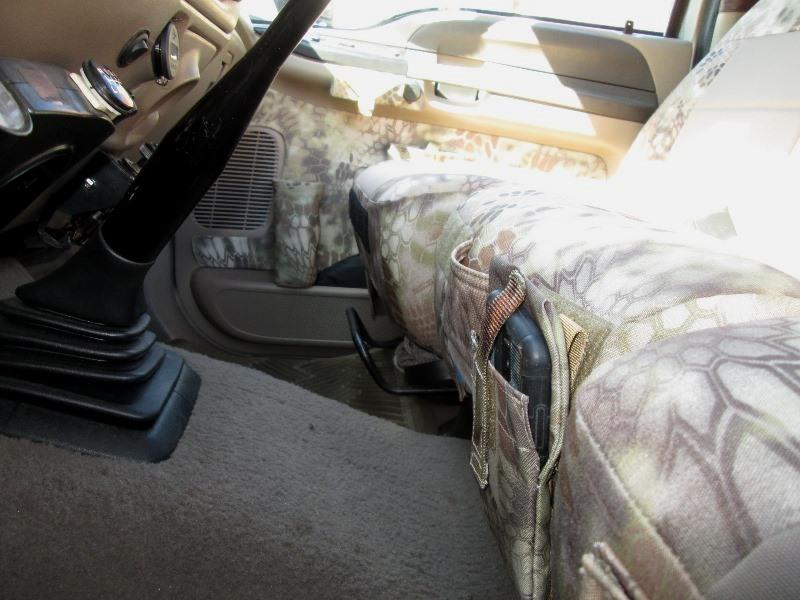
Second issue and not so minor, Id say a design flaw is the backs of seat covers have no allowance for the release lever to flip seat forward.
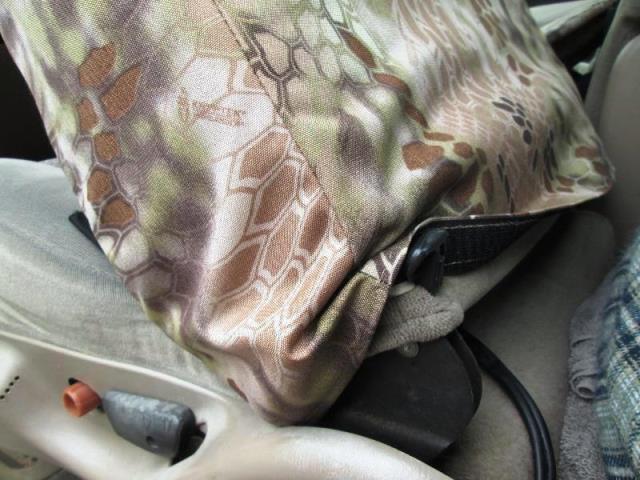
This is standard cab, what little storage I have is behind the seat and the only way to access is flipping seat back forward?
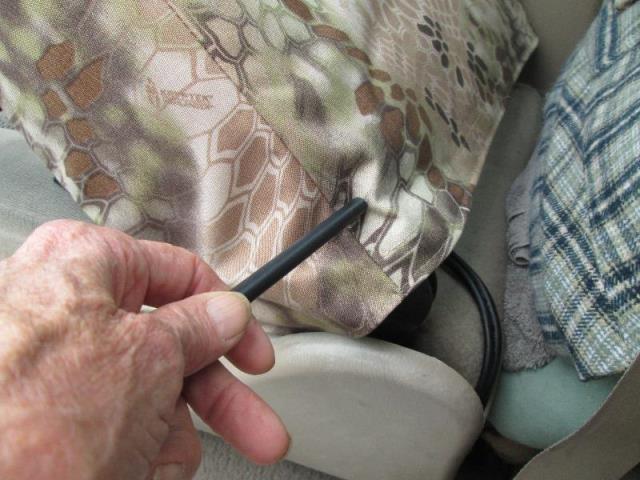
With seat back cover pulled down tight, lever is about 2" up, cannot use the release lever?
Contacted Covers and Camo, the mfg offered to replace seats cover backs with new units! Well other than my initial getting upset I dont think its worth cost to mfg due to lack of slits, but I need access to lever. Stepping up like that REALLY impressed me. So not a total loss to mfg (and I really wished I had ordered the OPS package), I paid to add the package to replacement seat back covers. meanwhile....
But still I'm stoked with overall fit and appearance. They just look good. Tomorrow I'll tighten up drivers cover and finish installing until replacement backs arrive. Still loose in pictures as I kinda got side tracked...
Center section I need to modify for under seat storage box.
Cut out front to access storage box, had to move webbing on right, hemmed, my sewing machine really struggled with this.

Used the cut out to make small pouch.
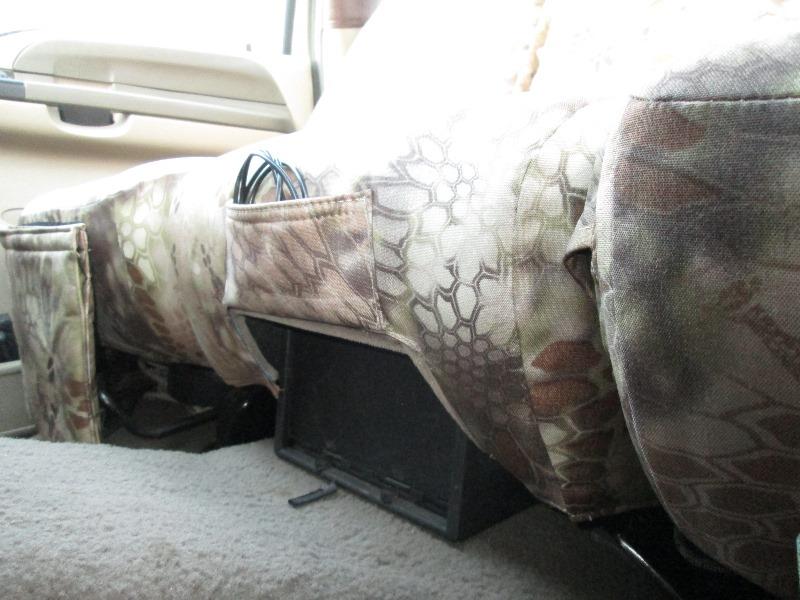
Works-can access storage, perfect place for charging cords
Really liking these
 Amazed how well colors match interior not that camera does justice.
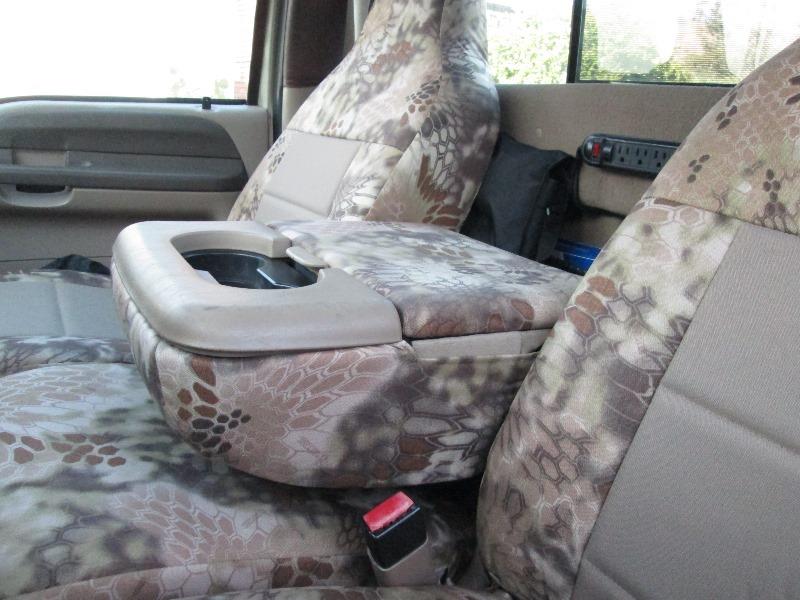 The only difficult part was the console. Mostly due to access in standard cab and way top material attached is kind of odd. But it fits/works.
Our center console, pad like many of these 20 years old trucks, is curling up and separating. Need to replace.
The only difficult part was the console. Mostly due to access in standard cab and way top material attached is kind of odd. But it fits/works.
Our center console, pad like many of these 20 years old trucks, is curling up and separating. Need to replace.
Another project. Making door cards to add Kryptek Highlander material to doors. Looking across seats I kept seeing the plastic door panels, It would be nice to carry over the camo pattern up onto doors. Plus I want to hang water bottle holder on door. See Door cards
Seat covers and molle bags...
Seat covers have attachment for molle accessories. Waiting on seat covers to arrive to I wanted to pick up some molle bags. Couldn't find any in Kryptek highlander pattern or very limited, went with couple in coyote brown, water bottle and small pouch to check colors.
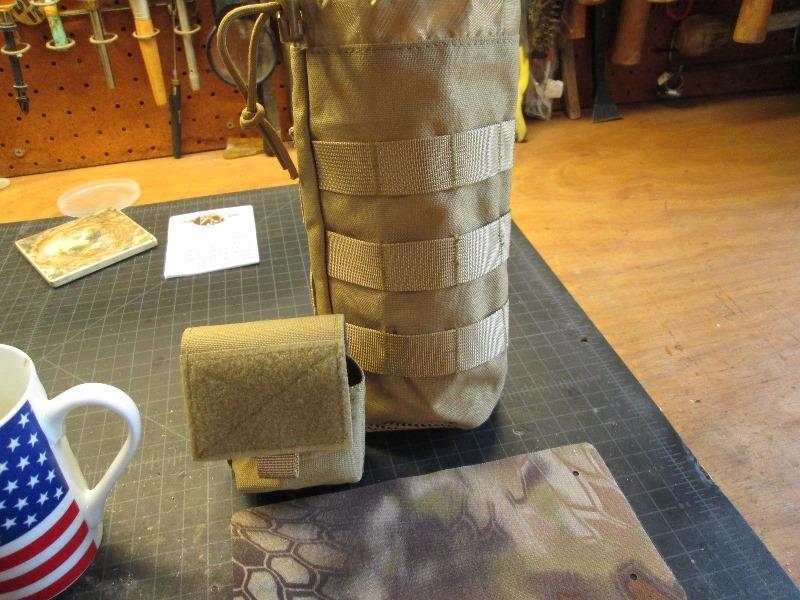
Well they match the green on highlander pattern, dont look too bad however was going to mount the water bottle holder on Ford tan plastic door panels and they simply look green-does look bad. Not installing.
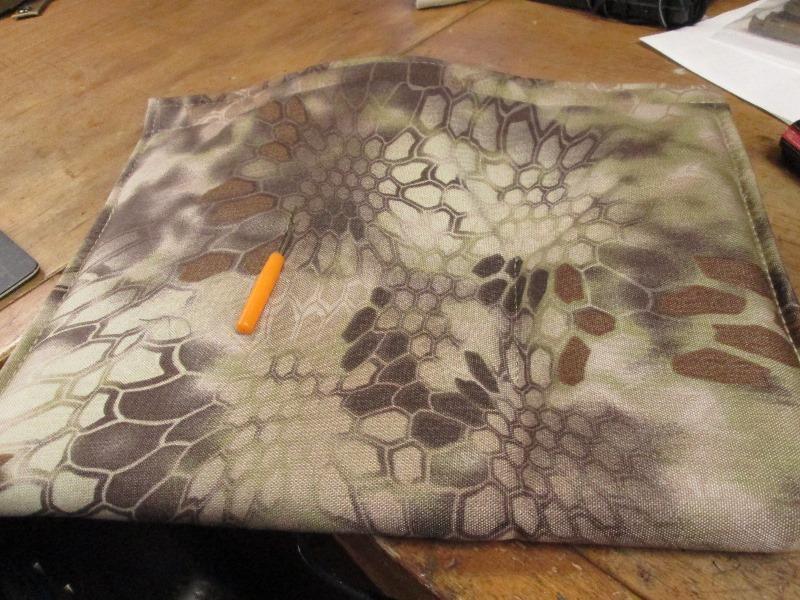
Decided to make my own bags to match seat covers ( & blend with trucks tan plastic) and found a company that sells printed Kryptek Highlander pattern material. I was unaware when ordering seat covers that some of the licensed patterns are near impossible to get just material. Need to find some webbing that better matches the Highlander.
Waiting on material I made the leap to update my sewing machine. Something I've wanted to do for a while. My sewing machine struggles with anything thick. Ordered a walking foot made by Consew at about half price but a tool I will use. CP206RL. Project in and of itself, should be fun...I'll add to shop pages. So with material and new sewing machine I can add whatever bag pouch I want to the new seat covers.
Update..
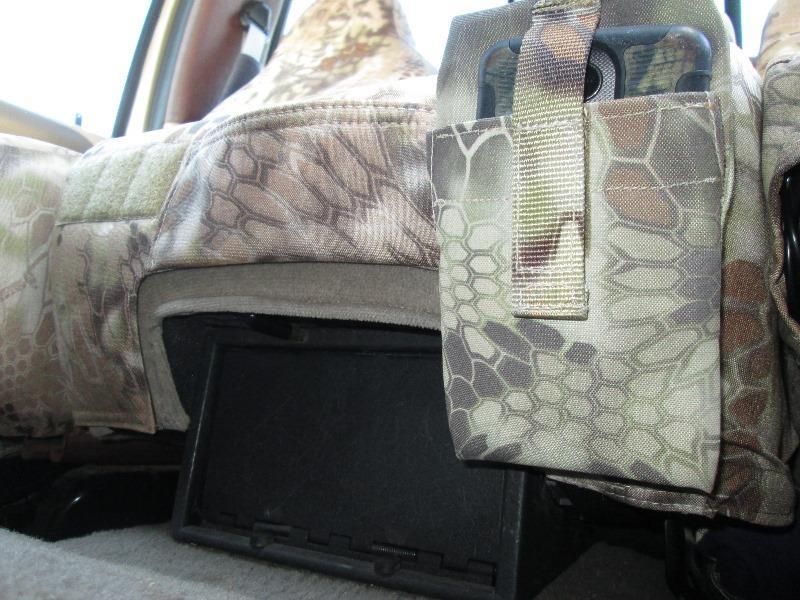
Made several pouches that mount on new door cards. First one was vertical pouch for phone but after making realized there wasn't height to mount. Remade so phones store horizontally (see Door cards page). However the first bag I had added molle straps on it so I 'could' carry phone or camera on belt, just finding a way to mount in truck without using molle straps. Decided if I velcro wouldn't have to weave in which would be a pain taking in/out of truck. Issue is adding velcro to seat.So I removed the middle seat cover and sewed in soft side of velcro strip. To the back side of molle straps of bag sewed on other side of velcro. So pouch can be used either molle or velcro.
Since I was here added another strip of velcro so down the road I could add something else with out removing cover. On standard cab truck its a bit of effort to install the middle bottom due to access.
And installed.
, well until I loosen velcro and reinstall. Tight but ended up short in front
 Cool, bag that can easily be removed, carry, transportable bag.
Few weeks later,
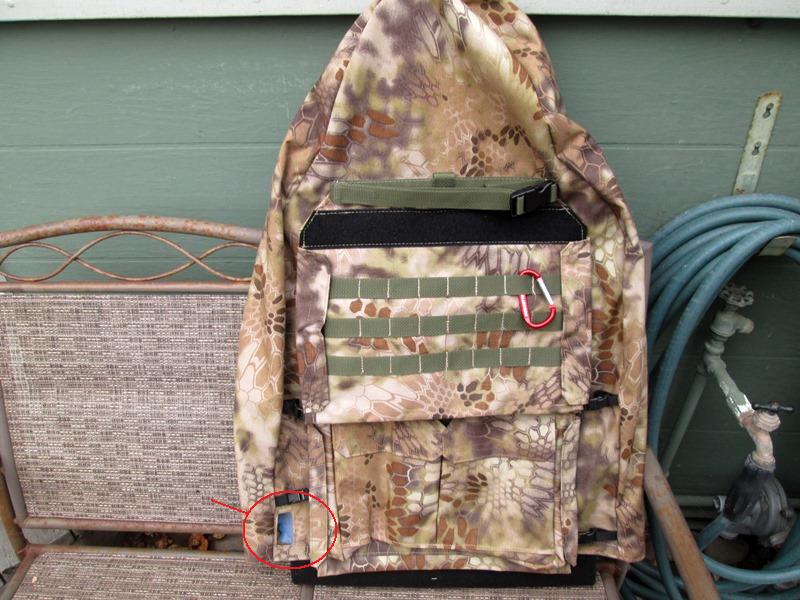
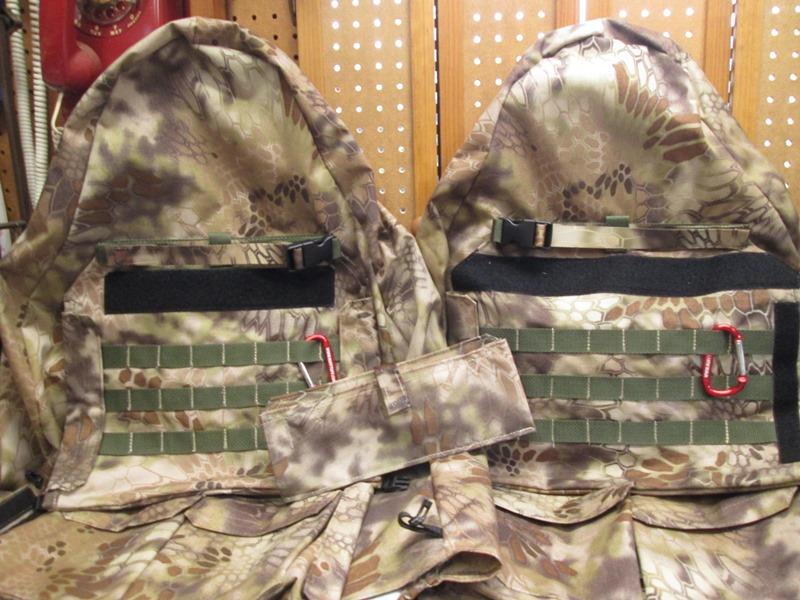
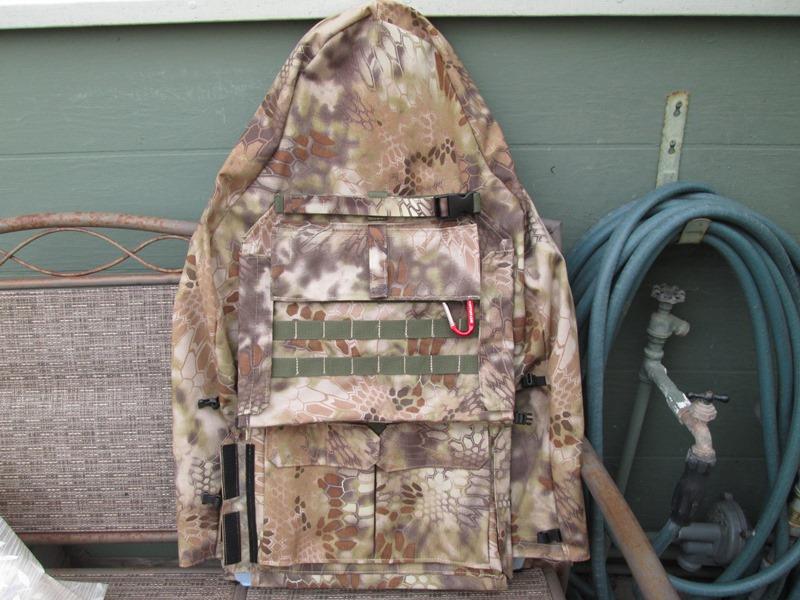
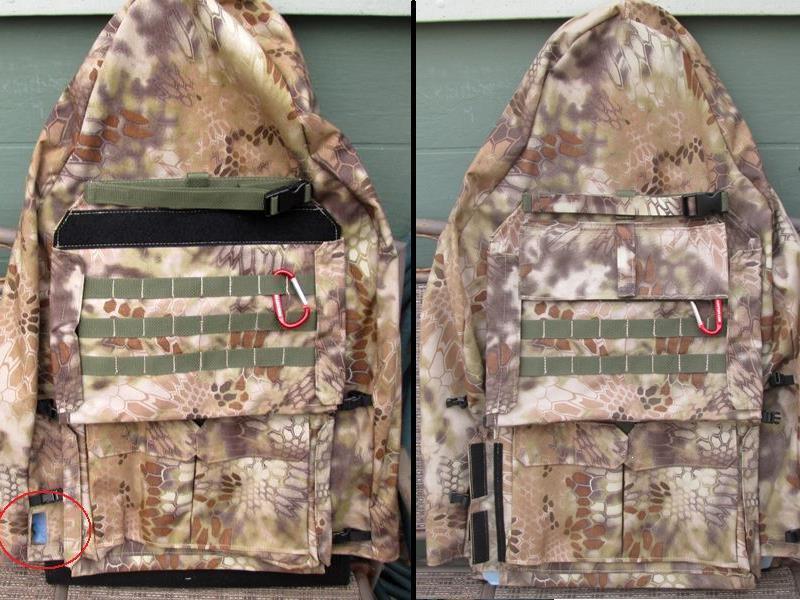
With seat release lever included access that was missing. The OPS package is awesome! Threw me way over budget but I highly recommend and well worth cost. Pockets within pockets. These also included couple of new features, more pockets, also a fold down scabbard bottom pouch with a webbing strap at top to secure that allows vertical storage of tall items, bow etc. Also has added top velcro strip for other attachments.
I don't own a cross bow but the ability to carry something vertically on seat back- Nice.
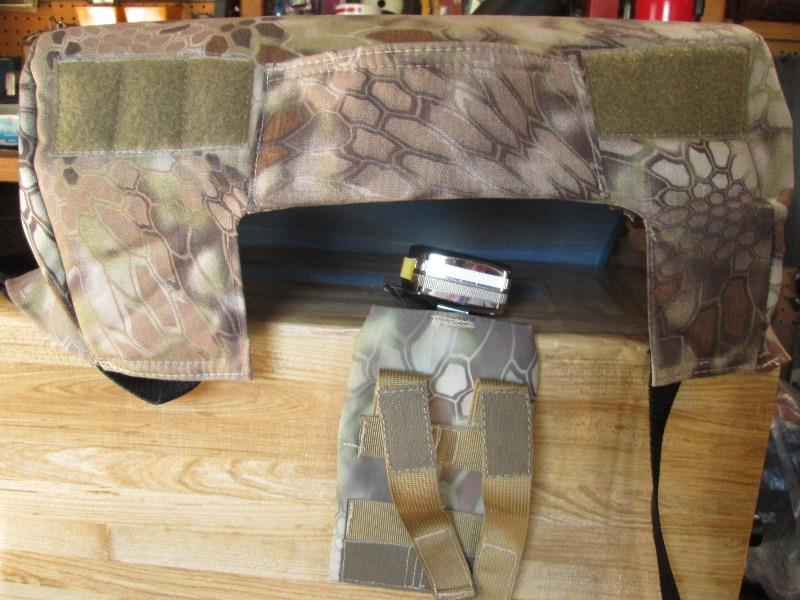
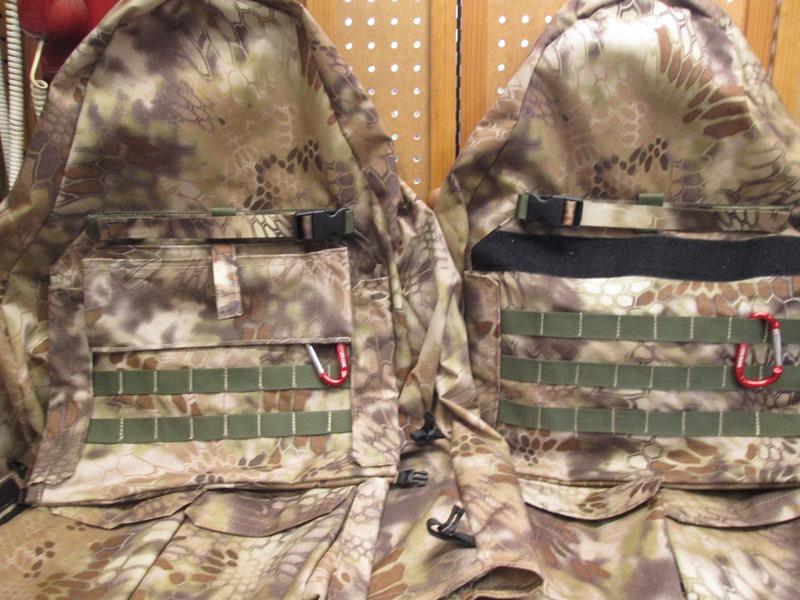
I installed the drivers side back then went to get passenger seat. Walking up to truck, checking out cover thru window all I saw was the black velcro. On our standard cab with one piece headrest the OD green strap and full width black velcro strip is right at bottom of back window, shows rather prominently.
My first thought was to remove the velcro but it might come in handy. I do have some coyote brown velcro that is a good color match but hiding the black with pouches that attached to the velcro would hide. Plus no way to sew without ripping stitches to open up cover. I have some highlander fabric and webbing...modifications are in order.
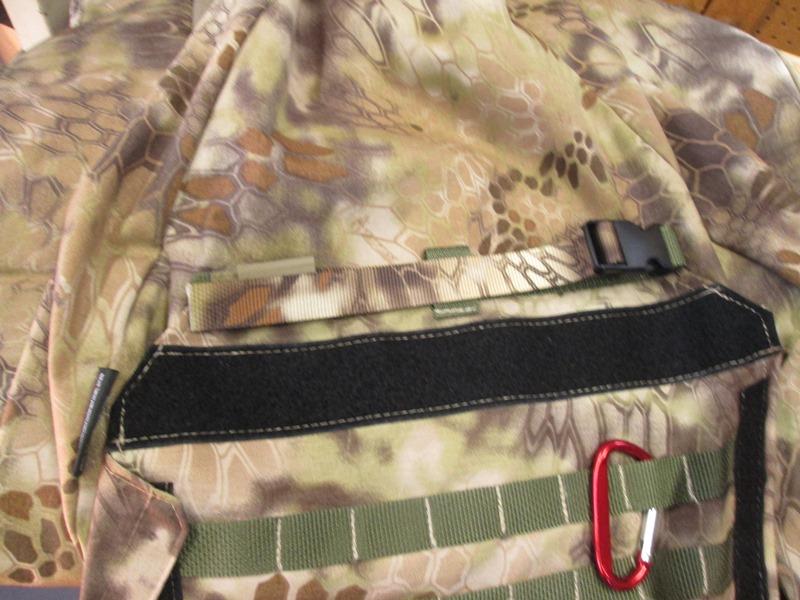
I removed outer portion of top webbing strap and replaced with some Highlander webbing. Again cant open back to completely replace, same with buckle and center loop, but this works. To the velcro strip I will be making narrow full width pouches, (flashlight?) so thru back window pretty much only Highlander fabric shows. Just a visual thing, though when I get around to making top pouches they will be accessible when sitting in truck.
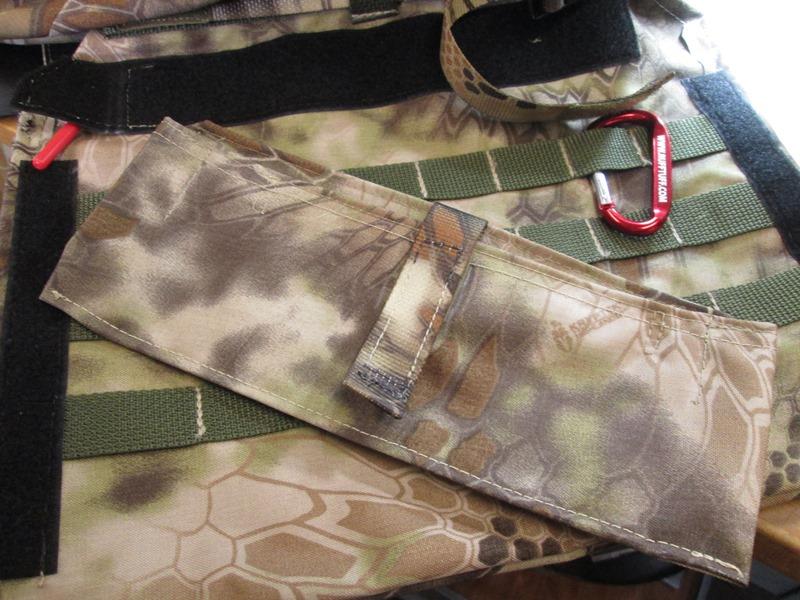
Well, until I started. Simplified, pouch ended up a single pocket, no lids. As all Im really trying to do is hide black velcro strip, effort matching lower pockets as I intended not happening. Pouch accordions at sides so will open up almost 3". Added velcro center strap to close from empty to full open, otherwise pouch so narrow yet long it sags and stuff rolls out. To the back I sewed a 1" strip of velcro to attach to seat. Pouch just hangs so top molle webbing still accessible. If needed can be simply pulled off.
Cut back the seat velcro so it's only as wide as new pouch. The velcro is sewn to pocket so was able to get sewing machine in far enough (barley) to re sew ends of velcro.
Drivers side done. Took a little longer that expected. Now all I need to do is make another but as wont be trying to figure out what I'm doing should be simpler.
Like I said visual thing-. If the set back were visible I would have pulled the stitching from upper pocket and replaced all the green webbing.
But as this is standard cab can only see the top of seat thru back window, and what's visible addressed. Almost worth the time but now that its done, yup-customized custom seat covers:)
Back to our F250 truck page
On to Door cards adding matching material to doors
Back to Ourelkhorn Camper Modifications page