Add an opening window.
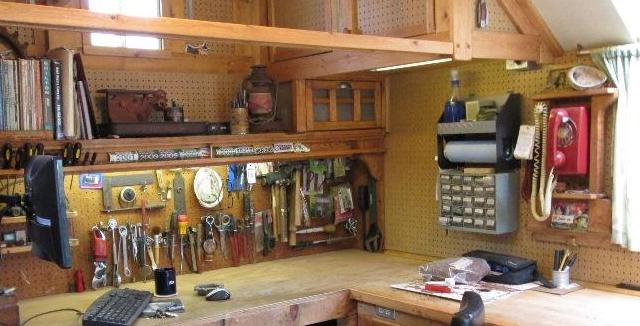
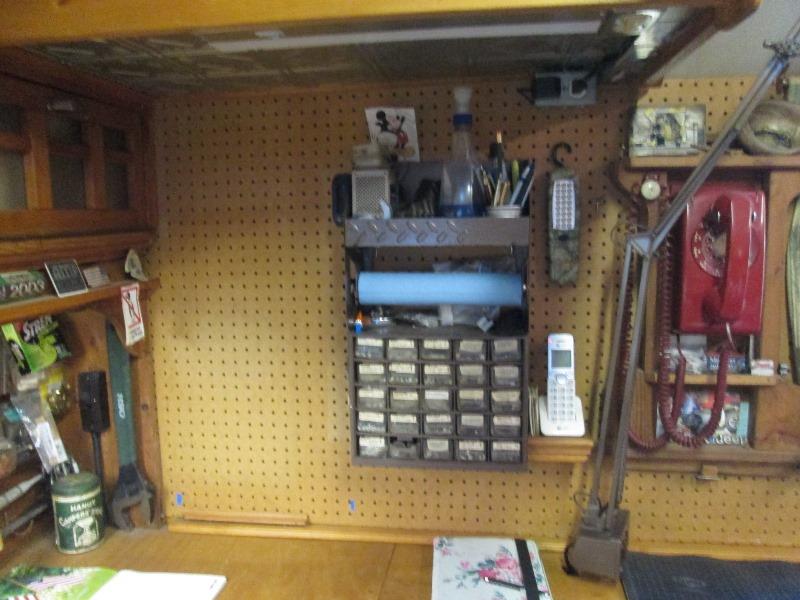
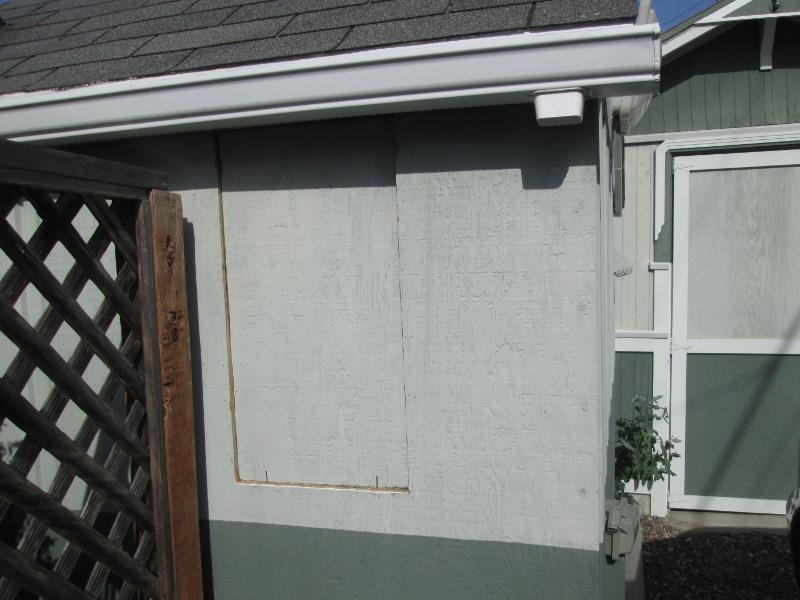
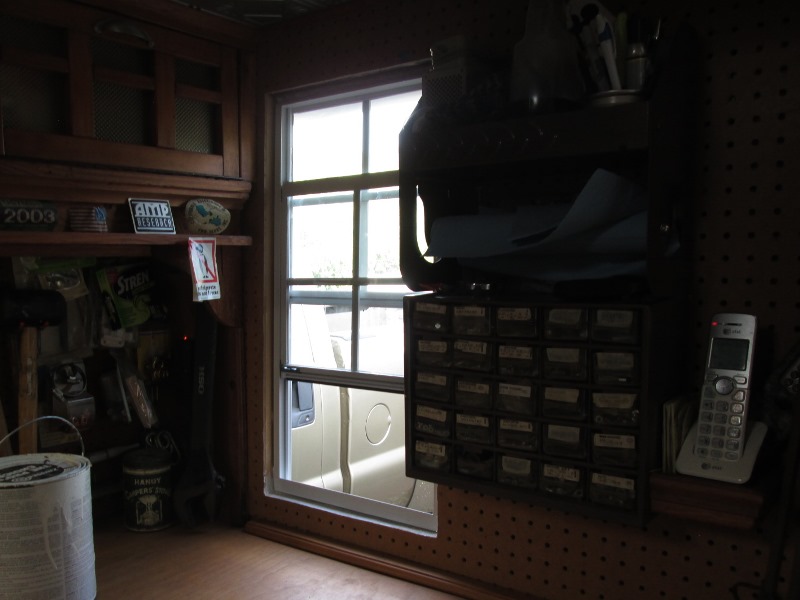
Primarily just to see outside when setting at the work bench. When the shop was lengthened one thing I lost was window where I sit. Not a bad view but nicer outside
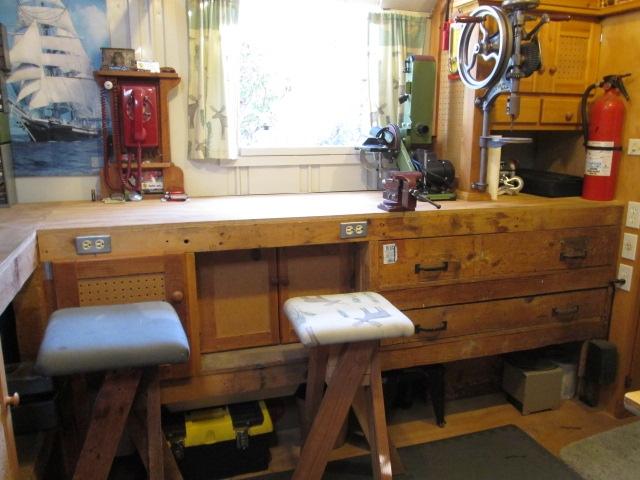
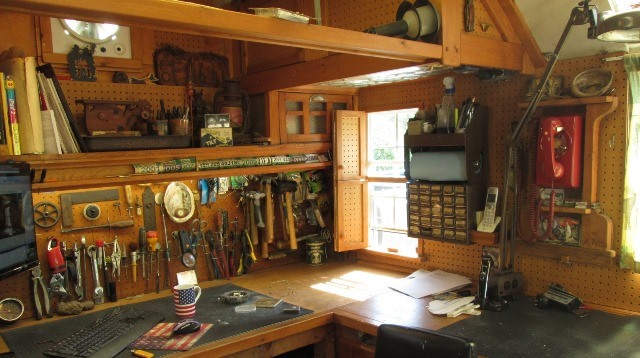
Picture above, just shows where window was in relation to stool before shop extended, existing window was beside me. Second reason and more practical is just more air and light in the corner. Really not much here-simply adding a window.
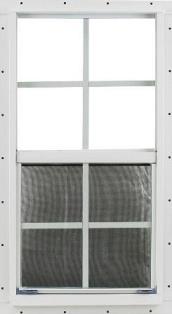 Stumbled across some tiny inexpensive windows, 12"x18" sold for shed/playhouse, though most common use seems to be chicken coups. Measuring and moving stuff I decided I could fit a 14" wide window, 21" tall. More light more air. Was all set to order and found a 14"x27" for same price. Would yield a 13x13 1/2 open for more air.Be a bit tricky as outside facia limits top of window and work bench limits bottom. But the hard part is deciding on flush mount or J-lap frame.
The flush mount would be way easier, cut a hole and screw to wall. However thickness of window is all inward. Wall that this will be going in is only 1" thick. (3/8" exterior siding, 1x2 furring strips in 3/4" gap that pegboard inside is screwed to. Don't want the window protruding in past the pegboard. Other consideration is I want to trim exterior.
The J-lap mount is more for new construction where window is mounted, then siding added. But using the J-lap mount it is or can still be surface mounted, inward protrusion is less than the thickness I have so wouldn't protrude past pegboard (I hope). Using 1x for outside trim would insert into the J channel, covering mount flange.
Making decision was the hardest part. Finally opted for the J mount due to the inside stick out will be easier to trim. Ordered 14x27".
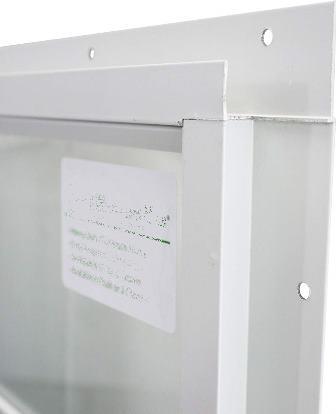
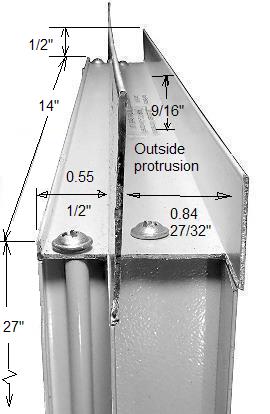
Added dimensions after receiving window. Outside protrusion (inside of J channel is 0.84 or 27/32" which is right between 13/32" and 7/8", perfect for 3/4" trim board. Depth of channel is 9/16".
Wont be here for a week, decided all the recommendations for window size + 1/4" should work, though I really wanted to not cut hole before having window however want to start. Plus I need to frame out hole. Hope they are right. (they were!)
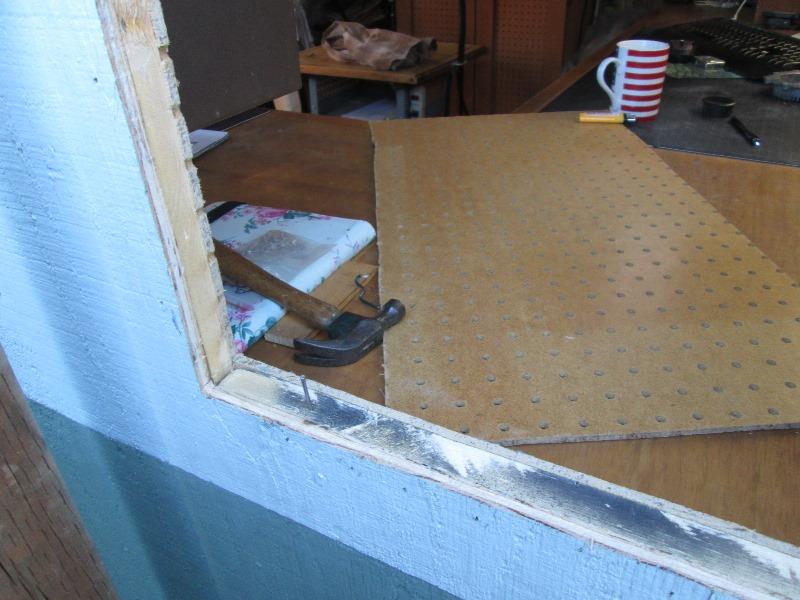
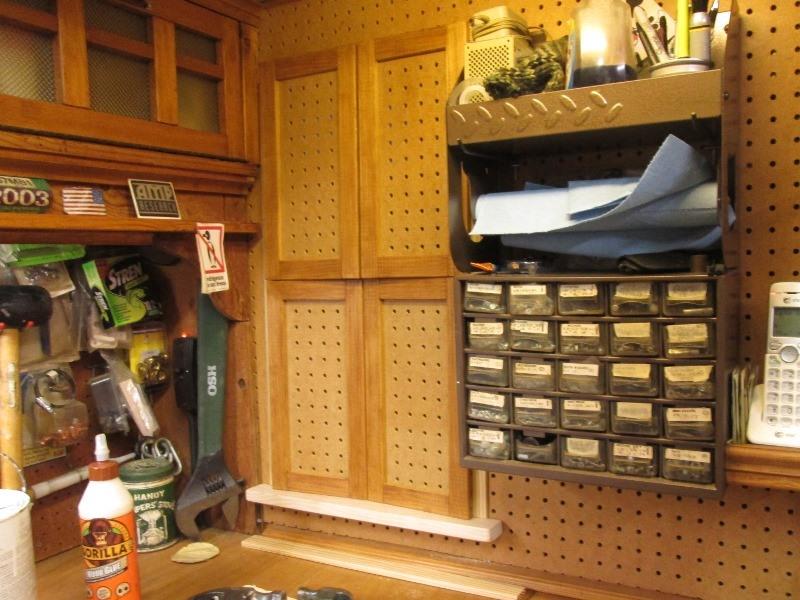
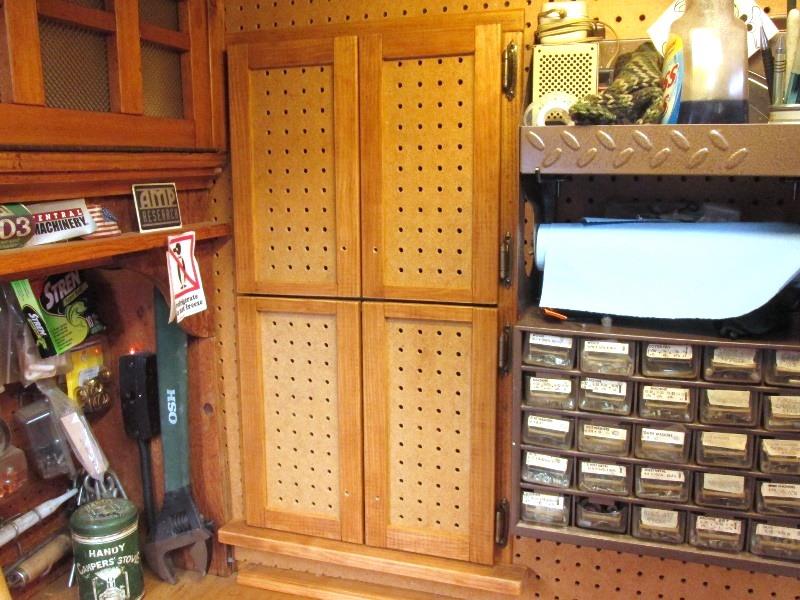
I moved the small parts bin and junk over to get needed room. Blue tape marks width.
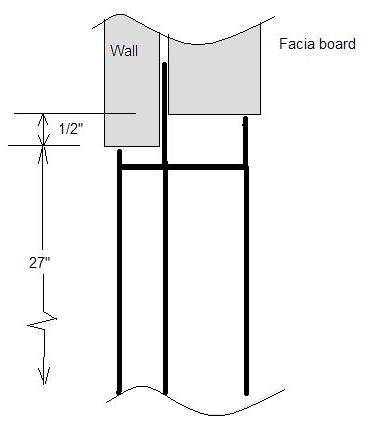
Laying out I have a vertical furring strip right where the right side of window needs to be. Luck. Measuring over 14 1/4" gives me an inch both sides. Height though as mentioned is even more constrained. Measuring down from outside trim the 27" height puts bottom of window about an inch above workbench. Close, really want it higher. Some hee hawing around and figured I could run saw up between surface mounted exterior trim and siding, slip top of window mount flange between. That would raise the window an inch.
Also solves issue I hadn't seen till laying out. The exterior facia/trim is surface mounted. There would be no way to insert trim at top in the J channel. Slipping mount flange behind trim, shoving up would place J channel against existing facia/trim, no top window trim needed.
So with all that just need to cut hole...
Drilled 1/8" holes to mark thru wall, placement is inside/outside. From inside drilled few beside existing furring strip. Measure over 14 1/4" and drilled a few more vertically marking other side. From out side drilled thru at bottom of facia/trim. Measured down 27 1/4" and drilled thru marking bottom. Used a square from facia to draw vertical cut lines. Window will be square to bottom of facia. Think im where I need to be, double checked- Used a oscillating saw and cut thru exterior sidling. Flush at top then down. (no pic)
Filled the gap on 3 sides between pegboard and siding with 1x's. Air nailed siding to it. Went inside and nailed the pegboard to the 1x. Went back outside and cut the pegboard using the 1x furring strips as guide.
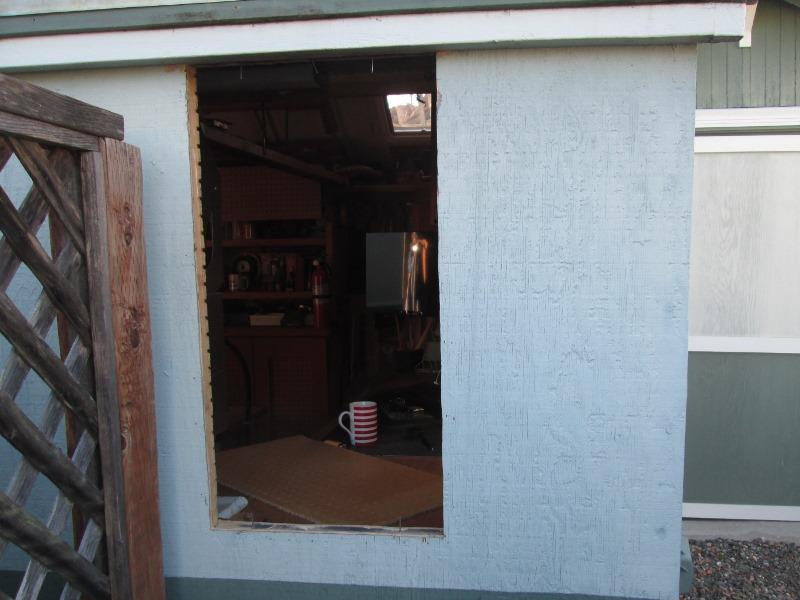
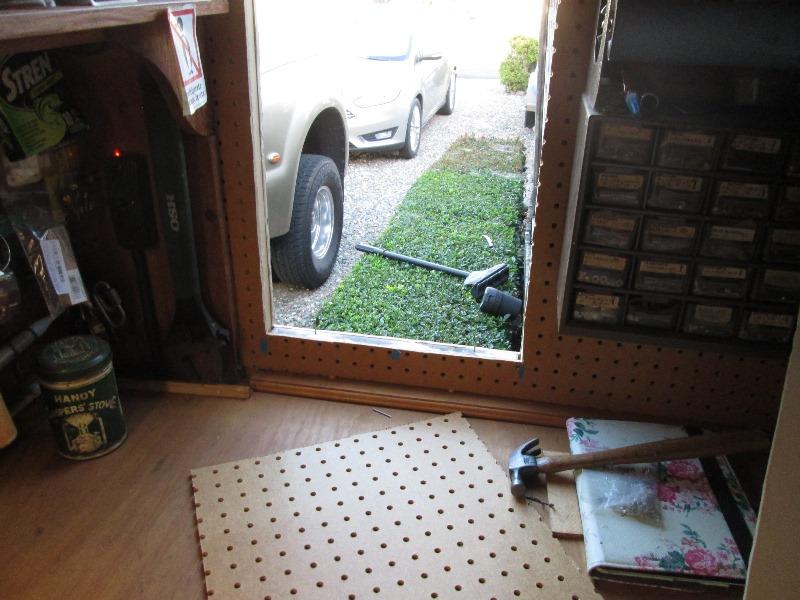
HOLE!
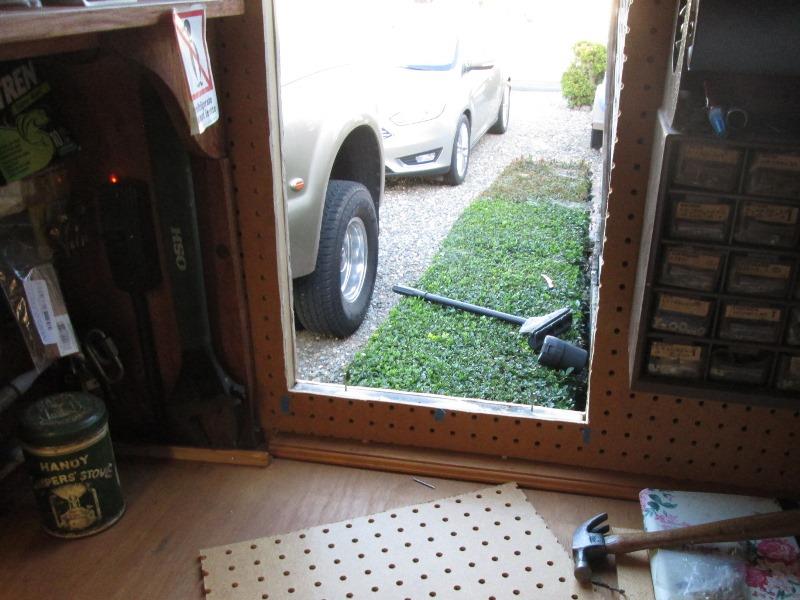
Luckily holes in pegboard are space evenly to cutout. Wasn't sure
When I filled the gaps and framed I only got 1 nailed before I had the belated foresight to remove and paint flat black (hindsight). Painted the other pieces before nailing. Just makes the furring strips 'invisible' thru pegboard holes.
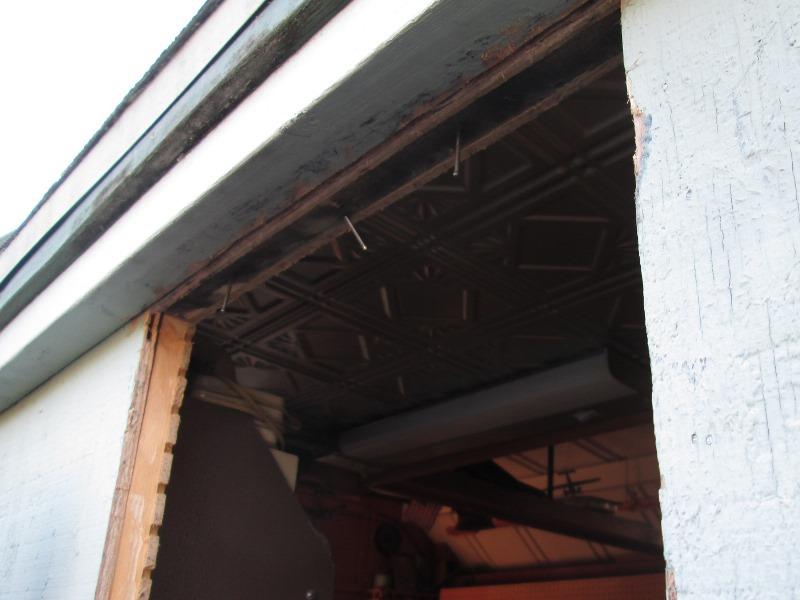
Went out side and ran oscillating saw between facia and siding to slip window flange between. Cant really see it. I need a bit more space between so going to try mounting 2 blades together on the saw to get a wider slot cut.... see how that works. More likely may need to cut top of window flange so only 1/2" needs to be inserted. TBD
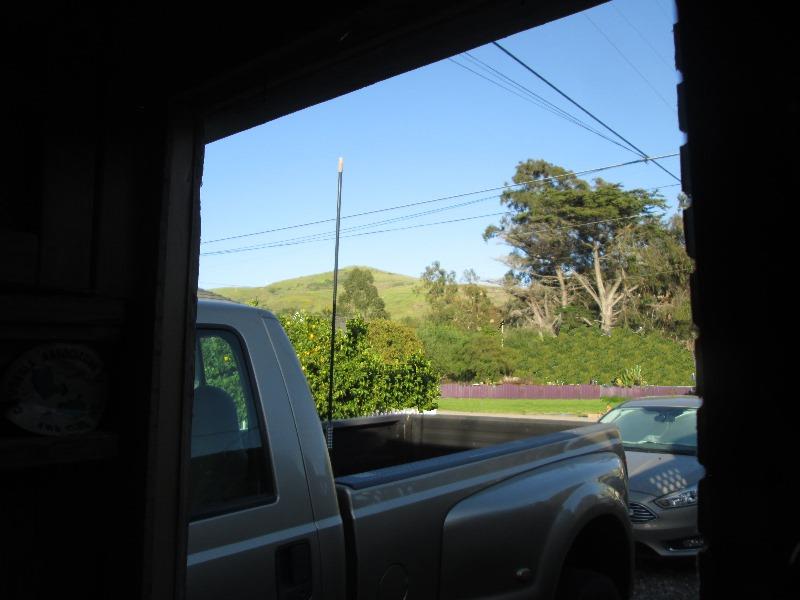
Have a few details to finish until widow arrives...but look at those hills! I can see them. So far so good. Just hope I haven't shot myself in the foot pre cutting hole...
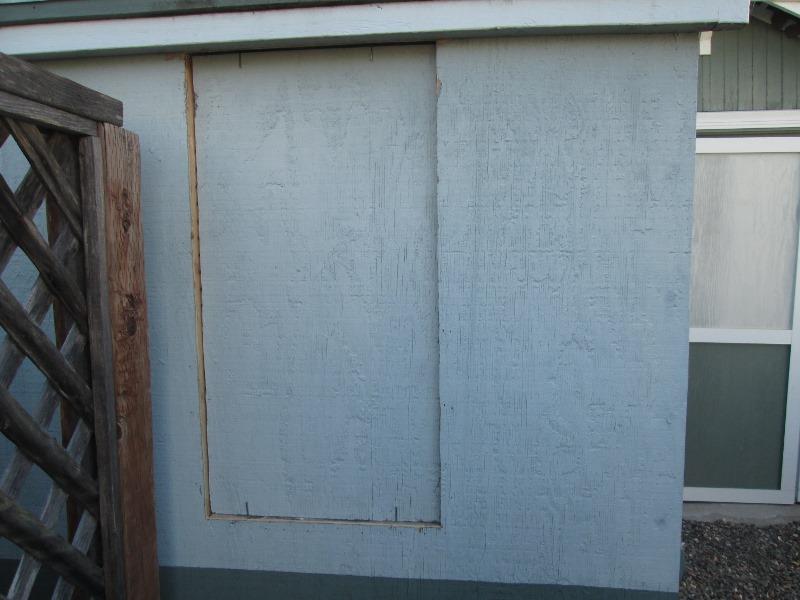
Nailed up cut out siding temporality until window arrives
Added gutter above window. One of those round-toits that never got done. With the window don't want to see the roof water running down it. Downspout going to take some thought as Im only 2" from wall, standoffs? Biggest plus though is the protrusion of gutter, as the sun climbs, shadows the window. By late morning completely shaded.
Meantime....
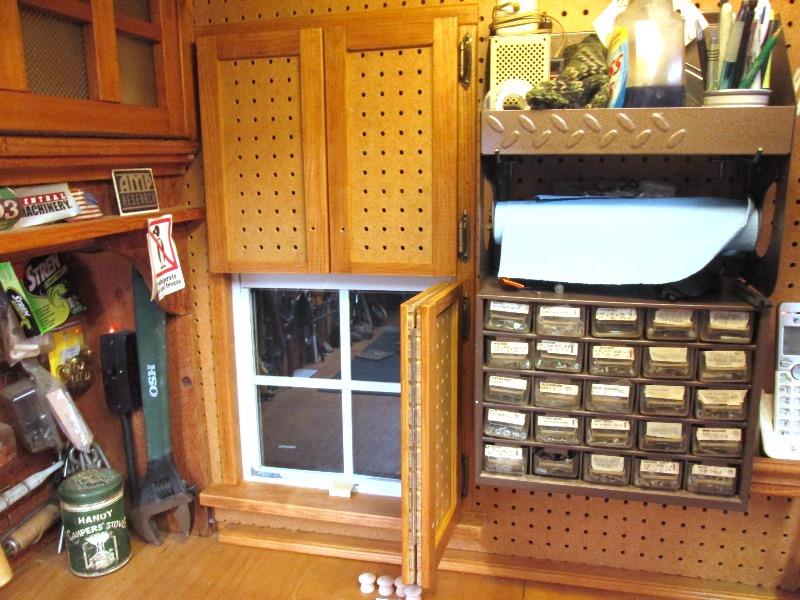
as window is outside of fence, morning sun streaming in decided Im going to need a shade or something. What I came up with is making bi fold door using cutout pegboard. Then came up with brain fart to split, upper and lower halves, so I can close or open independently.
Allow to have lower open, top closed
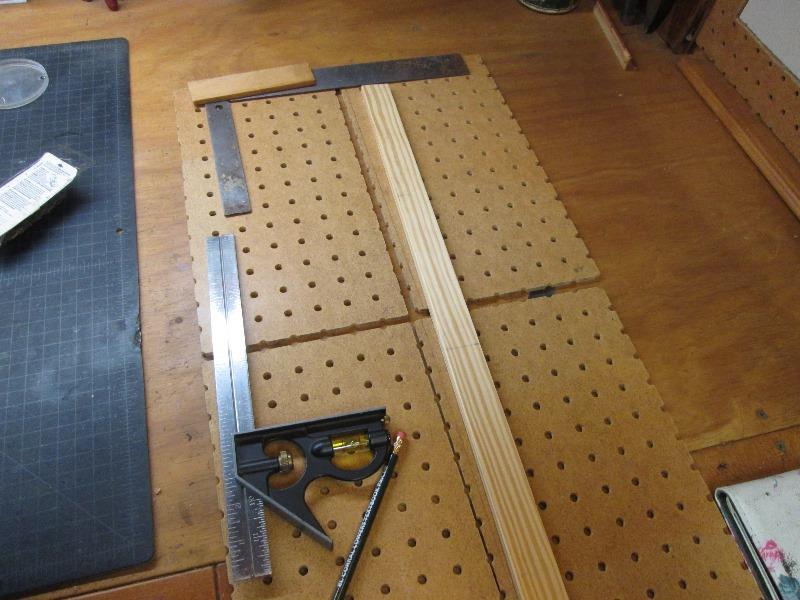
Cut pegboard cutout into 4 pieces. Framing each piece with 1/4"x1" lattice.
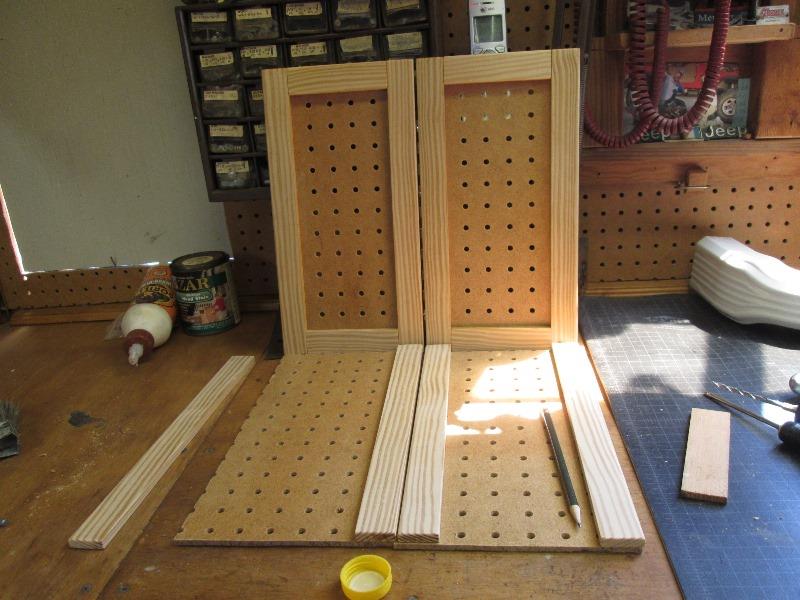
Glued one side piece on, insert top and bottom getting square to add opposite side and glue then remove top and bottoms to glue. Once glue set added a few 1/2" brads thru backside of pegboard into lattice. X4 took most of the day. 10" piano hinge joins the 2 halves. Plan is self closing hinges on right side to mount on wall. IF window doesn't protrude inward past pegboard (hoping) I'll use 1x1 corner moulding to wrap window cutout trimming inside leg to butt against window. If it does protrude then some more lattice to trim.
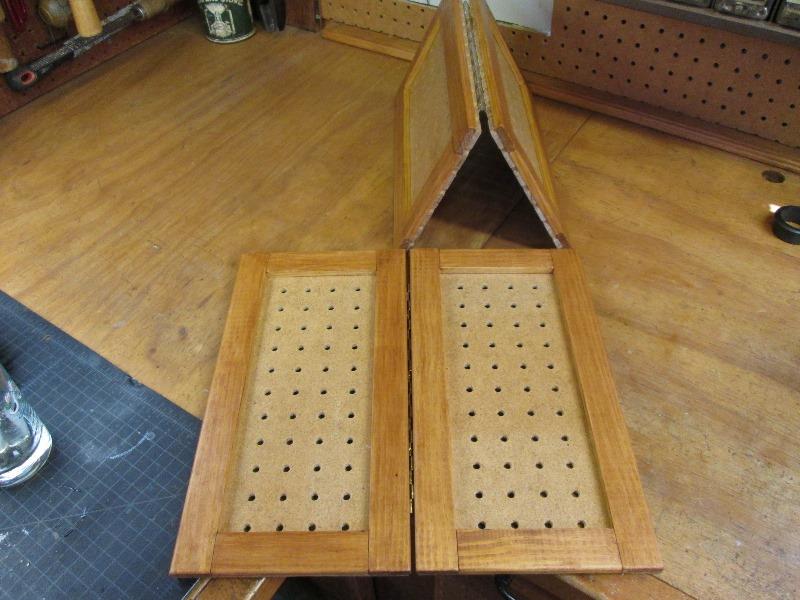
And stained.
Window arrived!
Pretty impressed, especially given cost. Very happy that the inside protrusion is only about 1/2". Window has 3 open postilions.
One nice thing is the bottom sill is sloped, however it is the only are that isn't caulked. Water can seep under sides where they meet bottom. I caulked externally before installing and will try to caulk inside later.
Eagerly went to set into hole to verify my pre cutout works.
It didn't.
Hole is correct for window size, window is exactly 14x27", hole is 14 1/4" x 27 1/4". However I placed vertical height measuring from exterior facia board. The outside J channel hits facia before window high enough to go in hole by half an inch. Error on my part. Re cut bottom of hole 1/2" lower. I'll have 1/2" gap above window but inside trim will cover.
I cant imagine anyone else mounting like I did but FYI . What I should have done instead of top of hole at bottom of facia. Minor
but redoing for dumb mistake...
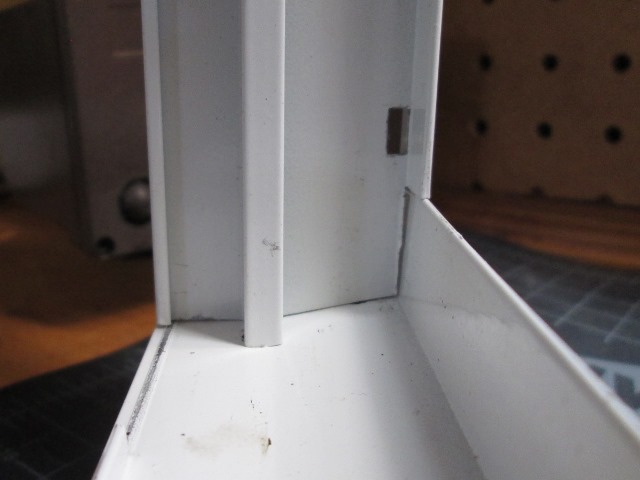
Once hole 'fixed' slid window mount flange up between facia and wall in grove I cut, swung bottom into hole. Perfect. Removed and liberally caulked back side of mount flange
 Used 1" screws to attach side and bottom flange, top is in groove.
Rain forecasted tonight so hole sealed none to soon
Used 1" screws to attach side and bottom flange, top is in groove.
Rain forecasted tonight so hole sealed none to soon
 Really liking this... Since it going to rain decided to go inside and trim interior
Sucks growing old. Seems lately if the plan changes I forget why I was going to do something a certain way and what I had already laid out.
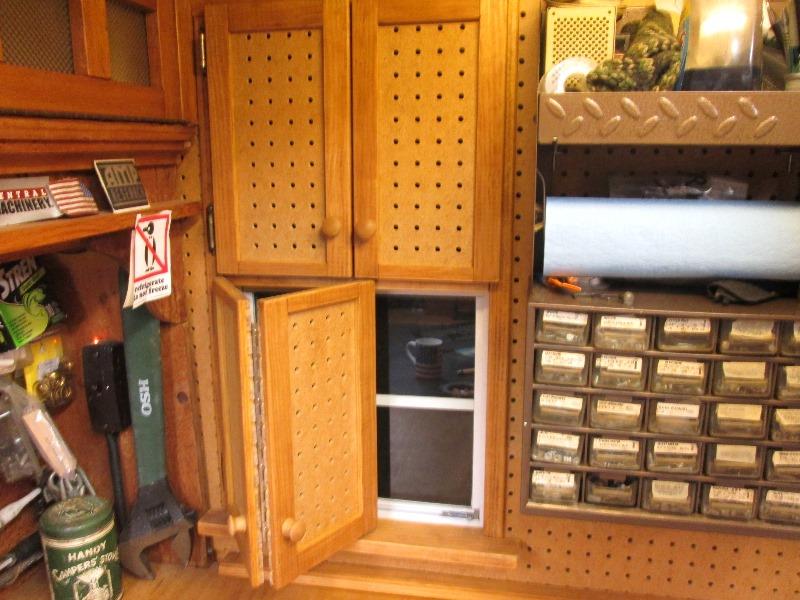
In this case going inside laying out interior trim. Decided a 1x3" sill would be nice instead of using the 1/4"x1"x1" corner trim on the bottom. Looks nice
Until I set up the bi fold doors to mount...
Good grief.
Originally made to surface mount against the 1x1 trim, doors now setting on top of the 3/4" sill. Pushes doors up and inch. If I hadn't already cut up trim I'd nix the sill. All I think of is to trim 1/2" off both doors. Probably top and bottom of middle lattice. Might be ok with making the center narrower.
That worked, sat on table saw and sliced 1/2" from each door at center. Installed the hinges and hung. Drill for knobs. Works pretty nice.
Except the other reason they were to be surface mounted to trim. Lower doors have no stop. Going to try and place a piece of lattice across middle. Upper door will have stop top and bottom. Lower will still need something on sill.
Lastly hinged on right as shown was a last minute change. Planned was hinged on left. Changed because easier to get to hinges to drill. Cabinet on the left is a swing down, so hinging on the right I can access without messing with the doors. But were back to that making a plan and changing it without considering the reasons for initial decision. That being one of the prime reasons for window. View. Hinged on the right setting at workbench stool, doors block view out window-doh...
3rd time's a charm.
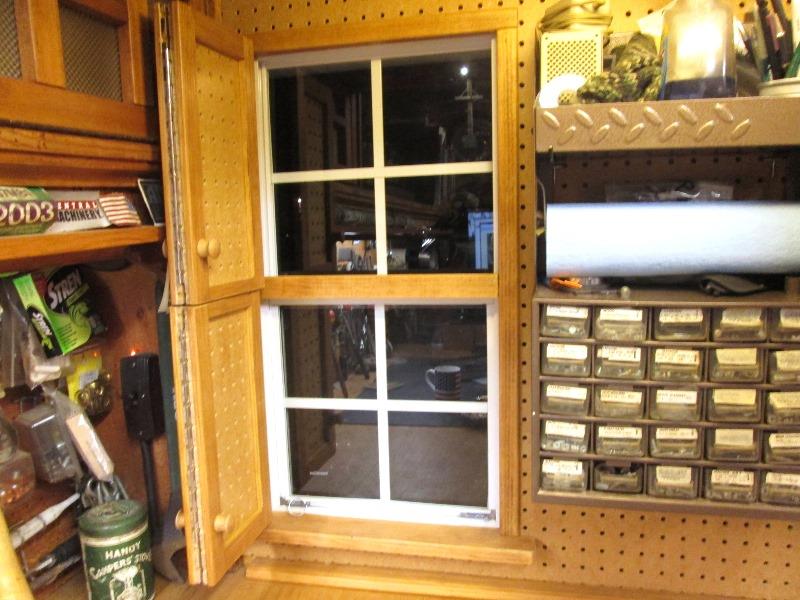
Center cross stop, 2 small blocks at sides to attach lattice. Removed doors, relocating hinges to left sides. Removed the window trim and swap sides. Reinstall the doors.
Function as they should. Ended up a lot more work- or rework- than expected. Just woke up every dumb ass brain cell I have- didn't realize they had been multiplying-note to self.
Did rework the window a bit
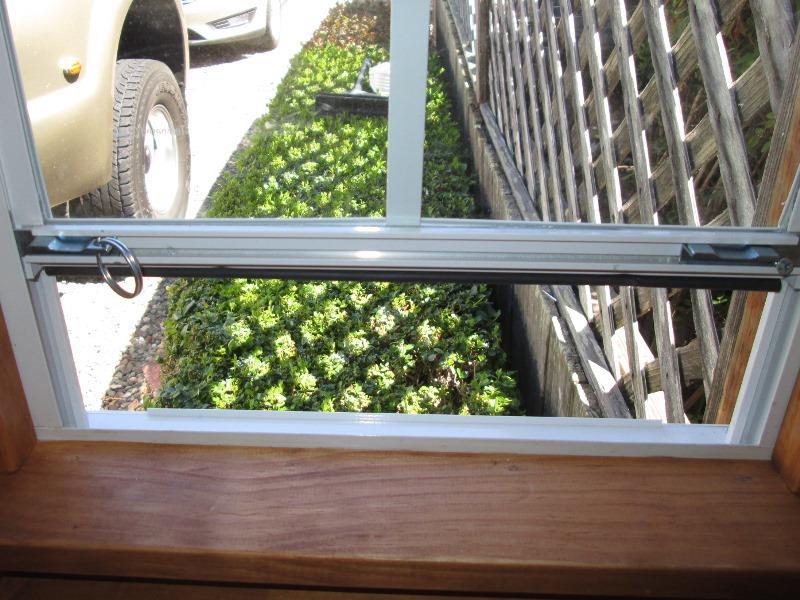
The window catches are spring loaded, you pull both toward center to release. Other than requires 2 hands just awkward. Pinned the right side with a machine screw in unlocked position. To the left side drilled hole and spun in a 1" key ring. Can unlock and slide open/close with one hand (finger). Window doesn't try to cock, opens easily, mostly due to its only 14" wide and doesn't weigh anything.
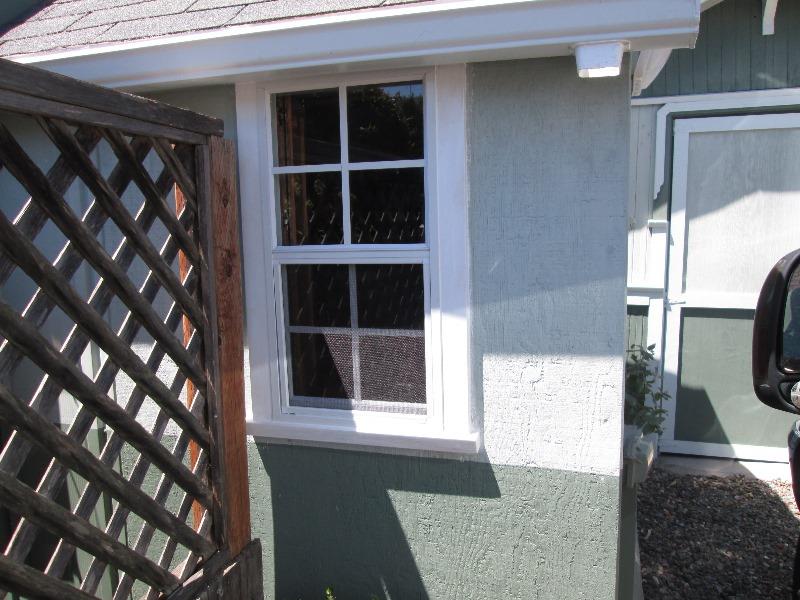
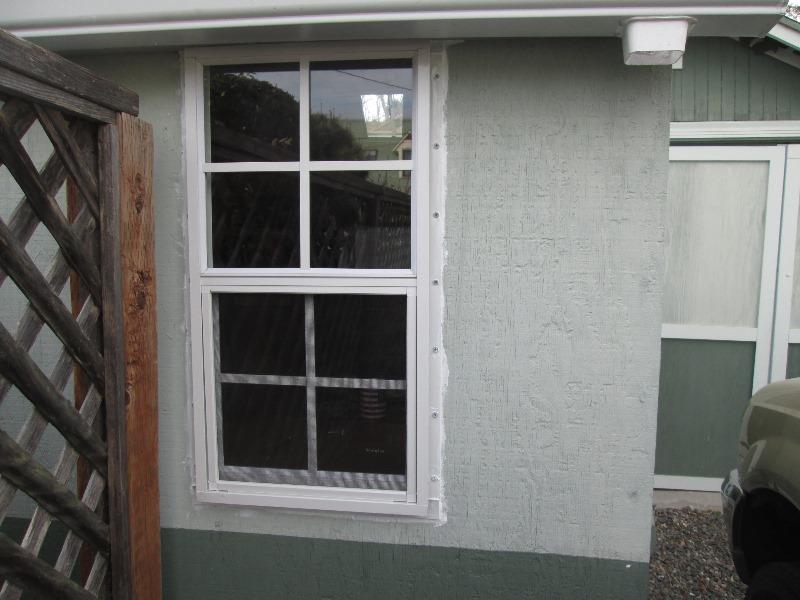
Got the window trimmed out. Side 1x3s butt against facia board, behind gutter.
Cut 2x2 with 15° backside bevel for sill. Pre primed then installed using a LOT of caulk. Primed again, re caulk externally and paint. Tomorrow I'll repaint this section of siding and then install the downspout for new gutter. This project done even though took on a life of its own. Simple window install...But it will be nice. Gazing out the window.
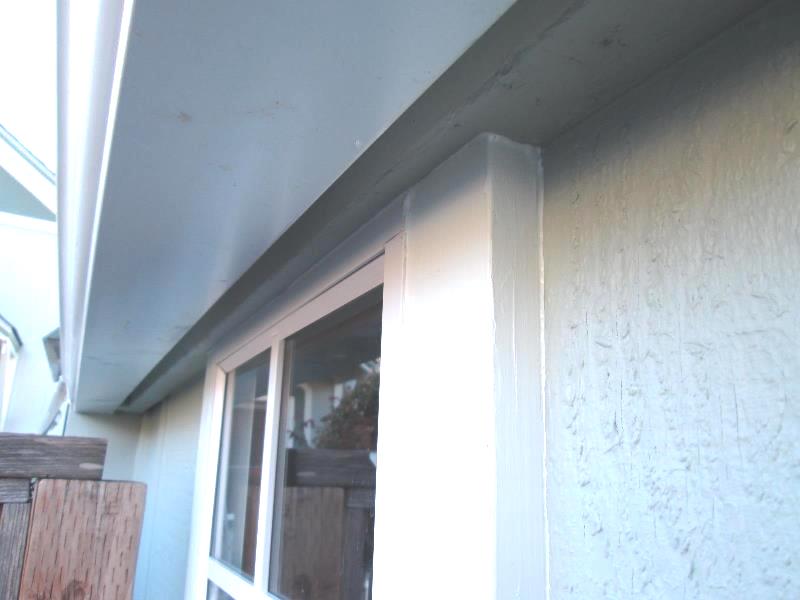
Just detail of window mount flange inserted between facia and wall. Windows J mount and side trim butted against facia.
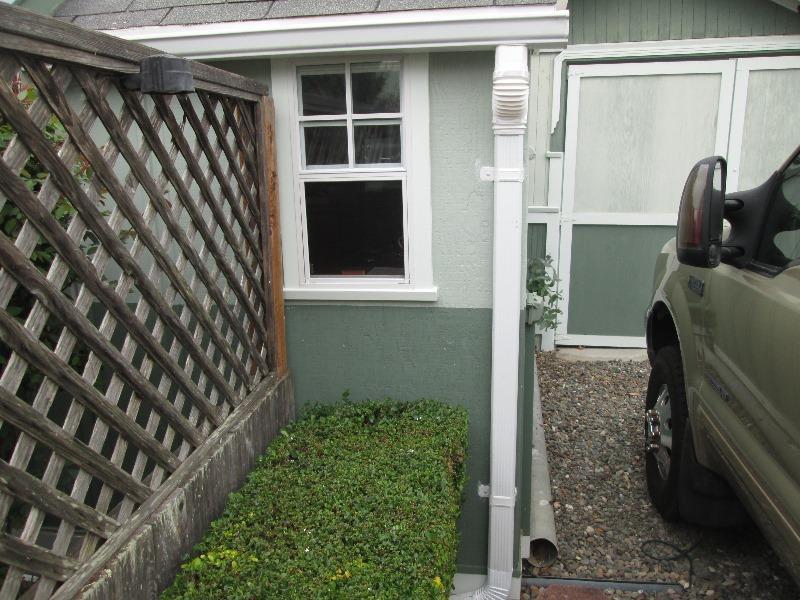 Recoat window and wall paint. Mounted the downspout . Found plastic flex elbow for the gutter. Allowed me to get back to wall, didn't have room for fixed ells. Primed. Not sure on the downspout but it is what it is.
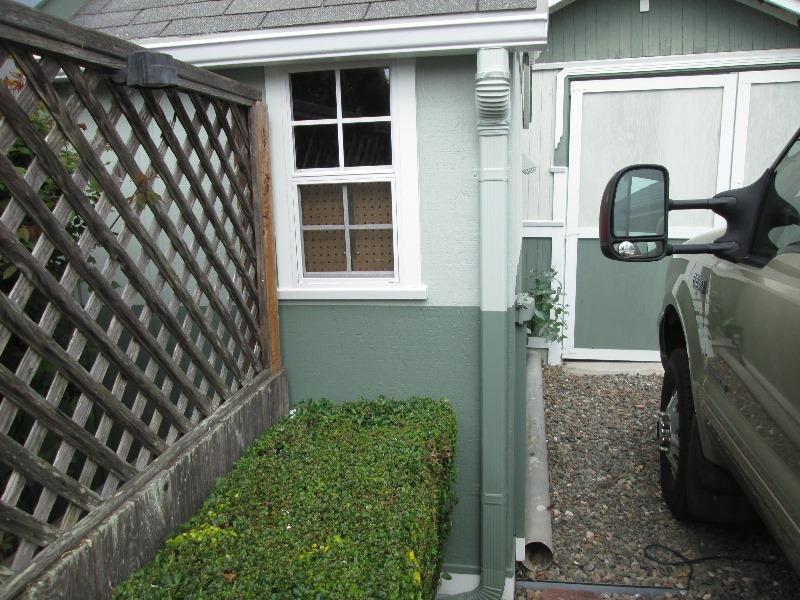
Painted downspout to be less conspicuous.
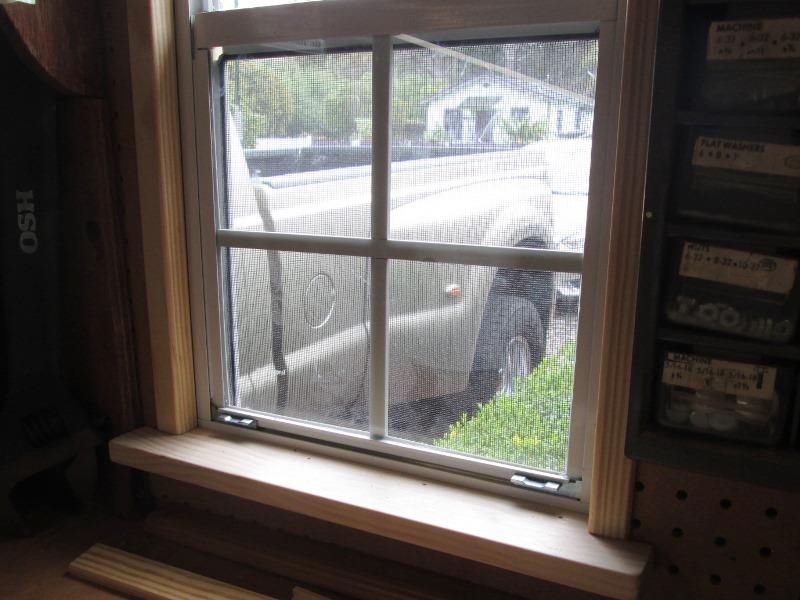
Window, camera will not show what I see thru window, but well worth the effort.
Back to top of page
Back to shop additions modification section
Back to Our shops home page