Add bifold shutters to existing window.
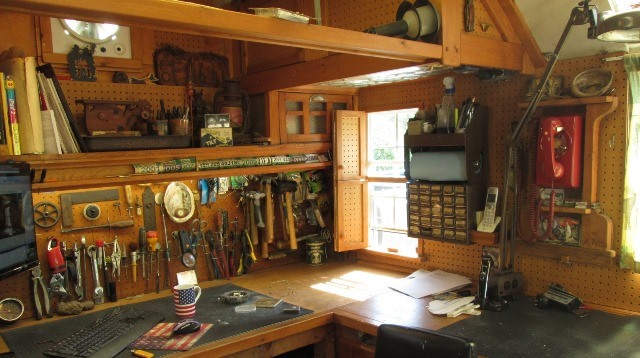
Few months ago added a new window and made shutters, I briefly thought to add shutters to the existing window to right. But no real justification. It has curtains but never draw.

Mostly because there were 2 large bushes just outside
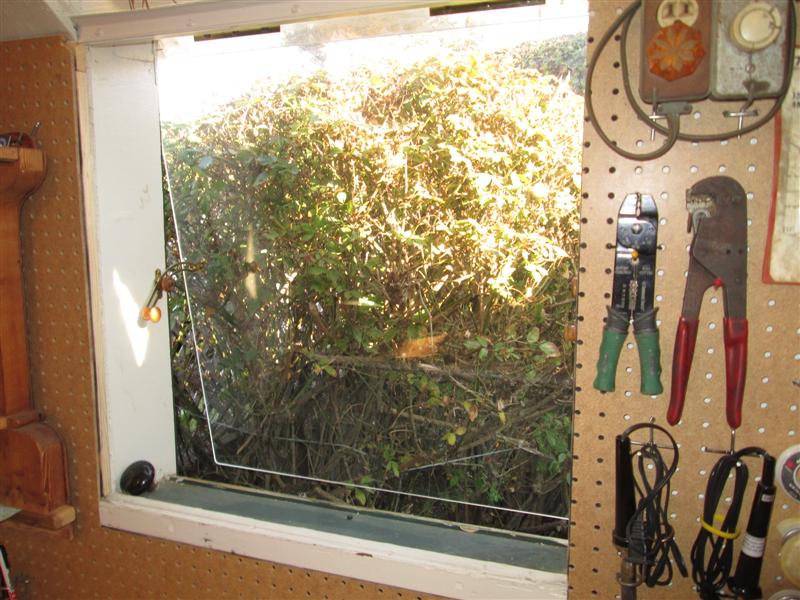
The one behind this one even taller. These are 40+ years old.
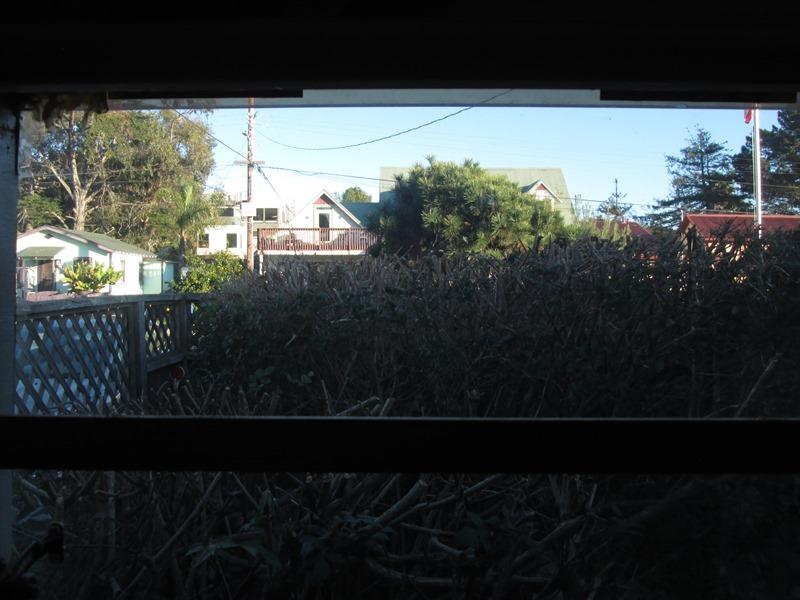
Working in the yard I recently cut both of em to a manageable level and gain some view/light from window. Walked in side to see what view I gained out window-hmmm. Having never been able to see past bushes amazing and weird. Added light in shop nice. However my neighbors porch looks right into shop. At night I often am standing at this window with lights a blazing. The large bush furthest away I want to cut down even more. But just feel pretty conspicuous at night-even folks walking down the street. Just odd, didn't realize how exposed window would be cutting back bush.
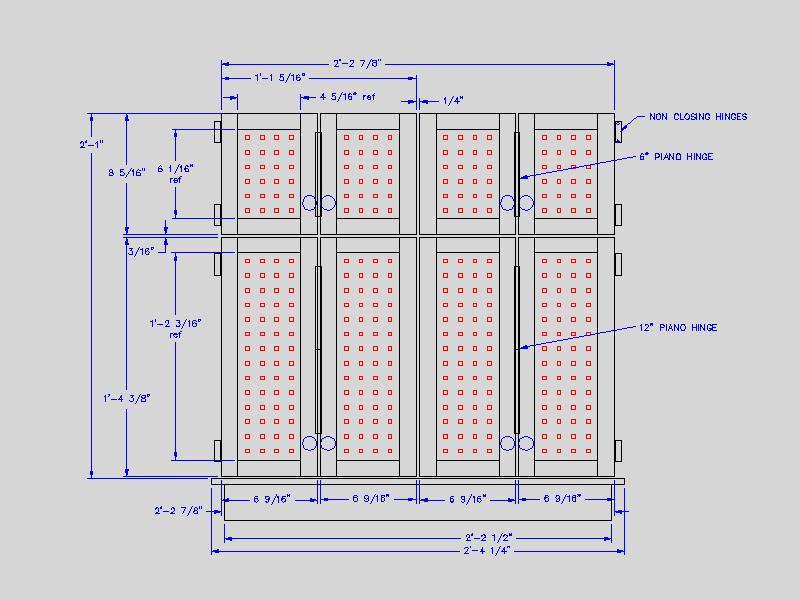
So decided to make bifold shutters matching new window. Could use existing curtain but shutters I can split. Top shutters about 8" tall and bottom row 16". Can have bottom open for air see outside, likely rarely close but the top probably close night.
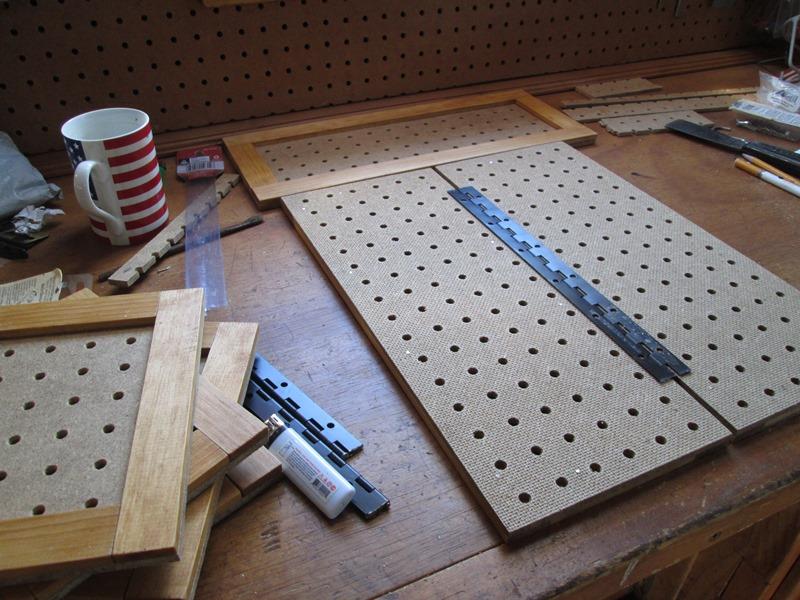
Picked up some 1 1/8" x 1/4" lattice for shutter 'frame'. 1x 3 for sill. Shutter panels will be full peg board with lattice false or face frame. I did this on last set for new window and worked well. All of the shop cabinet doors are routed and pegboard slipped in frame. Stapling fake frame to surface of pegboard a lot simpler.
This window was cut in years ago. As I'm not going to face existing frame also decided not to trim, mount shutter panels directly to wall. When pegboard was added to walls it was just butted up to existing sill which ended up flush and pretty rough. Going to cover it. So that would be first. Make sill, then measure what I end with.
With sill in laid out for cutting.

Cut all the pegboard panels, pieces for lower frames. Top panels holding off cutting vertical frame pieces. Make the lower doors and verify before making the uppers in case I need to adjust.
Made pair of lower doors, discovered why I used thicker lattice on previous set of shutters. Set on sill, verified dims and cut verticals for the uppers. Stopped to stain all the frame pieces before assembling remaining panels. Then glue and hand nail frames. Oversight was I used 1/4" lattice. Previous was 5/16". Nailing (1/2" thick) used 1/2" brads held at slight angle so as not o go thru. Also hinge screws. Ended up drilling pilots, partially threading in a screw then remove an install screws with point ground off. Bit tedious. that thinking it thru thing...
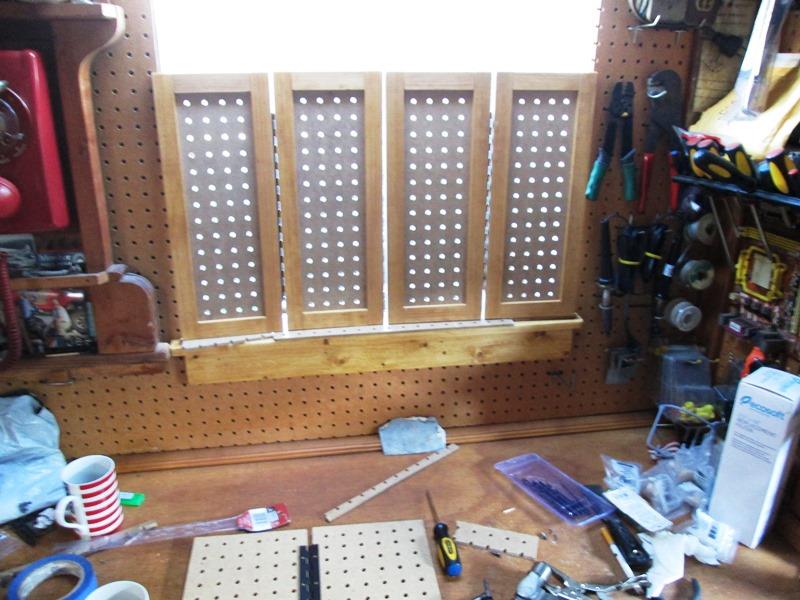
Once all panels assembled laid out to mount on wall.
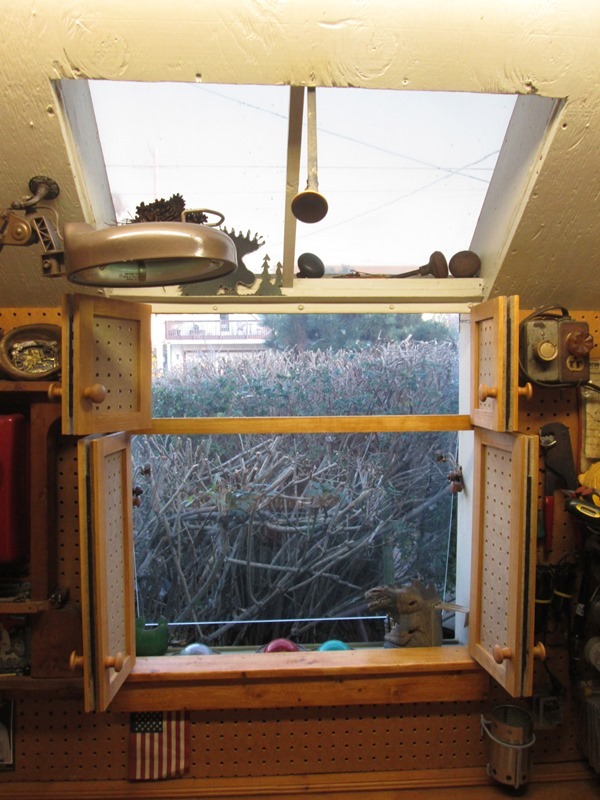
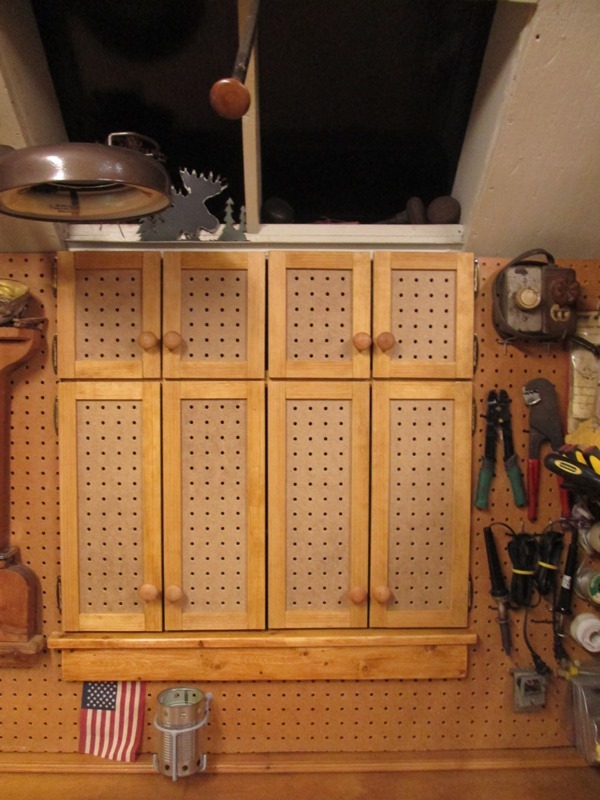
And done. I did have to backtrack, removing doors to add the horizontal stop for upper doors. Installed the knobs.
Now to finish chopping bushes...
- Little later...
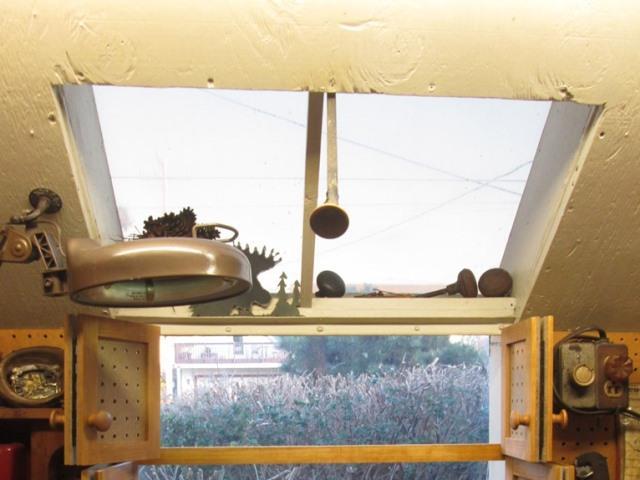
With the rest of window trimmed the ceiling around the skylight became an eye magnet.
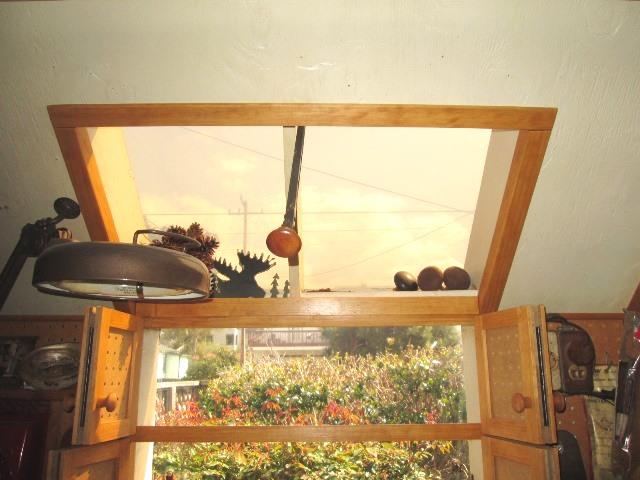
Cut up some 1" corner moulding to cover edge and screws. Cover wall to ceiling cross bar.
- and more later..
Didn't want to see them on the window sill, more importantly needed a full length stop for shutters along bottom.
Bottom of shutters a good ˝" from sill so needed to add 1/4" blocks under catches.
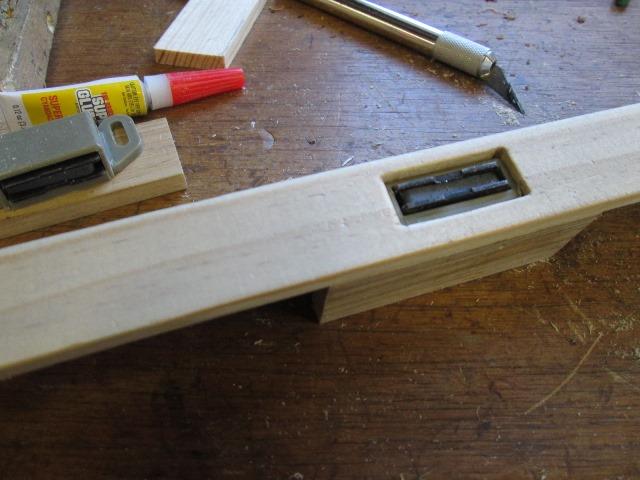
To 'hide' catches and full bottom stop using the corner moulding and cut holes for latches to protrude thru.
Easier said than done
The latch metal plates protrude extended about 1/16" past face of trim
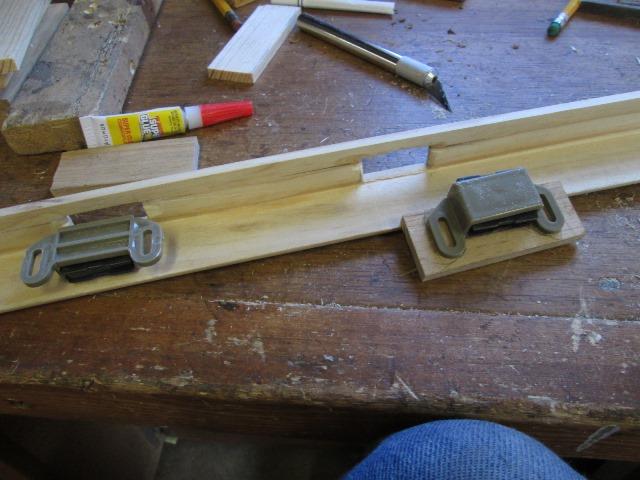
Simple corner moulding cover (right latch upside down). Once I had holes cut realized no way to place catches on sill and expect to line up with holes in trim. Remembered folks using crazy glue on wood so used to place. Insert catch thru cover, glue on block pushing both inside face of moulding to locate catches on blocks. Then put glue on the blocks and used trim set on sill to place.
Once set went back and screwed catches to blocks, and nail blocks to sill.
Glue and nail 1" lattice to back of sill to support rear edge of corner moulding. Glue blocks for stop at ends of moulding.
On the doors required removal to carve out back so latch plates set flush. The magnetic plates of catches will grab but this keeps doors fairly close (1/16") to frame. Placement from edge , about 2/3 width of door, pulls lead door flat with main hinged door not trying to accordion out.
Works well, doors catch and don't flop. Bi folds hard to contain with single catches.
Of coarse part of the reason to make cover removable was access to address later if needed adjusting latches. Which using super glue to locate, will require a chisel to separate and move...
Update: Latching upper bi-folds.
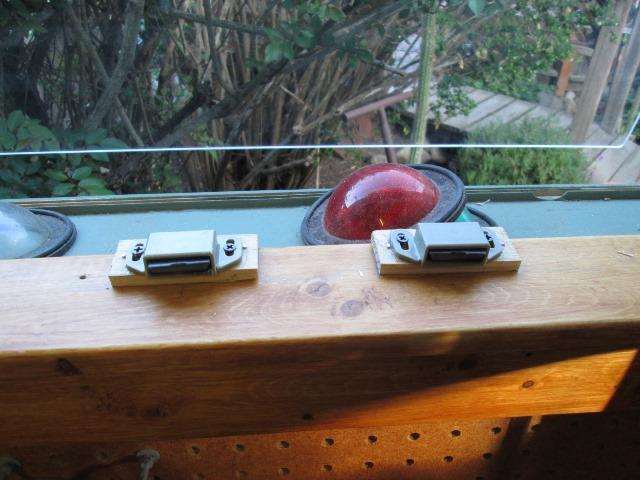
Didn't think the small shutters would be a problem as far as wind blowing. They close but slightest breeze they also flop around. Cant mount anything to center lattice, didn't want to see magnetic latches hanging down, - so lived with it. However I stumbled upon these little magnetic plate latches
https://www.amazon.com/gp/product/B07YF5RD8V
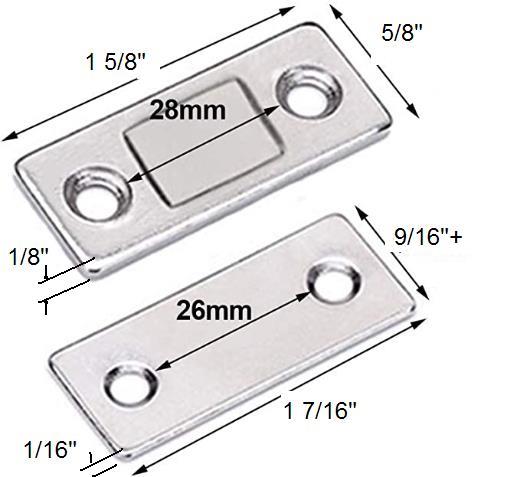
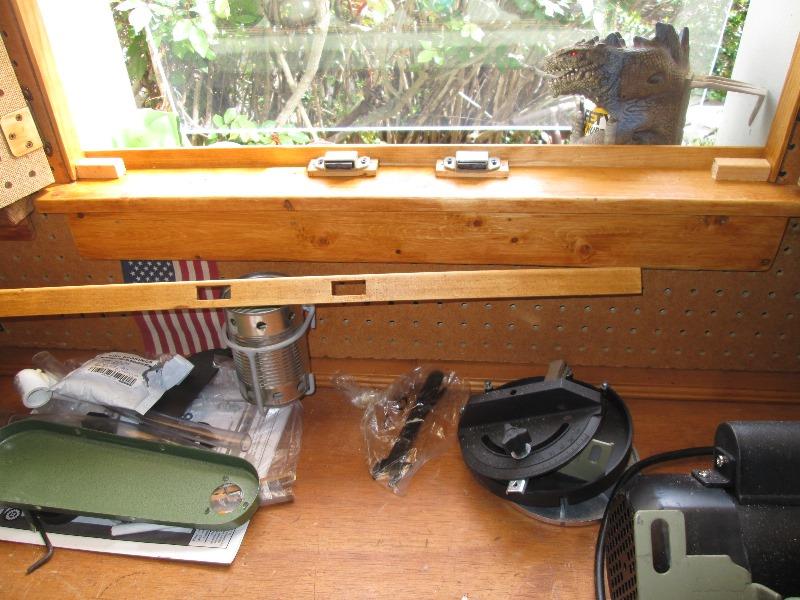
Perfect. Can mount to top of shutters and upper trim.
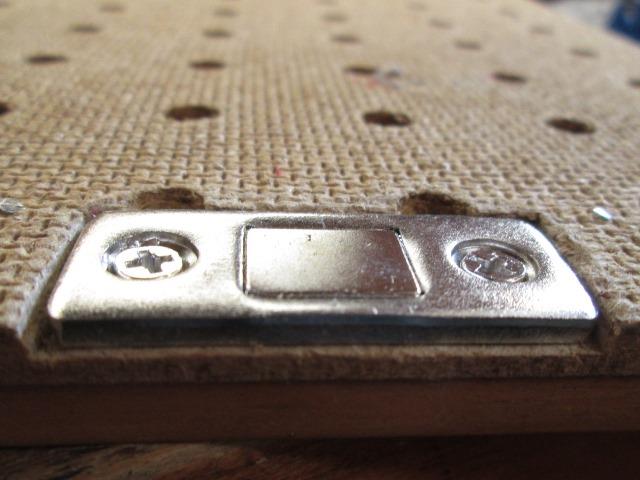
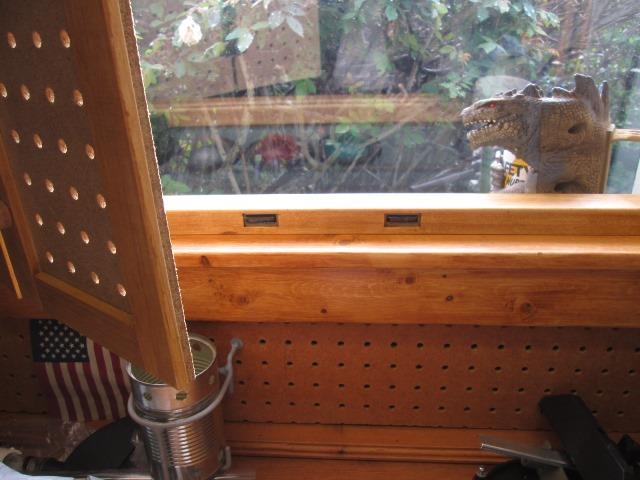
I recessed the magnetic 1/8" thick side into pegboard so shutter will set almost flush.
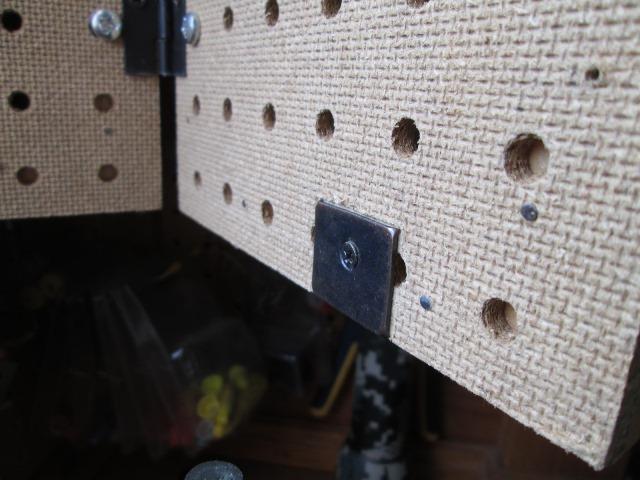
Then placed the latch plate with a stiff piece of paper between to the magnet latch. Using the included double sided tape stuck it to back side of latch plate. Closed door and firmly pressed. Open the door, left the latch plate stuck to window trim. Drilled pilot holes then removed the plate to remove the double sided sticky tape- figured just that much less protrusion. Then remounted the plate.
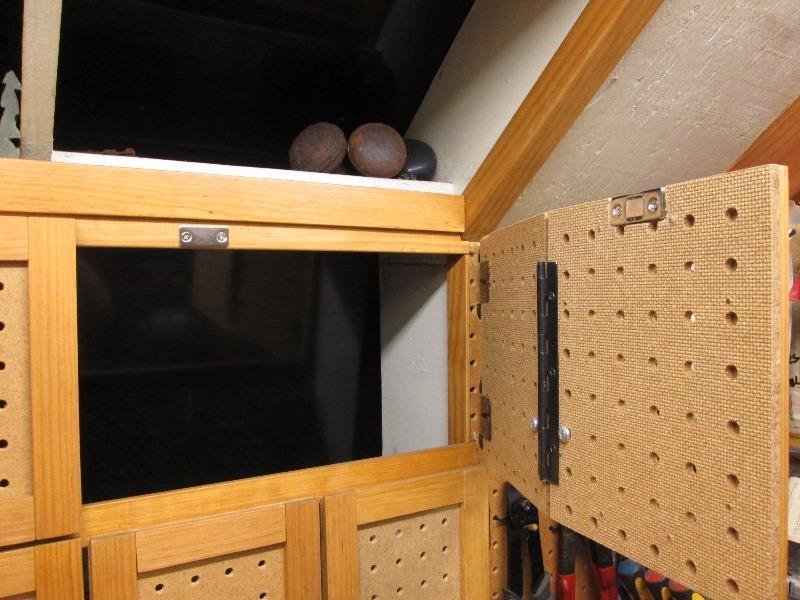
Latches are about middle of panel to keep pulled tight. Otherwise, being bi-folds, slightest pressure against them (stiff breeze) if placed at either side of panel will leverage open. Any way worked slick. I'd never seen these before. Would have been a lot easier on the lower doors than what I had done.
The included sticky tape worked well for placing but I wouldn't expect it to hold pulling open. Advertised as mounting with screws or the tape? Fairly strong little magnets.
Now were done (again).
Back to top of page
Back to shop additions modification section
Back to Our shops home page