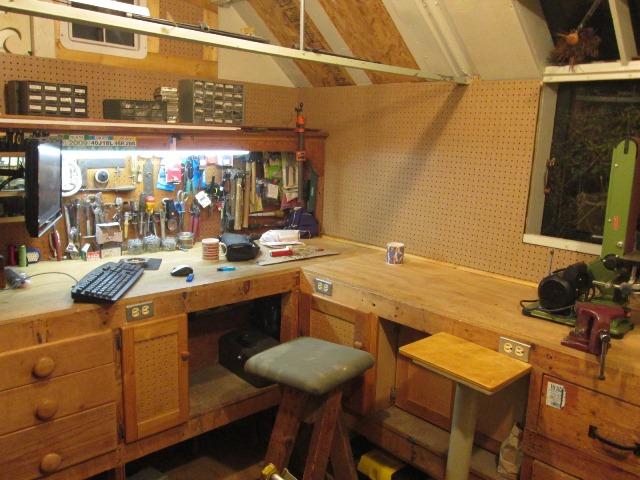
Adding an over head cabinet
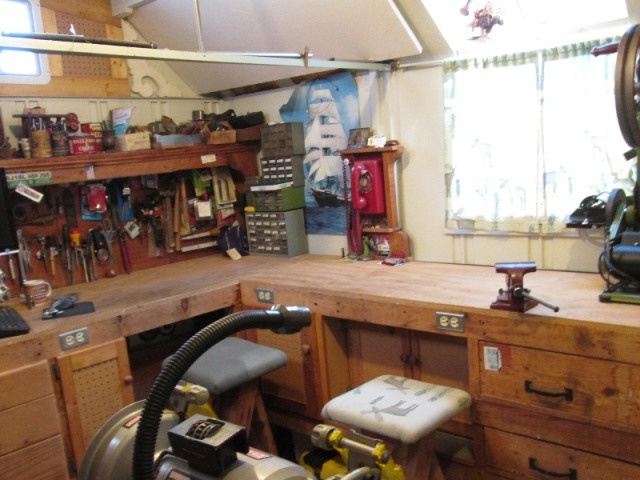
On the roundtoit, add an overhead cabinet where the foam board is and cover remaining metal wall surfaces with pegboard. Also cover the strip above back wall shelf. Finish/cover some original leftover splice and other wise ugly details from the shop rebuild. The cabinet, I've just wanted to add for some more storage-however it will also add some structural integrity to building. The building uses a pair of metal channels tying the walls together. Simple bent sheet metal-single screw into wall to roof angle. Adding the cabinet I can anchor the wall and roof the crossbeam, with a large triangle. This I imagine will serve no purpose or have any meaning unless you have a metal shed.
I'll note that this has been on the wish list for a while. It was only because the 1x12 shelf over bench came apart. The 1x4 support in front doesn't go to ends, it’s attached to shelf and some 1x1 inside corner. And a pieced of trim in front. The 1x4 is what allows the 6'+ span. However putting some stuff away the 1x4 dropped an 1" at one end. Built some 35+/- years ago the glue had let go and the finish nails couldn’t hold it. I took everything off shelf and rebuilt-and seemed like since everything is apart...
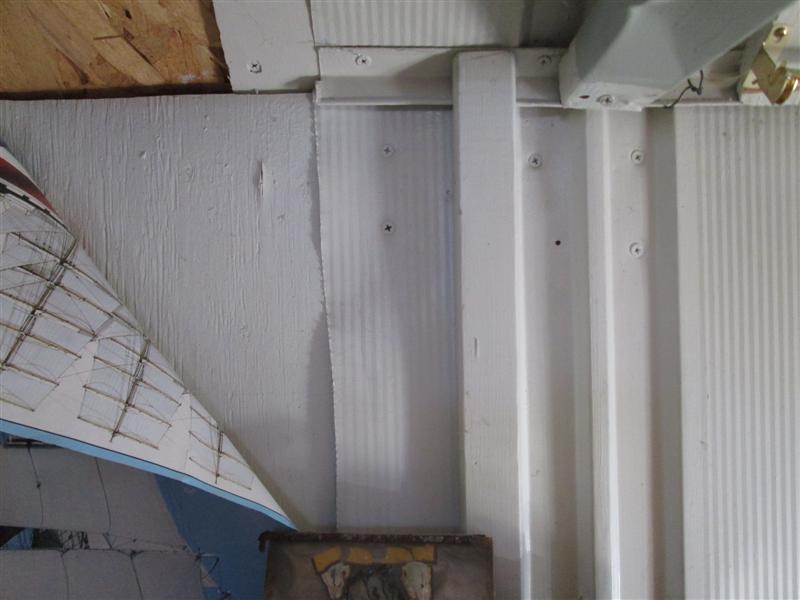
One concern this will address is the crossbeam. It’s only anchored by single screw-its what keeps the top of walls from spreading. There is another one, in the front of building that was tied when I added a full shelf across. This one, other end is attached same manner but the beam is also tied to cabinet. There is a 2x6 directly on other side so wall/roof is anchored. Adding a 2x2, attaching to roof panel and anchor to rafter. Adding a 1x2 across top of wall. Rather hard to explain but will alleviate any possibility of wall movement. The cabinet is simply 1/4" ply that is attached to the triangle. Bottom face board ties back wall to beam. The face board for doors, tie rafter to the bottom board. Cabinet won't simply hang from ceiling or wall. In actuality it's a lot of bracing that will function as a cabinet. Least that's the plan.
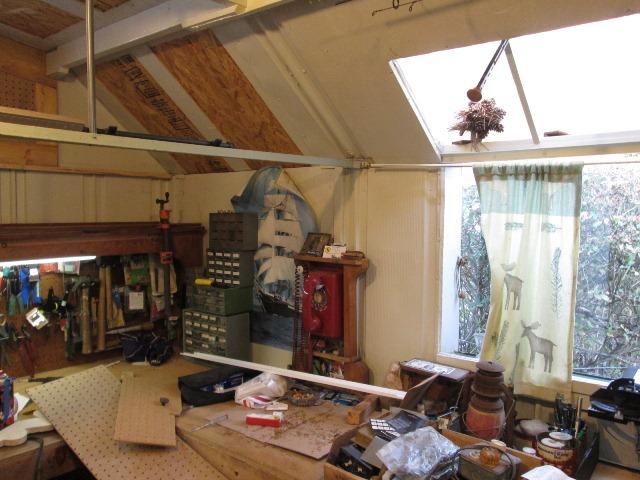
Before I could do anything though I needed to add the pegboard as I want it to go from back wall to other side of window. This will also span the original spliced wall. No pics-simple perimeter frame of 1x2s, a couple in middle and around window. Again adds more stiffness to the metal building.
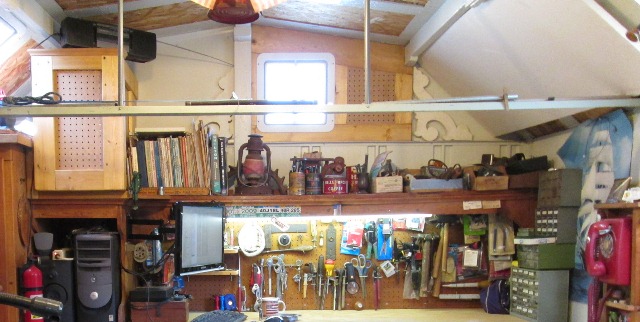
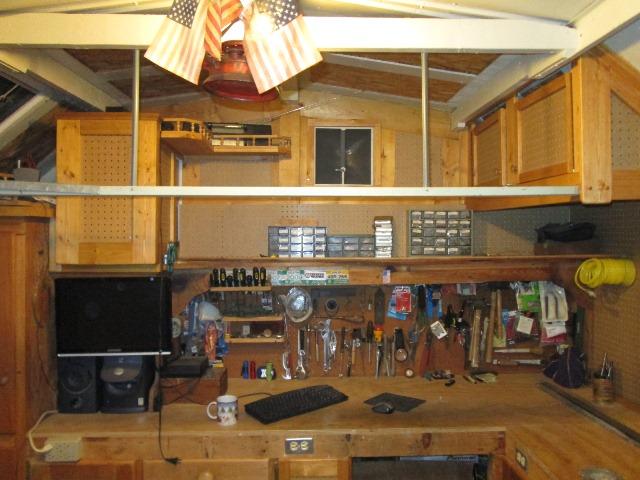
Got the above shelf 1x2s added for the pegboard. When I added the wall vent is when I started visualizing the corner cabinet so didn't continue covering the upper wall. Around the vent is 1x4 with a groove cut to hold pegboard so it's functional. I figured that if I didn't do the cabinet I'd duplicate like beside the vent. Note I painted flat black material that will be in direct contact with pegboard.
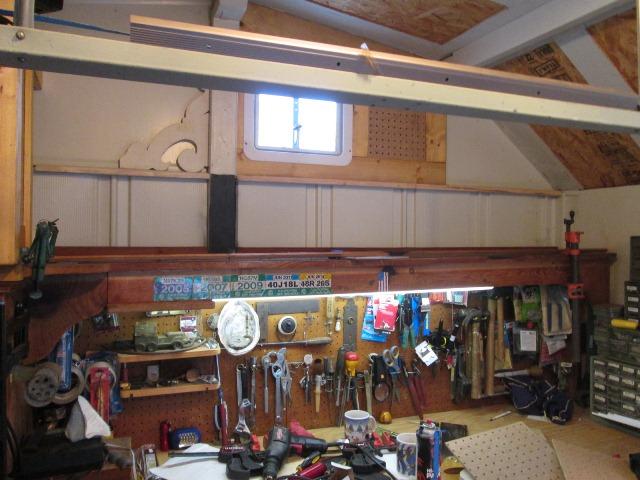
And pegboard up- A bit of effort I managed to cut out of a single 4'x8' sheet. Glued and stapled. Some trim work still needed as I get to, mostly the window and along top edge. On the bottom are 2 pieces of 1x2 stapled at right angle to each other, as there was a gap between top of bench and wall. Attached to both the mid wall brace and top of bench.
And on to the cabinet
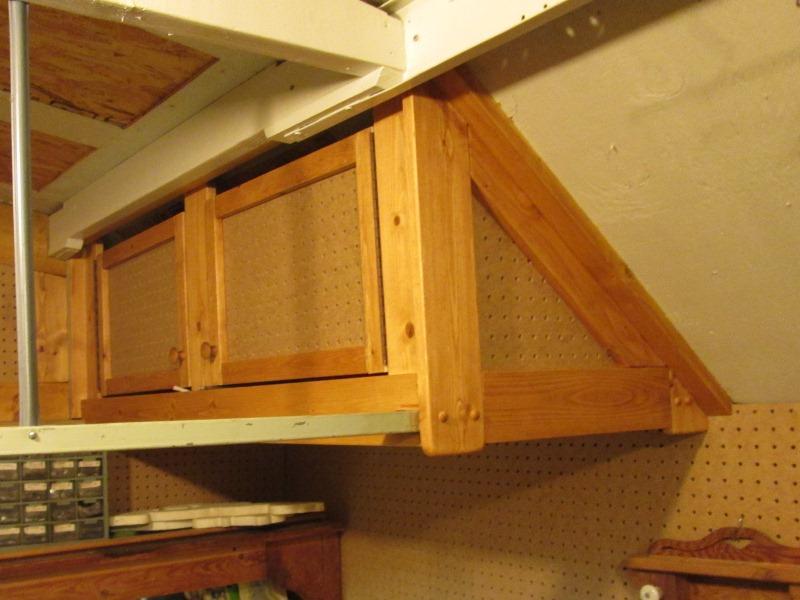
Some details of the cabinet and how it ties wall, roof and cross beam.
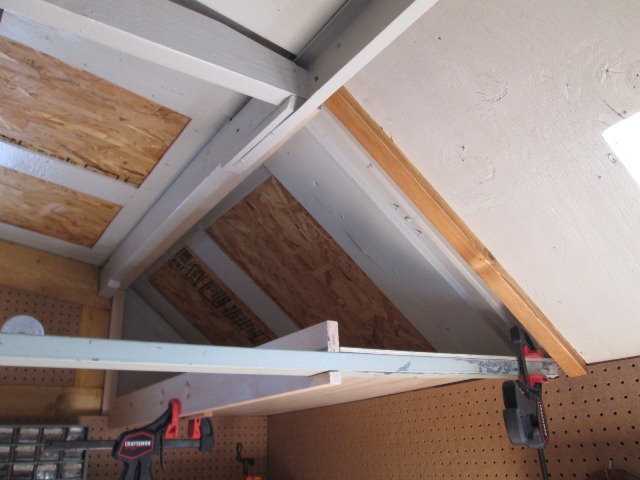
In the channel is a piece of 1x2 length of cabinet, stapled to channel. The plywood is stapled/glued to back wall ledge and pegboard 1x2 and wall ledge, is also glued and stapled to the 1x2 inside of cross beam. The 1x4 that's spans has a 1x1 glued and stapled on backside that ply is also attached to. The 2x2 on ceiling is attached to the 3/4" plywood that stiffens roof around skylight. This effectively 'fixes' the beam to wall/roof and squares it to building. Also as its not really shown is this is also tied thru wall to exterior 2x6 that runs full length at top of wall. As far as tying the building I could have stopped here.
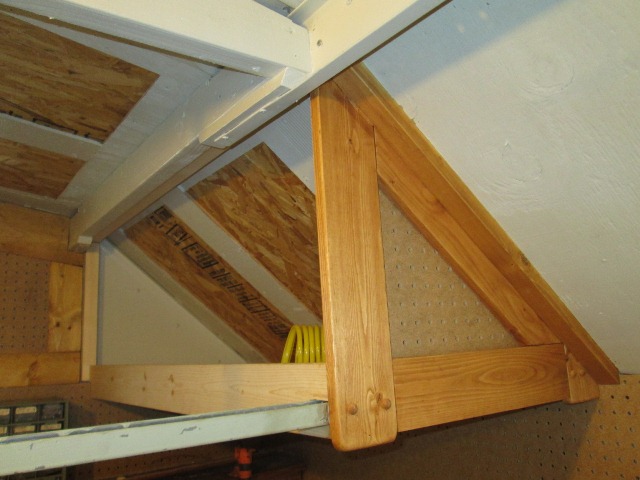
The remaining 1x4s, the outer vertical ties and squares beam and front 1x to rafter, the top is attached to the 2x2, and the bottom piece is attached to the beam & 2x2. To the back side of the triangle is glue & staple a piece of pegboard.
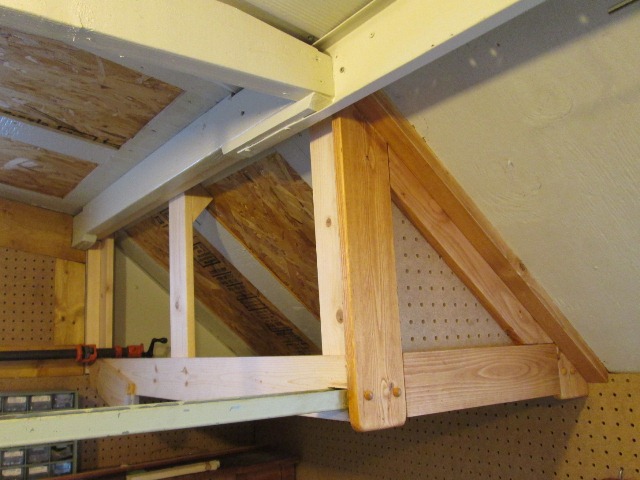
On the backside of rafter is another piece of 2x2, 1x4 verticals attached to it and to the back of face 1x4. At the back wall a piece of 2x2 was added ant attached to gable flange, the right front is also attached to the side upright. Way way overkill, and so interconnect this is probably the single strongest feature of building. It did take several days due to every piece was fit, I also pre-stained once fit so I didn't get stain on pegboard or glue on raw wood. Everything was assemble with a perfuse amount of glue, screws and staples.
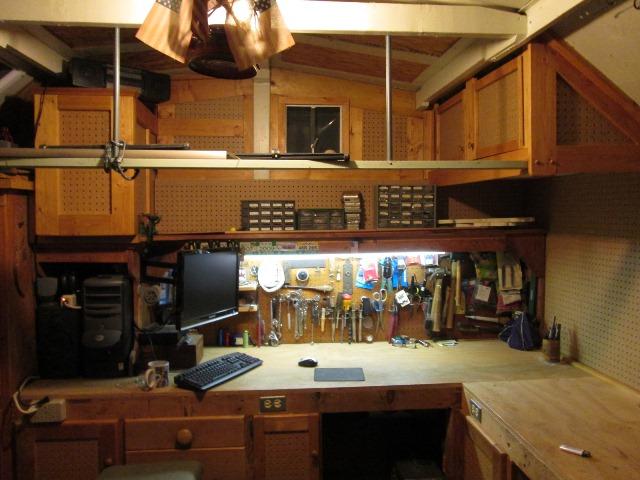
And doors added. Doors are flush, inset to face, top gap is so they don't hit rafter, Ill add either some perforated metal screen or may be pegboards as a heat escape. Details...I did get the piece of pegboard added above back wall shelf.
I was all set to go back and finish the detail trim work and Margaret suggested I cover the remaining pieces of back wall. This pic shows the wall to left of vent. After doing the cabinet, pegboard the south wall and short section above the shelf- it did look funny and only section of uncovered metal.. After installing the vent I had covered that piece of wall (mostly to gain some thickness for the install). I had planned on making the other side match, though not today. But since I had the shop apart-figured I might as well do it now. And because she suggested it.
Cutting up material I had left over to cover the remaining wall beside vent what I came up with. Added a piece of 1x4 that runs at same height as cabinet that sets on shelf. To it from cabinet adding a shelf hoping it will tie cabinet in so it doesn't look so much like its just sitting there

Cut a piece of 1/4" ply and framed it. I have some rail Ill add. I'm liking it. I also faced the center 2X4-and replaced the plastic vent frame with wood.
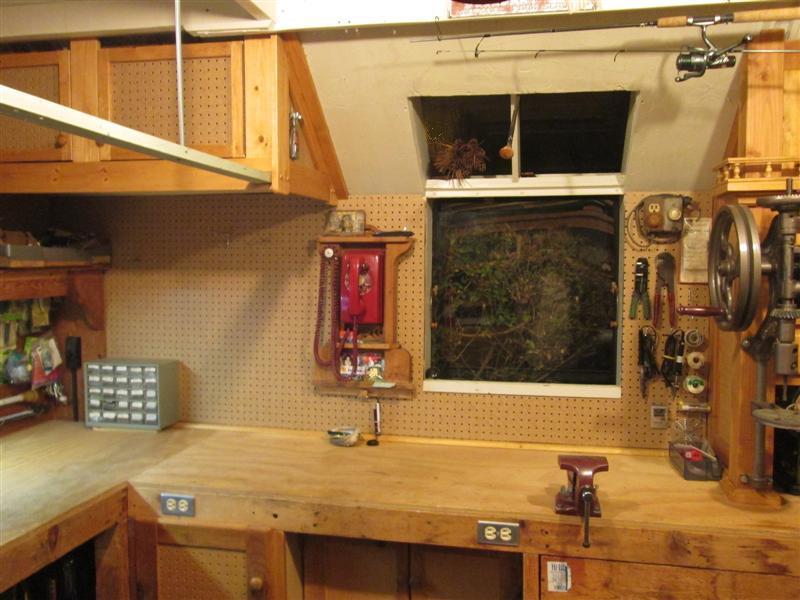
And done. Not sure on the rail-seemed like a good idea-When adding it I decided to clip the corner at vent so shelf didn't just jut & end which looks good. But then I also clipped the front corner, which looks goofy. If shelf would come off I'd redo-make front corner square. But it's not coming off. Oh well its done- New overhead cabinet built, walls peg boarded, wall spreader beam reinforced, New shelf tying existing cabinet. Now to reorganize and get my stuff back in the shop then I'll trim window, top of pegboard where it butts to ceiling.

I'm probably going to add shelf under new cabinet in line with existing shelf though only about 2' long x8" deep, just to turn the corner under cabinet. Need to run power, add a receptacle for small light under new cabinet-lot of shadows. Got the phone rewired-temporarily, backboard takes up too much space.
Well the project grew. Continued on another page. I address some stuff that was really bugging me about this addition. Mostly the overlapping of cabinet and back wall shelf. My fix-another cabinet...see part 2 Here
<Back to shop mods & additions section
Back to Our shops home page