Shop rebuild 2010 part 2
- Documenting shop rebuild from memory, a few old and some recent photos Oct 2013
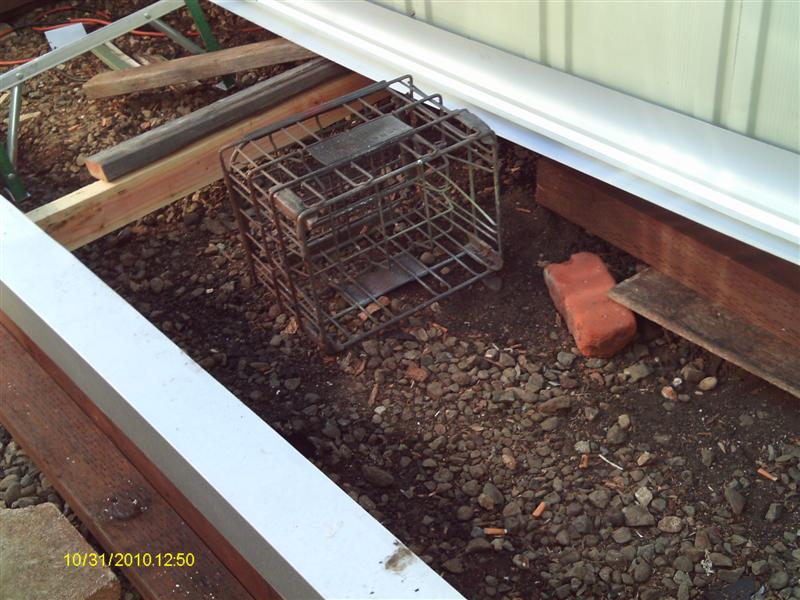
Well after finally getting the shop emptied out, lifted, moved and suspended on some temporary supports, started the new foundation and floor. Perimeter is pressure treated 4"x6" lagged bolted together. It will be approximately 1/4"-3/8" larger all around than buildings metal wall plate, as it needs to set on foundation. A center hung 4"x4" and lag bolted from outside frame splits length so joists will only span half-length of building. In the middle of center 4"x4" is a pier that I'm using wedges to support. I plan on cutting an access panel in floor to adjust as/if needed and allow some access (i.e. adding rodent-insect poison etc). On top of the perimeter 4"x6" I'm bolting on a 4"x4" but it will be added after joists are hung. Figured just easier using scrap of floor plywood to set joist height. The intent is the top of plywood will end up flush with top of 4"x6". The building wall plate will set on the perimeter 4"x4" so give me an additional 3 1/2" in ceiling height. the plywood floor itself will be last, added AFTER the building is set back down on foundation. Remember? I'm extending the building 36". Once building is back down, I'm cutting the rear wall and roof-move then reattach to building. Details to be worked out.
That was the plan...
Plan changed before I really got started. Got perimeter foundation built. But after adding first joist using metal joist hangers to hang the 2"x4" joists, 12" on centers (and a bazillion treated screws). Pre-drilling all the holes. Working under suspended building, passing tools etc under, walking all the way round to fasten hangers and joist, painful. So I only did one joist on either side of center beam, to stabilize it. I decided to focus on getting the building dropped onto foundation, cut, move and refasten rear wall. then I can piece the roof together and get shingles on. Rain at this point would be disastrous. Plus building suspended is just sketchy. I can then work inside once building sealed up.So I added the top 4"x4" perimeter and flashed it out. Bolted it to 4"x6" perimeter/lapping joints in opposite direction. I also used a bead of construction adhesive. I wrapped the top fir 4"x4" with 4"x4" galvanized flashing.
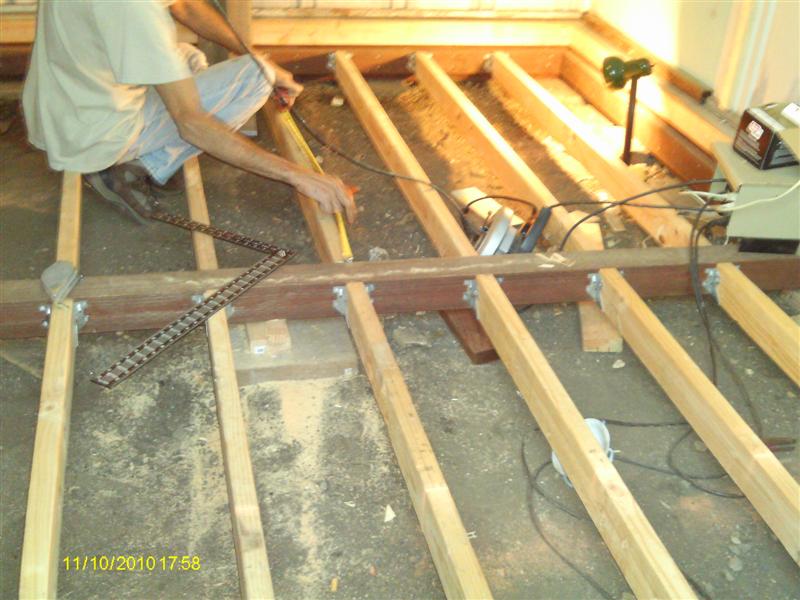
Here is a picture of new foundation (lower left) and still short building upper right). I've just added the one set of floor joists.
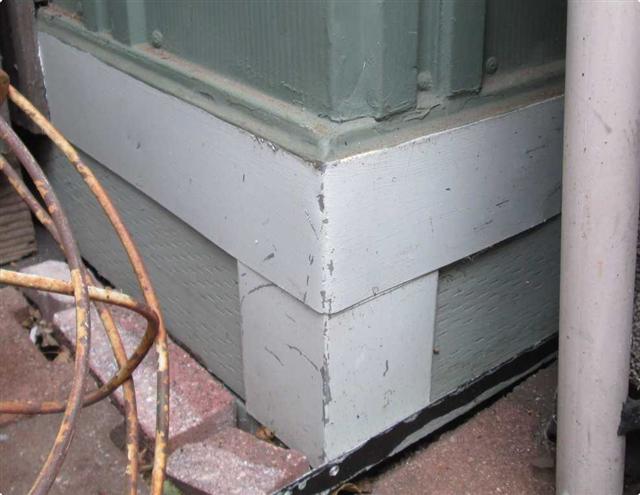
Kind of later but shows flashing & corner detail of foundation. This covers the lap by about 1/2" between the 4"x6" and 4"x4" and also ran some down around corners after bending about a 1/8" lip so it bites. 3 days to build the foundation. Lots of boring for the 1/2" lag bolts tying beams together.
Next day good friend Mike came over and we lowered the building onto foundation without any drama. Was only about an inch above finished foundation. Racked the building to match foundation and sparingly attached wall plate to top beam. Then we spent the rest of day removing bazillion screws and lifting structure lumber.
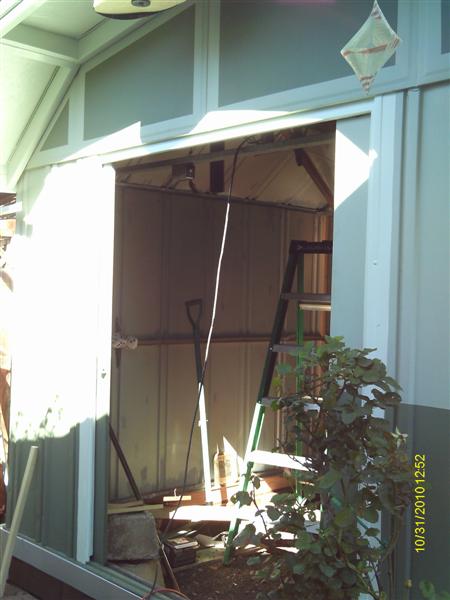
Picture of building setting on the foundation and lifting structure removed. Finally What a relief. Now the fun begins cut/moving rear wall. I don't have a real plan for this, doing what I need as it unveils itself. A lot of this I can do on my own but moving the wall Ill definitely need help. Trying to minimize using up offer to help- I asked Mike if in a couple of days he could spare another afternoon. Ill do all the prep work for the cut -all we'll need to do is walk the rear wall out and secure in position. From here on out its all gravy, just a lot of detail work, sealing it up. He said no problem, he had no clue how I was going to cut the wall or reinstall and was curious as to how this was going to work
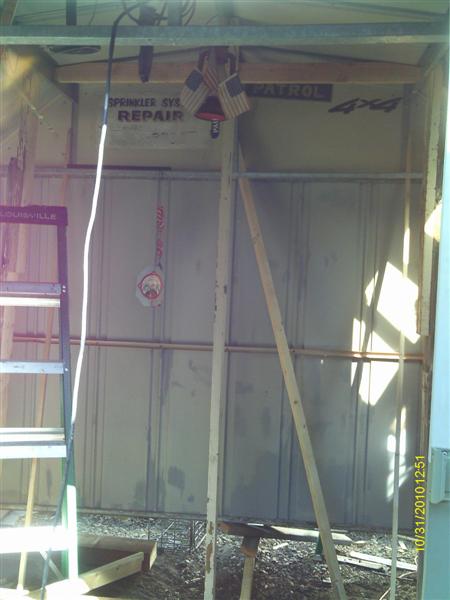
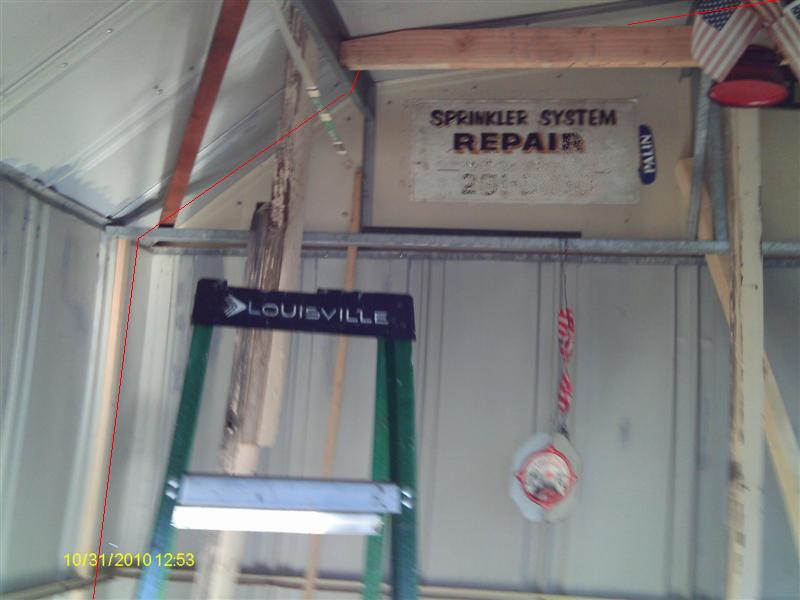
Here I've got the 1st temporary bracing up. The roof structure is 3 sheet metal channels that run from front to back. I tied the 2 outer ones together with a 2"x4" and ran 3 2"x6"s from it to ground. Center one ties to cross support and main ridge channel. I also screwed a piece of 1"x2" to the walls just inside where cut will be. I don't have any pics of the rear wall cut loose but the cut will be 6" from rear wall in the middle of flat panel, I sketched in the red line above. This will allow reattachment and also keep the folded metal corner of walls.
Wish I had more pics-kinda hard explaining. Again picture after the fact, but this is the plan. Looking up at roof, you can see the panels screwed to new OSB. Same was done on wall , screwing the split sheet metal panel to new filler siding. Basically splicing in wood between cut panels. Obviously the roof involved a bit more. With back of building supported for rear wall removal I then all but duplicated support but closer to rear wall. This is to support me when on the roof cutting it. Once building cut it will be removed. I added sever kickers from rear wall to foundation center brace. So roof will be supported once rear wall cut loose and rear wall tied (so it doesn't fall over). Rear wall we can use kickers to control & support it. I added a 2"x4" across the rear wall at floor level, built a temporary bridge of 2"x4"s from current wall location to outer edge of foundation to 'slide' the rear wall on. I added several 1"x2" stiffeners to rear wall. Think its going to work.
Cut the roof shingles couple of inches past where OSB will be cut. Removed roof shingles from cut to outside wall exposing the OSB. Then cut the OSB at roof panel raised rib (shown as red line) and removed from cut to outside wall. As the existing OSB sets on top of the raised panel ribs Ill need to add spacers under new OSB so it sets flush to old. Seen above I used 5/16" ply. Believing I've covered everything I then spent a couple of hours with air cut of wheel and sliced the building. Started at center of roof working both directions cutting only thru panels. Then sliced the walls. Once all the panels cut I then cut center rafter, then the outer ones. I attached some temporary 1"x4"s to hold rafters. then I cut thru the roof to wall panel and last the wall to floor channel. Building is CUT!. The bent 90� corners of rear wall intact, giving me 6" of flat metal to attach to, same on roof panels and 6" of rafters sticking out. Not having pictures-would be hard to picture I think. But is ready to move and splice in walls & roof.
Moving the wall

2 old geezers taking a break. But you can see wall is moved. Mike on a ladder inside the building, I'm outside. Mikes arm is on one of the flashing pieces that's holding rafters together. We screwed rear wall floor plate to foundation and reattached kickers inside to help stabilized. We were both surprised how quickly wall was moved. Only problem we had was the gable wanting to flop along top of wall. I had left the 2"x4" facial board on as it's what the OSB roof sheathing will attach to. So a lil top heavy. To secure rear wall we then proceeded to splice the walls.
Split a 2"x4" and screwed piece to top of foundation to attach siding bottom, used a piece of z flashing to lap behind & over the foundation flashing.
Using a few recent pics to help visualize.
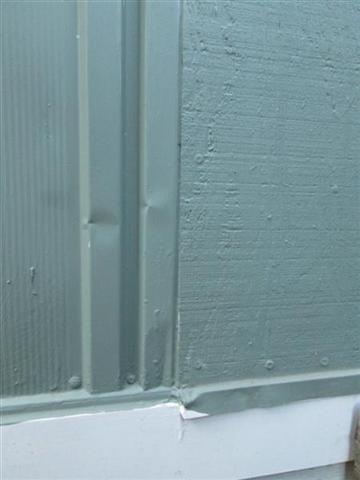
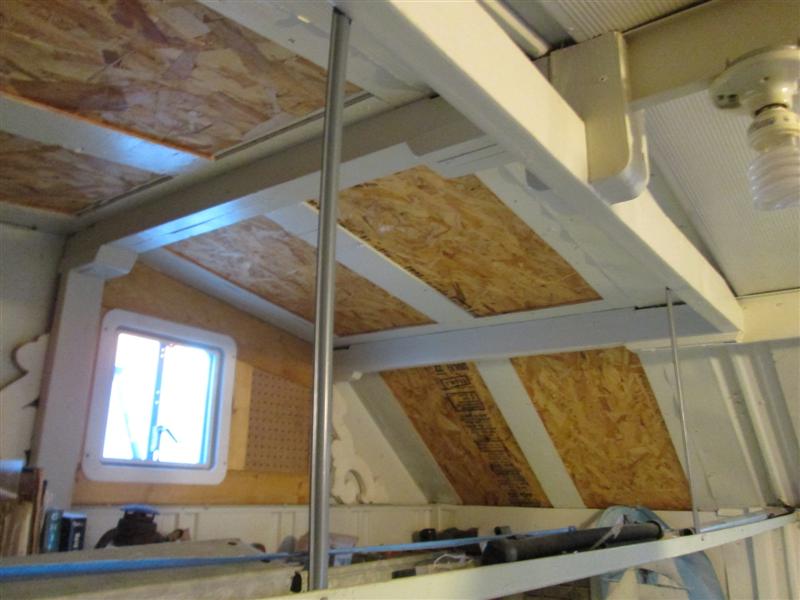
Just a detail from outside-showing siding attached to wall & inside 1"x2" and 2"x2" at bottom.
A recent picture inside but showing 1"x2"s used as backing that screws from outside go into, sandwiching existing sheet metal. Along the top outside is a 2x that ties all 3 pieces of walls. At the mid wall a 1"x2" was used tying into the metal channel stiffener.
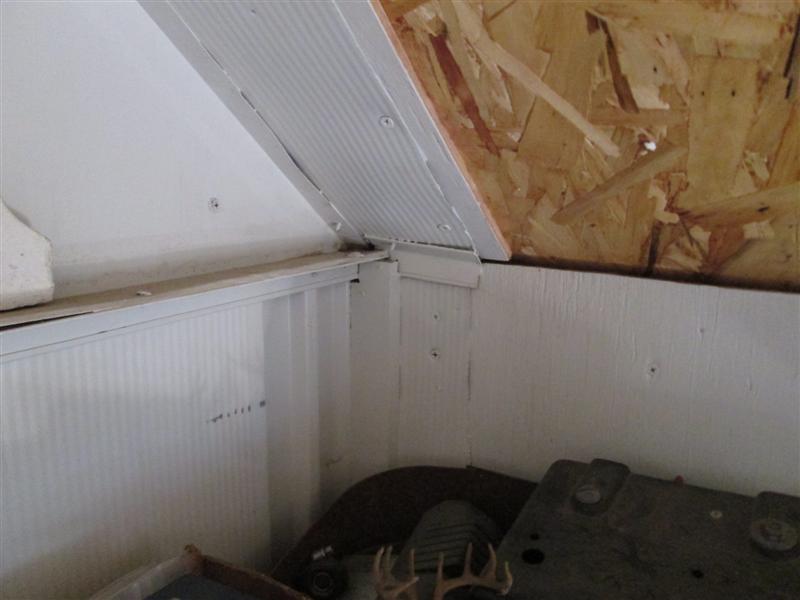
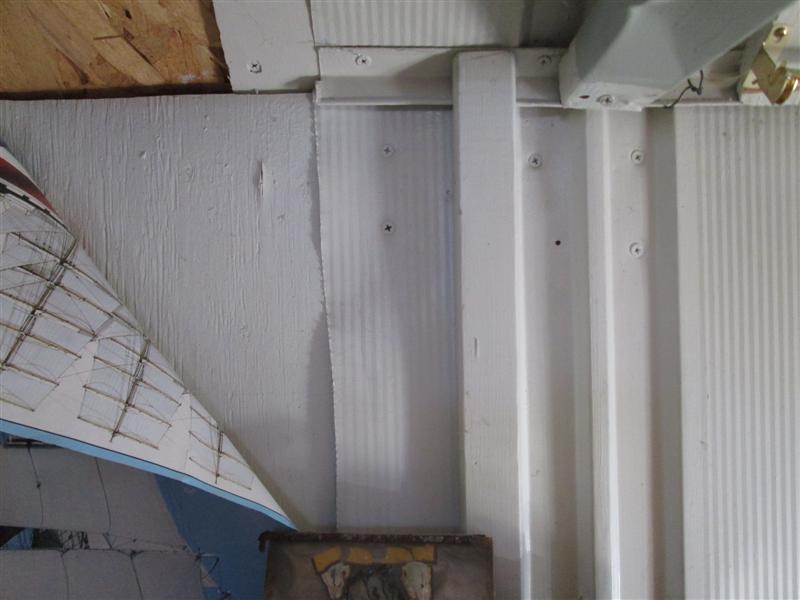
And another recent picture showing basically using the same principle in the corner. A 1"x2" inside that the outside siding is screwed into sandwiching the original metal panels. Ill add we generously caulked between siding and metal walls before screwing it down, though to be sealed from outside just 'cause. A side note last 2 pics are what motivated me to try and document what we did. The splice and raw edges are the only places left that can be seen-Soon Its getting covered by some more peg board on wall and an overhead cabinet.
Once both walls were spliced on we added the full-length 2"x4"s at top, they tie everything. The roof sheathing will also attach to it so had to rip at roof pitch.
Stoked.. Next day I spliced the rafters back together using 2"x4"s. I left the 2"x4" that spans between outer rafters mostly because the ridge rafter isn't continuous. Blocked and tied it to center rafter. At the rear wall I ran a 2"x4" down from center rafter to foundation sill.
There's a bit of overkill they way I tied but I was trying to distribute any loads. Though this is a splice, its only resisting its own weight which a positive thing on the roof, there is simply no weight to speak of.
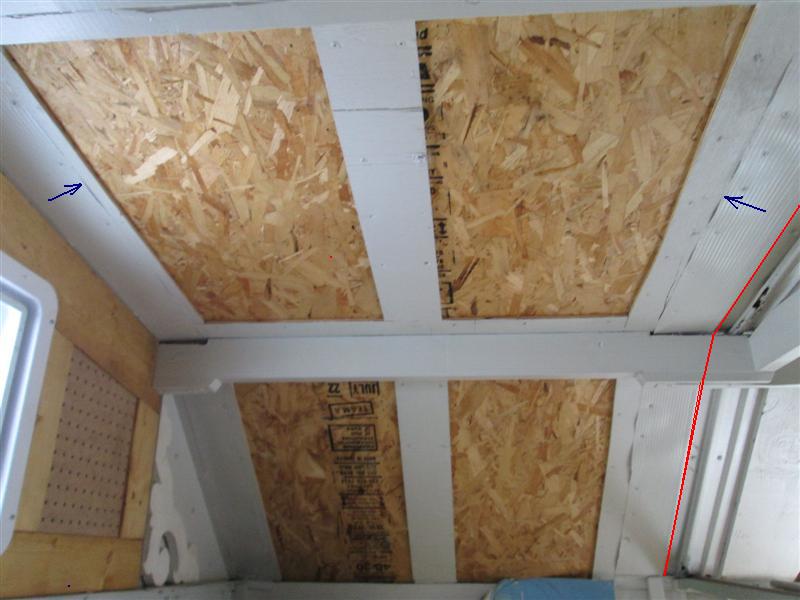
Went out side and installed the OBS sheet. As mentioned earlier, because new OSB is attached on the sheet metal panel sections between ribs I had to use 5/16" ply as spacers so it sat flush. I added the piece of ply in center of OSB because 3 years ago I intended to add a 2"x4" between the rafters to keep OSB from sagging. It hasn't sagged yet but it's on the round 2it. These recent pics to help explain what I did. When I painted a bit later I decided not to try and paint the OSB-just takes way too much paint and it still looks like OSB.
And from outside-walls splice back together and the roof ready for shingles. Need to remove some more to tie in new shingles-I hate roofing. But rear wall is moved and building is bigger!
Just picture of rear wall-setting on new foundation.. I added lath screws, min 2 per flat panel edge (bottom & top) that butts to interior metal around entire building. If you're familiar with most metal sheds, panels are pretty loose. This allows me to caulk and seal edges, especially along the bottom-where air, water and bugs get in. Painted entire building. Exterior is finished!
New floor
But back to it.
Almost done with joists. I added 4 rows of blocking (2 on either side of center beam). I also framed in for the access door to center beam support. When I finished after cleaning I covered the dirt with 2 layers of 40# tar paper. Why? unknown seemed like a good idea at the time,
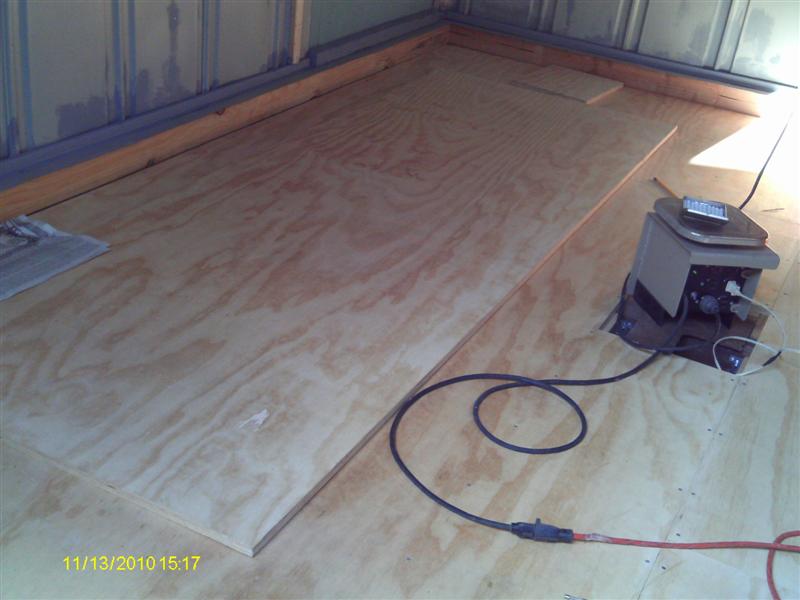
Hokey smoke! New floor. Actually a HUGE new floor. Its only 3' deeper but just seems enormous. I glued and nailed the plywood down. Sealed the perimeter of floor with big stretch caulk. Doing some more priming then I'm painting all the interior walls and ceiling. I'll seal the floor and then with some more help move in the benches. I'll be replacing workbench tops-wasn't planned but I have piece of flooring enough to do one bench. So with another sheet of ply I can do the other. I do need to rework my 2 free standing cabinets as they also rotted off. Ill also be building some new cabinets. Then its sorting organizing and bring stuff back in...
But the building is DONE!
-
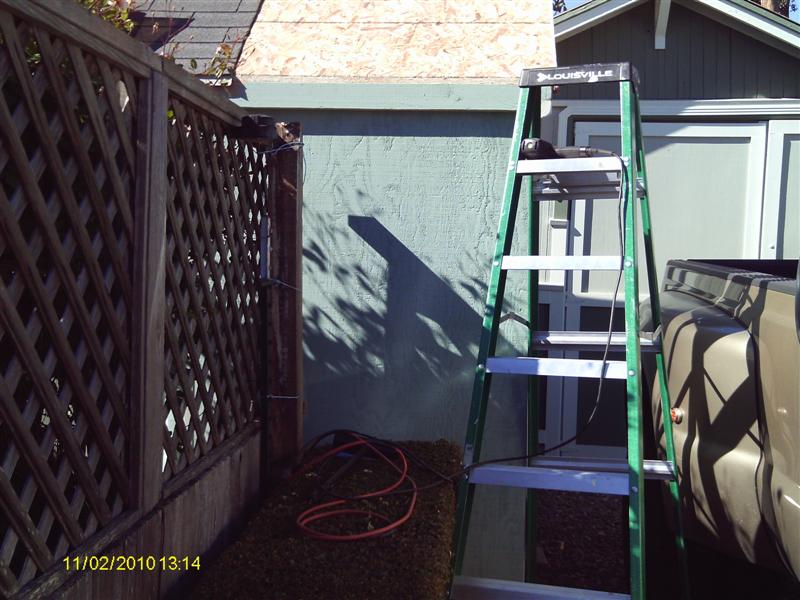
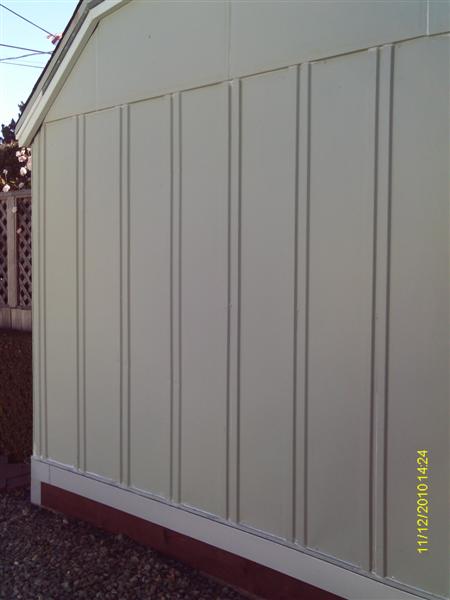
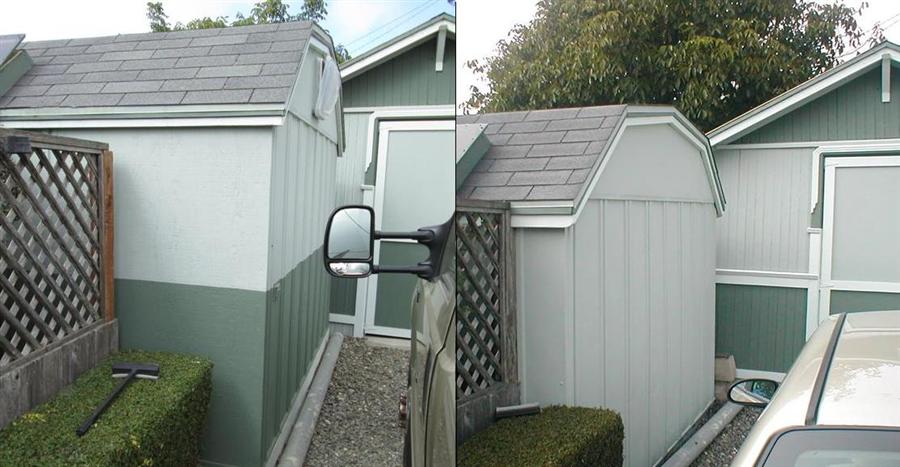
Picture of finished exterior and a before. Quite a bit newer picture shows new placement, also how much taller it is (looking at fence) though interior is only 3 1/2". I ended up painting to match house color band that helped with how obtrusive it appeared (NO I didn't paint change the gray to blue-camera color shift).
Shop rebuild 2010 Continued
-
Back to The shop rebuild part 1 Formulating a plan-raising and moving shop to rebuild floor
Back to Top of this page The shop rebuild part 2, building new foundation & floor, moving rear wall
Forward to The shop rebuild part 3 Rebuilding the benches, cabinets. Adding more
Back to The Shop main page