Using converted old computer power supply (ATX) for 12v source 10/2018
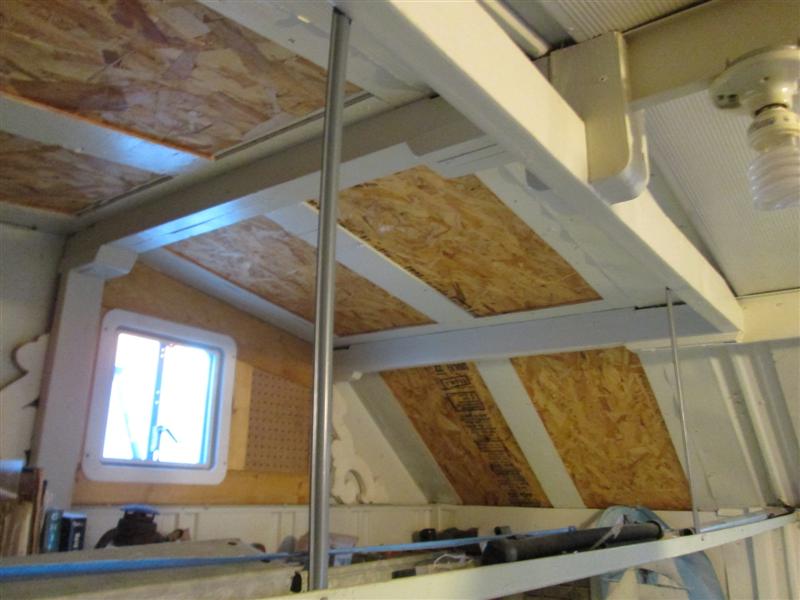
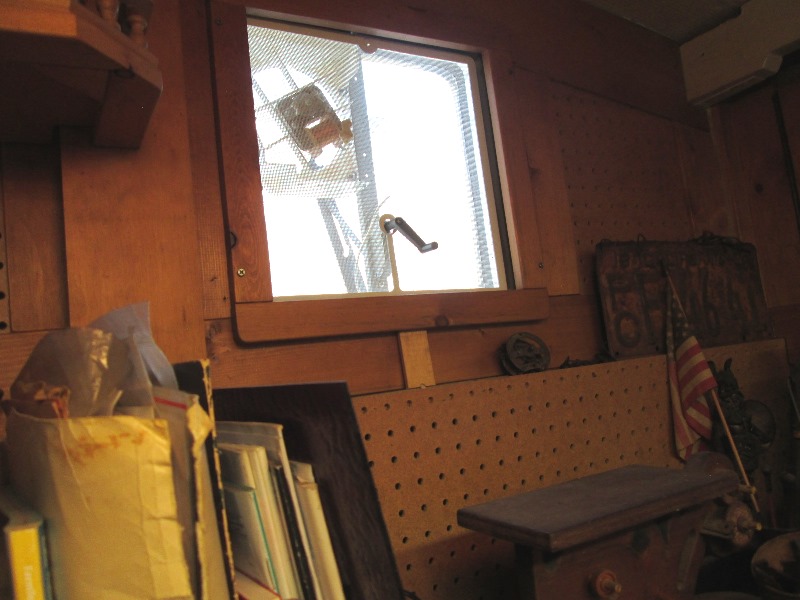
Added this simple opening RV vent sometime ago to get heat out of shop. Works well, especially if there's a breeze but if there isn't or temps climb over 80° shop simply heats up. Tried an old AC fan out of micro wave which helped considerably to evacuate the heat. Issue was -loud, very loud. Second fan was hanging from a wire-powered with a draped extension cord-hokey. Reworked mounting fan inside of vent- hardwired extension cord. Helped with appearance and ease of use. Didn't help with how loud. Using a restate to slow down fan made it bearable but killed real air flow so revisiting. 110v AC fans could be made to work however reinventing the wheel as Roof vent with fans already exist.
There are made some nice RV roof vent 12v fans, Fantastic Fan, and others, we have one in camper-nice but expensive. Simple and cheapest are the little 12v can motors with fan blade. They do move air but again are quite loud. Hengs make a simple retro fit fan it to convert a non-powered vent to powered fan. Biggest selling feature is they can retro fit existing vent from inside without removing/resealing vent to roof.
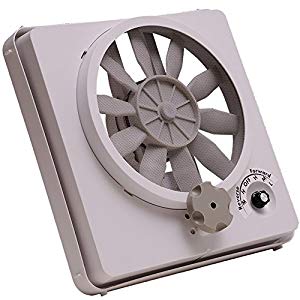
Designed to move more air and a bit quitter, the Vortex II fan simply replaces the existing vent screen assembly, not as loud as factory can motors (which primarily these units are used to replace the noisy factory fans). Nice as they are 3 speed and reversible, air in or out, half the price of better fans - still pricey.
The adjustable speed and flow desirable however reaching the fan in shop kind of a pain. I had figured I'd use 12v plug-in wall wart to power fan. I then realized I have a 12v power supply that's used for shop radio. I could tap that for power. I could add switches remotely to control fan.. whoo whoo it also means I could order the much cheaper basic Vortex I.
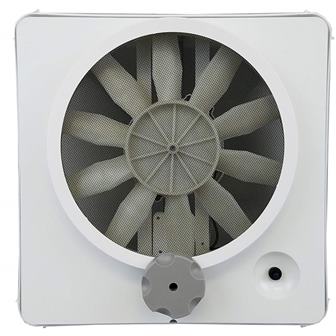
Basically same fan just single speed, non reversing switch but half again in price. Adding a PWM controller w/ reverse switch, end up with a emote switched-variable speed fan-still reversible and still under cost of the Vortex II. Be a lot easier to use. Ordered it, Vortex I and a PWM controller w/reversing switch.
Pre wiring so when fan arrives it'll just be a swap out. Trying to locate switch decided easiest would be beside existing ATX and radio switches.
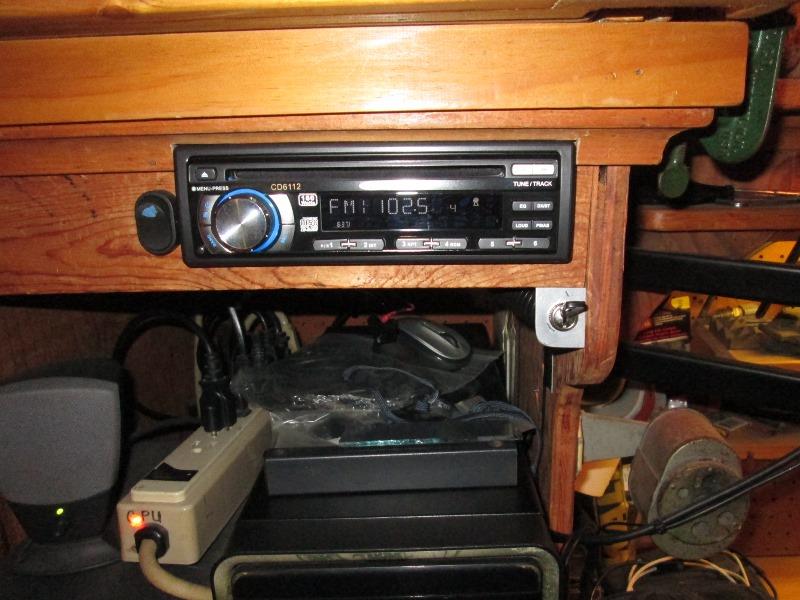
Power supply is behind radio so easy to tap, run wires to shelf face beside radio then over up to fan.
Didn't take long to see moving existing ATX (power supply) toggle switch and radio antenna rocker power switch to panel with new switches would be a bit cleaner. So a little rework needed.
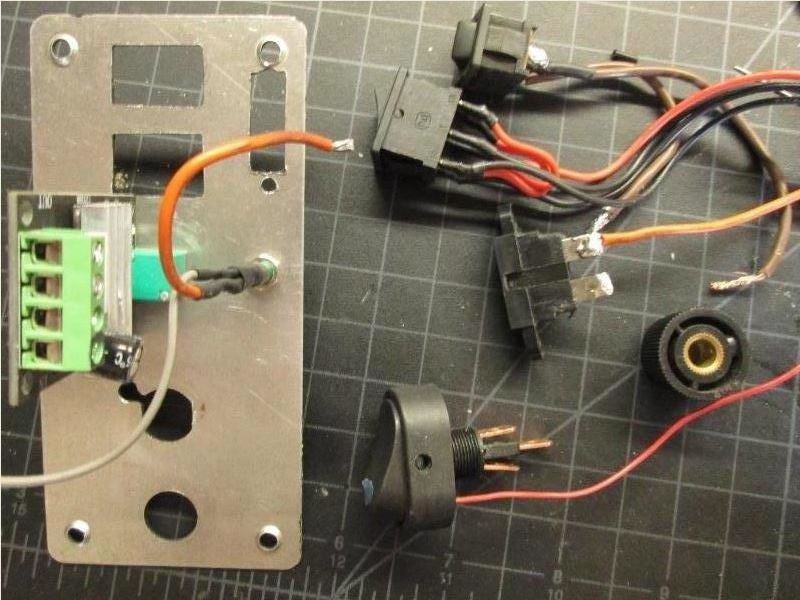
Adding an on/off power switch before controller and a fuse on the output. The reversing switch of controller is remote, has an off position but its the output and don't want electronics powered, though slight, when not in use. Adding small pilot on power input just incase, so with 7 units laid it out to see what/how to fit on small aluminum lid I had.

Looks ok-grouped fan to left, existing radio to right. With that cut using dremel wheel, few drill bits, small files. Due to location I can not access the screw terminals with board mounted so its heat sink is on top.
Thought I was going to mount with the heat sink down but as I don't know how much heat this actually makes decided likely not a good idea.
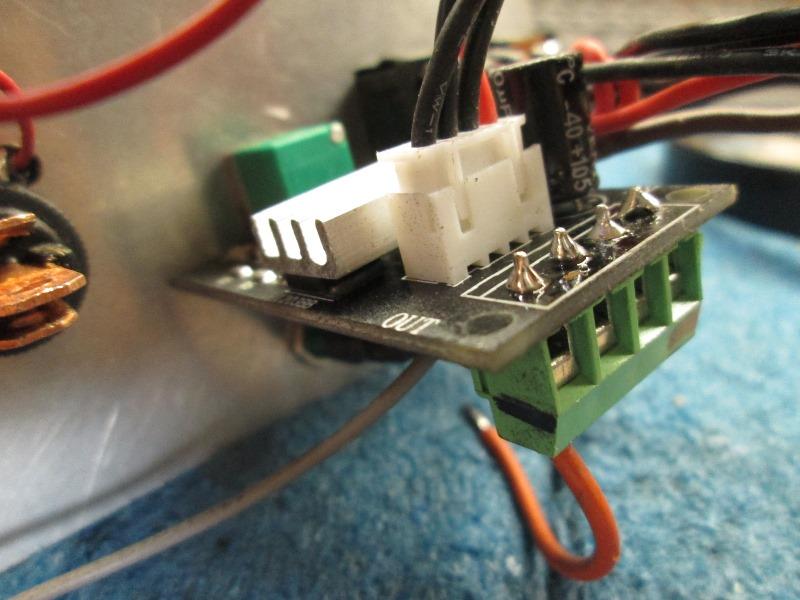
De solder terminal block,, re solder to opposite side of board. Remount board with heat sink up and can access the screw terminals to wire.
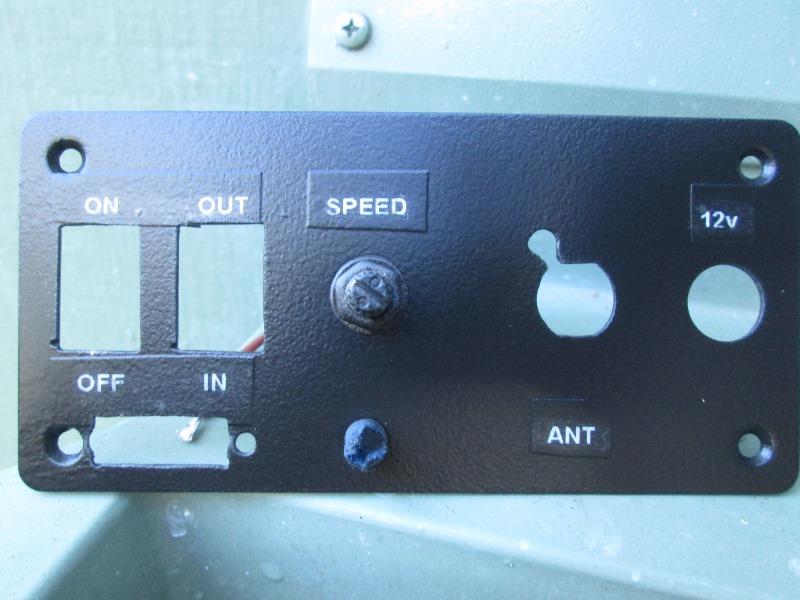
Once verified components fit took apart and painted flat black. Added labels (white on clear) and then sprayed again with matt clear because labels were shiny. Sheen matches black plastic radio.
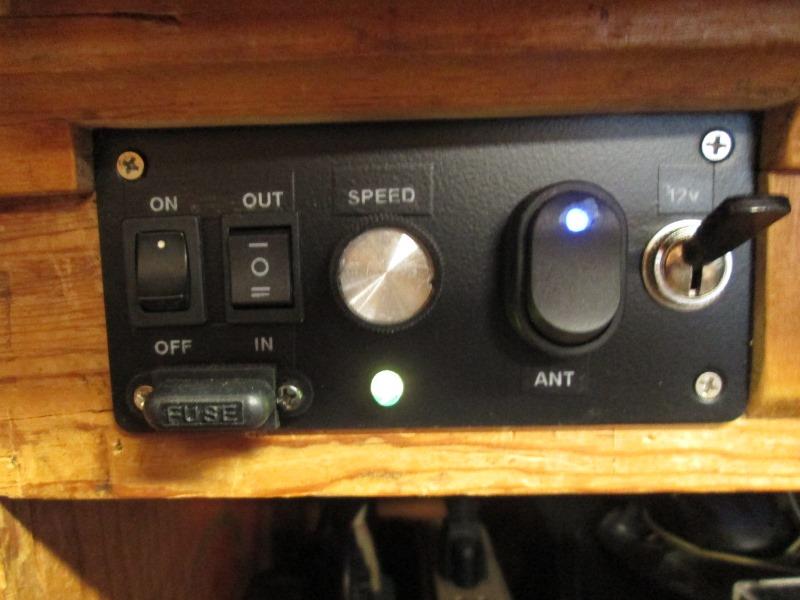
Well not too shabby- kinda tucked in corner so not really looking at it. Certainly be easy to use.
 Run 16ga wire up to fan-just waiting for it to arrive. Unless something I'm not seeing, I plan on cutting face top corners of fan base to open up corners and screening. Allow more passive air movement and light. To be done....
- Update
1st impression opening up the box, overall I was impressed, even though its on/off switch was held by a thread and ready to fall out. I could only laugh while I secured. Tested to verify it works and also verify positive lead/direction of fan so in/out matches PWM switch. Was going to add a blade fuse holder but noted a knockout on the face for a old style glass fuse holder, dug thru spare parts to find matching diameter. Installed fuse holder, fans black+ going to it.
Removed the existing vent handle and screen to insert new fan but there are some nubs on fan housing that needed to be removed. Some vents are larger and the nubs center the housing-whether it be the stock screen or this aftermarket fan. Simply shaved off.
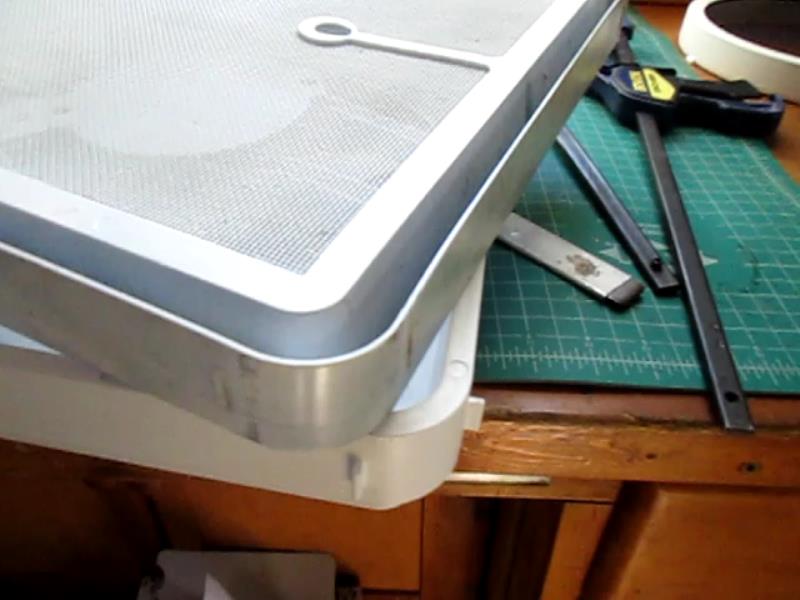 I didn't need to move the fans handle box to match vent. Fan has allowance for distance of crank handle from edge of vent. Some are ~3" some ~4". IF mine need to be moved I was going to move the crank handle of vent instead of relocating fan gear box. Mostly due to I want to add this fan in camper replacing the little buzz and whir bath fan and doing it to this one would verify doable. It would keep the handle away from edge of vent for more room to turn knob. Campers vent handel is the closer style, not quite 3" verse about 4". So I'll redrill the center vent bar and move the crank assembly.. of vent.
Once fan installed into vent, from outside finished wiring. Solder fans positive to fuse holder and a short section of wire to connect to incoming hot lead. I wire nutted both positive and negative leads to fan wires for easy removal.
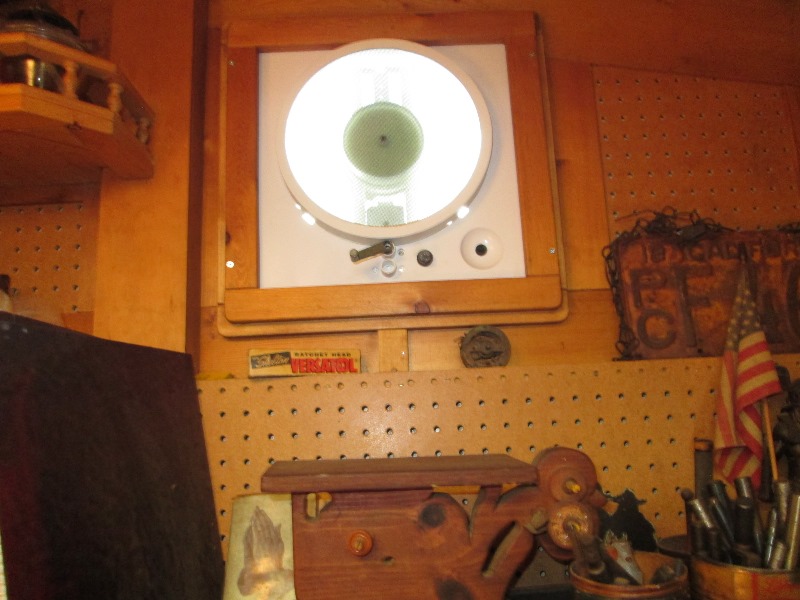
Turned on power-PWM switch works awesome for controlling speed-reversing air flow but the fan noise was horrendous. The fan blade wobbles almost 3/16"- anything above 1/3 speed and it sounds like its hitting something its so bad. Then on top it causes everything to vibrate and rattle. A lot of observation determined though blade is flat the hole for motor shaft or the center web is warped/off center and not perpendicular to motor shaft. Intent was putting the blade back on fan and heat with heat gun and try twist outside of blade ring square to shaft. But I noted you can easily 'rock' the blade on motor shaft before tightening center screw. With little hope I marked the high wobble with a pencil, turn fan on holding pencil where blade just hit pencil.
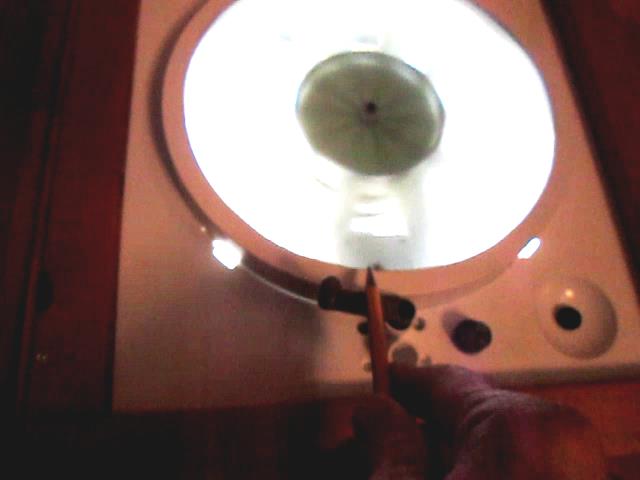
Turn off fan, loosen the center screw- then while pushing on marked blade high point retightening screw. Eureka!-Still wobbles a bit but doesn't create a knocking noise or vibrate entire fan-stoked.
Cant say this would fix all but it sure made mine usable. Other wise this fan inexpensive, easy to install-not needing to remove vent from roof (or wall in this case) just to upgrade to powered fan. Most use this fan to replace existing can motor and fan of existing vent or to add powered fan to non powered vent. This is NOT on the same level of a Fantastic or Maxxair vent fan as used in camper but at 1/4 of the cost just fine.
Utilizing PWM switch installed on a VortexI, I have variable speed, reversible, remote controlled fan for about $45. A Vortex II will cost a bit more but already set up for reversing and 3 speeds. This is NOT even on the same level of a Fantastic or Maxxair vent fan as used in camper but at 1/4 of the cost just fine.
Back to top of this page
Back to shop mods & additions section