Make a door support for repurposed microwave cabinet and shelf between existing cabinets.
Update 2021: This page shows originally door clearances issue, just whacked trim that door hit. 6 years later (Bottom of page) revisited, modifying door. Also removed original mirco wave latch, add external latch
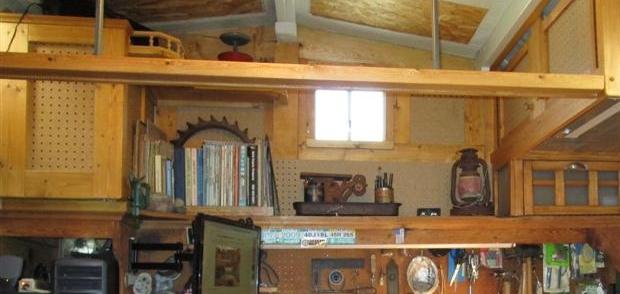
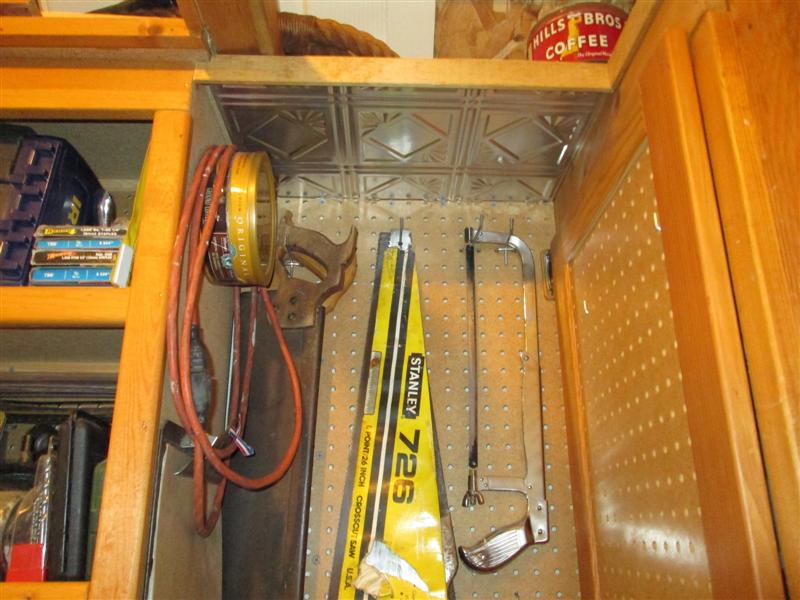
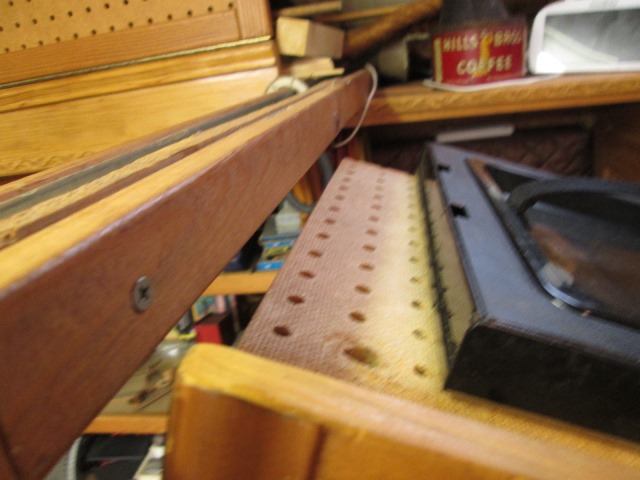
This simple project was not planned but forced due to some others. Managed to build a new overhead cabinets, finish peg boarding remaining walls and some other stuff seemed on thing lead to another. Primarily one being the newly wrapped cross beam. Cabinet on top of the shelf to the far left is an old microwave. When door opens it just cleared the beam in front of it. When I built the cabinet on right I wrapped the beam with leftover material (shown) to cover the metal channel beam.
It was a few days later that I tried to open cabinet--OOP’s. Simply didn't register when I wrapped the beam how close that door came to beam when swung down.
No help for it, removal not an option, I had to cut out a section of the trim I just added to beam in front of converted microwave cabinet. Added a piece of 1x2 inside the beam to tie the cut face trim. I'll make hangers for the removed piece of face trim just for appearance when not getting into cabinet. I only access this cabinet if I'm lucky couple times a week.
The whole time I was fixing I kept thinking, too bad that it wasn't 8" lower, because with the door against it, its supported when open verse stretching on the strap or its mounts which I never trusted. Always had to be careful putting stuff in or taking out cabinet not leaning or putting weight on door.
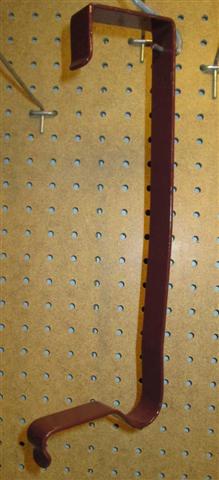
Actually one of those oops that led to a better solve as it occurred to me I could make a hanger. It would be something I manually had to use-don't want it hanging down but when door open and supported would make use easier.
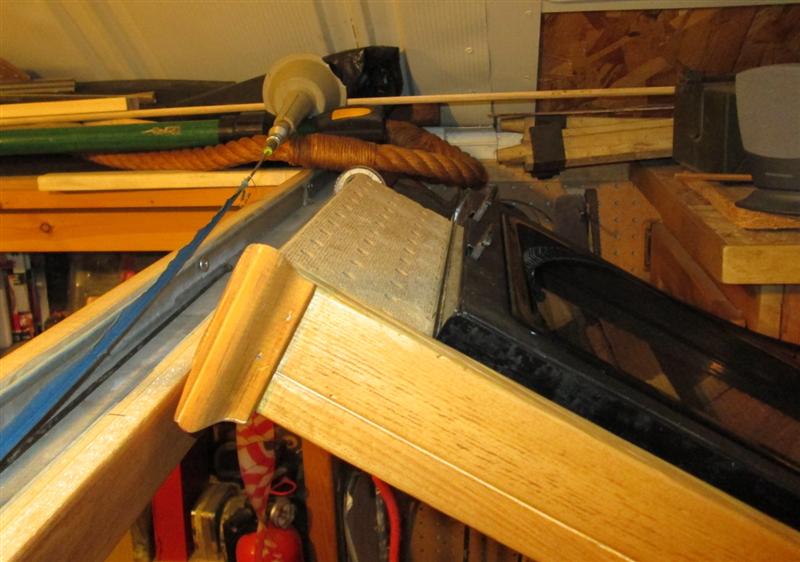
Simply bent up a piece of flat bar. I'm seeing, if I knew a black smith or had some square stock on hand to try, a nice twisted and forged hanger. But this works. Bent to hang from beam, other end bent to wrap & clear door trim so weight is on flat face. Nice-as I can actually set stuff on the door.
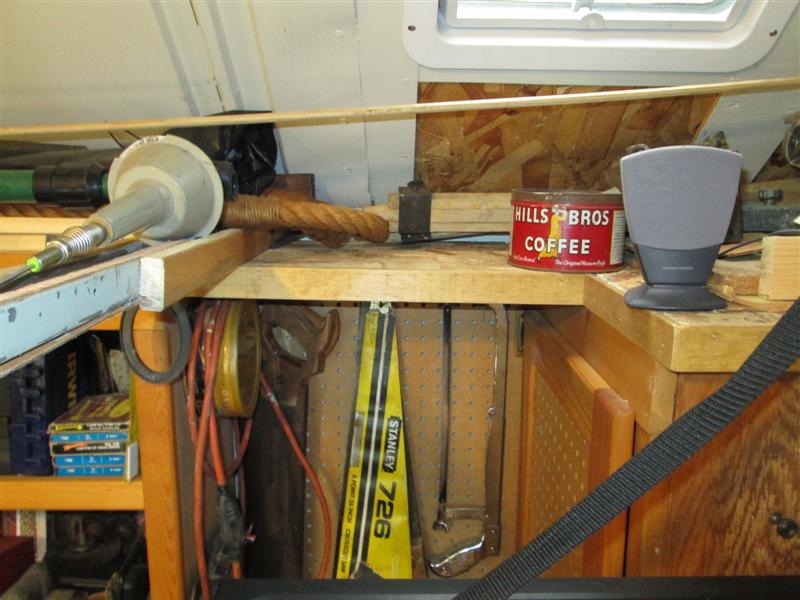
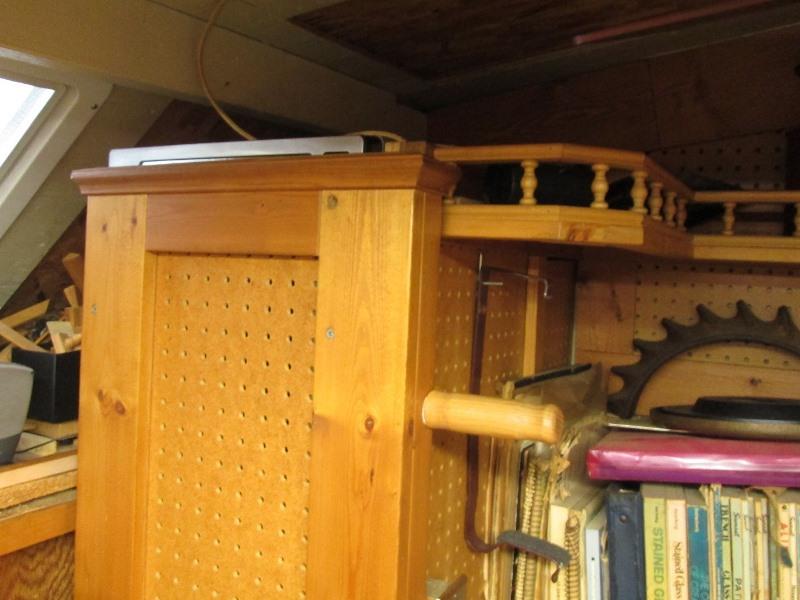
And here's my new 'whacked' face trim due to oversight so door clears beam. It also shows what I got side tracked on. While I was on stool doing the whack/cutting my trim, I was looking directly at space between the 2 cabinets at back wall. On top of the cabinet on left is where I store long material etc, cabinet top on right is miter saw and small pieces of molding etc. Between the 2 stuff was always hanging down or falling. Now that I have beam trimmed I 'could' extend or add a shelf between the cabinets.
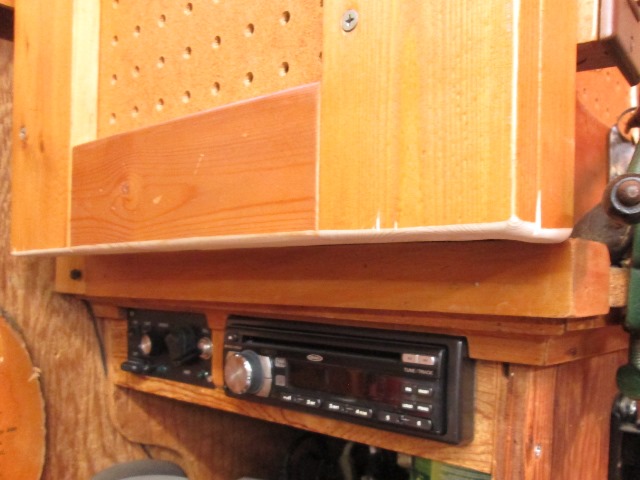
So I did. One thing leads to another. Pulled the trim off right cabinet and rear pegboard. I cut the original over hang of right cabinet flush. Then I cut the top back to expose top of cabinet face a few inches so shelf rests on it instead of adding a cleat. There's a 1x in back that pegboards is attached to, & the left side is stapled to beam and cabinet-though Ill probably add a gusset later. Not intended to see any weight but just in case. Reused the removed face trim and retrim cabinet and new shelf.
I used some left over ceiling 'tin' to cover under side of shelf. Actually embossed plastic I spray painted with aluminum paint. Really like the look of the 'tin' and does add some light. Adding this shelf or tying the 2 cabinets has been on the round toit forever. Made the oops almost worthwhile. Almost
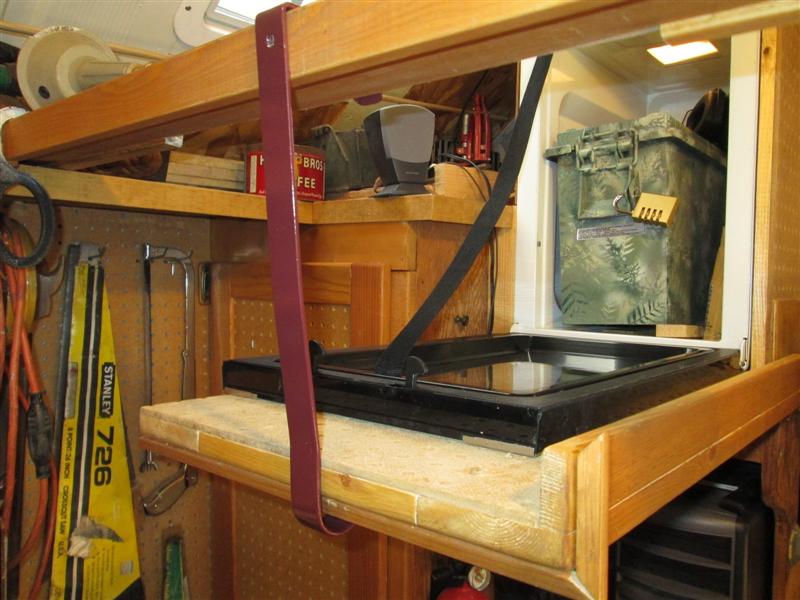
Just hanging... One thing I will do is later weld up a perimeter gusset or "'T" the flat bar so it doesn't flatten out with the weight. For now I just painted. Meantime Ill tighten up the strap so they work in conjunction.
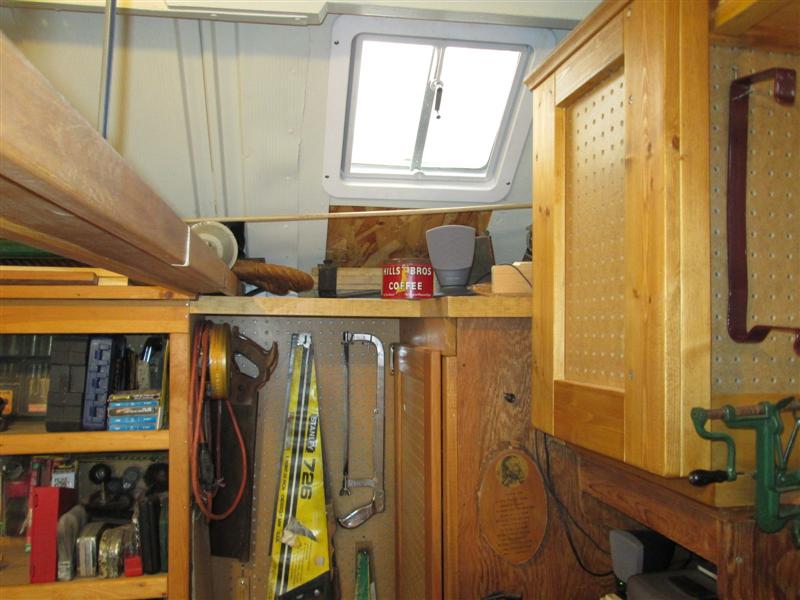
Door fully opens with new faced beam, new door support handy, whacked beam trim hanging in place, and new connecting shelf. Had i used 1/4" to face the beam in the first place, or thinking it through- knowing there was an issue with door could have avoided all this. Teach me. Oh well the shelf was on the list so it all worked out.
UPDATE 2021:
Converted microwave to cabinet install has worked well. I had bored a hole thru face trim to access the latch button. Kind of a pain inserting screwdriver to push latch. Plus the whacked trim always bugged me. A lot of time on my hands decided to fix both
Door clearance. After I installed the M/W cabinet I had added trim piece to shop wall spreader bar to discover door wouldn't clear. At the time I just cut out section for clearance.
Original issue. It occurred to me (6 years later) all I need to do is remove the doors wood face, cut and remount on micro wave door 1" lower? Why this wasn't obvious 6 years ago to me instead of whacking trim spreader bar unknown.
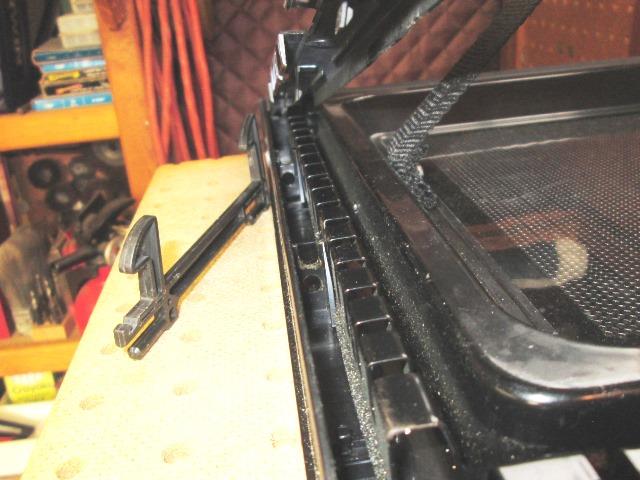
So That's what i did. Removed door wood face, cut off an 1" from bottom and remount to M/W door 1" lower.
Mile of clearance. Replace the cut out section of spreader bar trim. You can also see the hole thru which screwdriver was inserted to push the micro wave latch. It worked, let myself think of it as a security latch but in use a pain so changing to external latch.
External latch
1st removed the factory latch. On ours the internal trim on door just pops off giving access to latch. Removed the sliding latch and its spring.
When I had gutted M/W I left the light and its micro switch intact, the internal light is nice. Draw back is now no longer pushing latch button, light doesn't comes when door opens though I can turn on manually by pushing original latch button. However it also means when closing door it no longer turns off light. Inserting something I can depress to turn off so likely will make something, or if I can get to wires use a simple rocker switch. But another project.
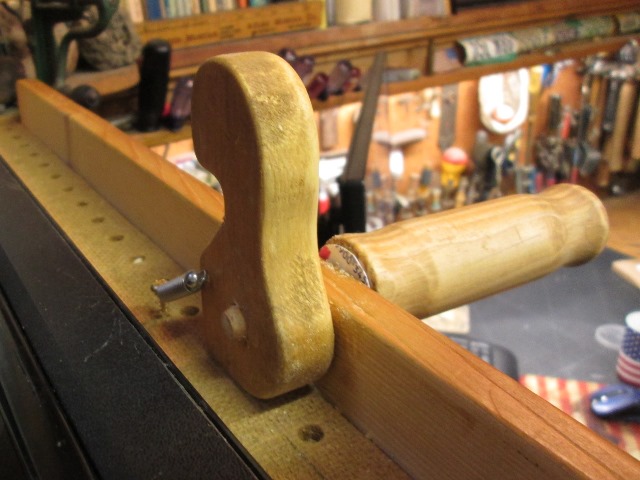
The wood face of door is about 2" wider than M/W to match width of cabinet M/W sets on. Gives me room to place a wood pawl that catches peg on side of M/W. Shaped a 6" piece of 1 1/4" dowel for handle and cut pawl from 1x2. Bored 7/16" hole thru pawl and 1x2 of door face trim. Filed door hole so dowel will spin freely. Drilled partially into handle. Glued in a piece of 7/16" dowel into handle, inserted thru door with plastic washers both sides and glued into pawl. Used the spring from original latch to pull pawl.
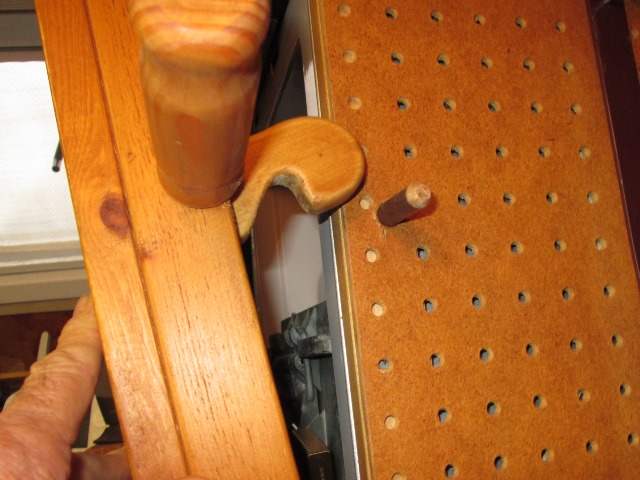
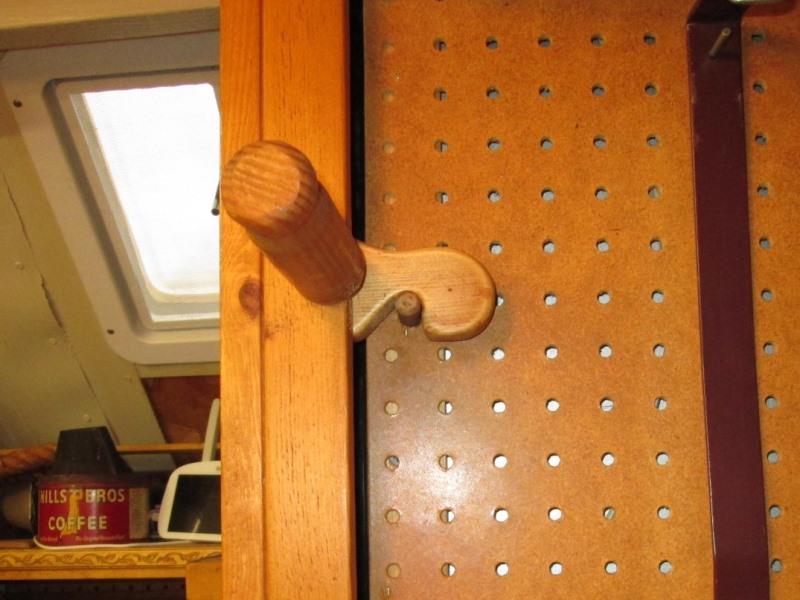
Surprisingly works, dowel pushes pawl up to clear and spring pulls back down, self latching. Though when I placed dowel it ended up about 1/16"+ to close to door so its about 1/4" away at top.
TBD is glue shim to back side of dowel, or maybe magnetic latch at top of door to hold tight. Play with the light switch if I get bored.
But bottom line is no more inserting screwdriver to open, trim back on spreader bar.
Roundtoits...
Light- because I removed the spring & door latch, closing door didn t turn off light. I had to manually insert something into case latch to turn off light before closing door. I opened up to access the wires and was going to add a manual switch.
Microwaves use several (mine has 3) micro switches that door latch trips. Couple of normally closed switches so when door open it shuts off power so M/W cant turn on. Another normally open switch turns on power to light when door opened. The 2 power switches when depressed (door closed) allow power to flow thru. The light switch is depressed by the door latch sliding over to lock, turning off light. Realized all I needed to do was swap positions of the N.O. light switch with N.C. power switch. Reinstall the door latch I had removed (without spring) so when door closed it depresses the switch turning off light. Without the spring it doesn't latch door. That was easy. Re-mentioning all that is left inside of M/W is the light, all other components were removed.
Door- lowering door exposed top of micro wave..
Bugged me and decided to trim..

Used some scrap on hand trying to match other stuff. Its mounted to case above door. What I envisioned but it just looks goofy. Maybe fill the recess between top of door and trim. Oh well, automatic light and case covered...silly stuff. I also added magnetic latch to pull door tight when closed.
Back to shop mods/additions section
Back to Our shops home page