Add face trim to workbench/ resultant plug addition.
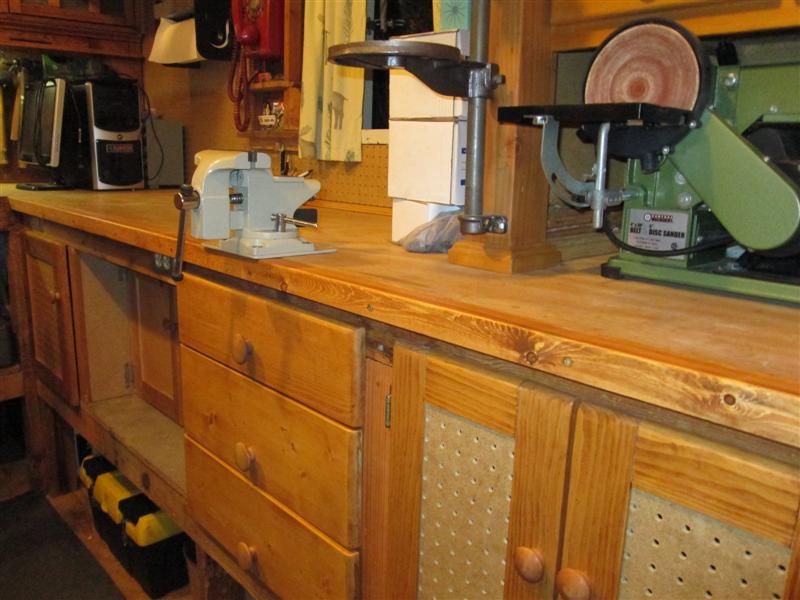
Simple round to it, adding 2x2 face trim like shown above to east workbench. When I had reworked small vise converting to receiver mount on south bench I had added a 2x2 to bench face. One it just looked funny having the vise cantilevered over bench, even though vise does not actually set on face trim. Primarily though it was added so I can clamp stuff long stuff (boards etc). It works pretty well. Also keeps debris off tops of drawers/cabinet doors, increased the surface. Not planned, but it really gave a really finished look to bench, not seeing the plywood top edge. I liked it, to the point I had decided if I ever get free time and material I'm adding the face trim to east bench. Don't really need the surface addition, nor the clamping ability, keeping debris off tops of doors etc nice but mostly purely cosmetic-just looks better.
I have some leftover 2x2 from another project, nothing better to do so going to add face trim.
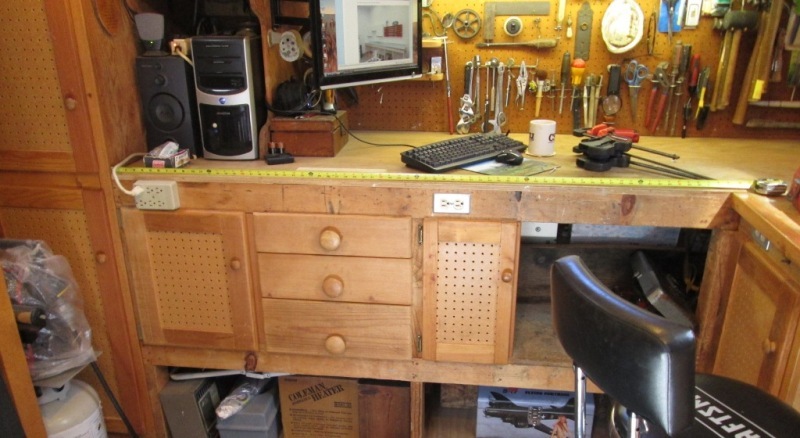
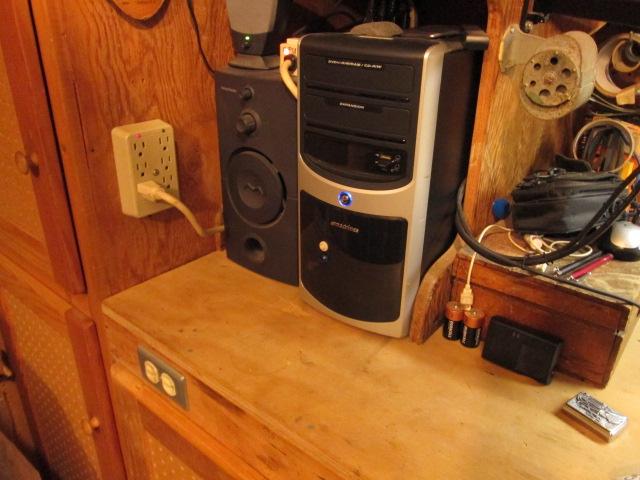
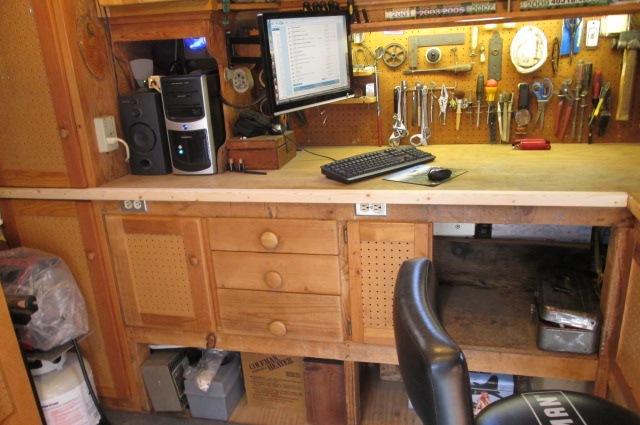
Measuring for length I realized I have an issue with the receptacle at far left. Its a plug in surge protector for computer. On all the other face receptacles a simple 1/4" bevel on back side of 2x2 allows removal of cover to replace receptacles or accessing if needed. The size of SP will need trim to stop at it or cut either side of it...Don't want to either. Plus the cord always draped over the edge I never did like. Hmm , well I should have assumed this wouldn't be as easy as it first appeared. I'm also considering running the face trim all the way across instead of stopping at doors of end cabinet. Some thought required...
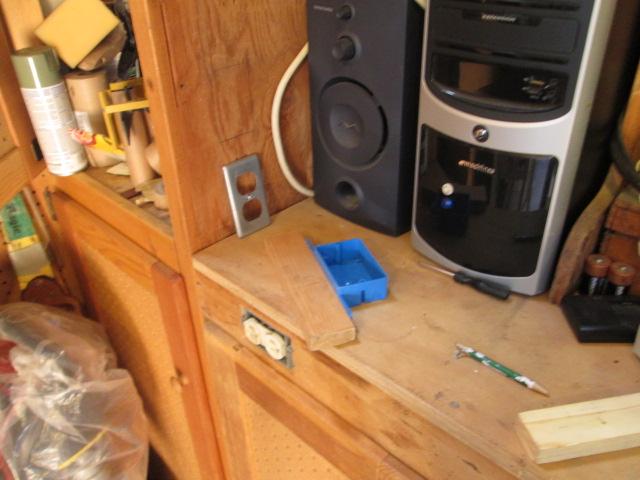
What I came up with addressing the surge protector is adding another receptacle for it. Free simple project means a trip to the hardware. Picked up shallow box, plug, cover and couple feet of 12-2. Now that I'm doing this the trim is secondary. This 'new' plug will get the draped cpu cord perpetually hanging out of the way, and or anything else like camera charger etc that I plug into this. I briefly thought about adding the new plug back behind computer but access makes it practical out front. Now that I'm running up I could always piggy back another plug later.
Nice fuzzy picture. Hole cut, using jig saw, 45 year old ply is hard as a rock. Outside line is straight but blade starting taking off inside-shown below, till blade snapped. Bored holes thru end cabinet into bench side, thru couple of top supports under bench top.
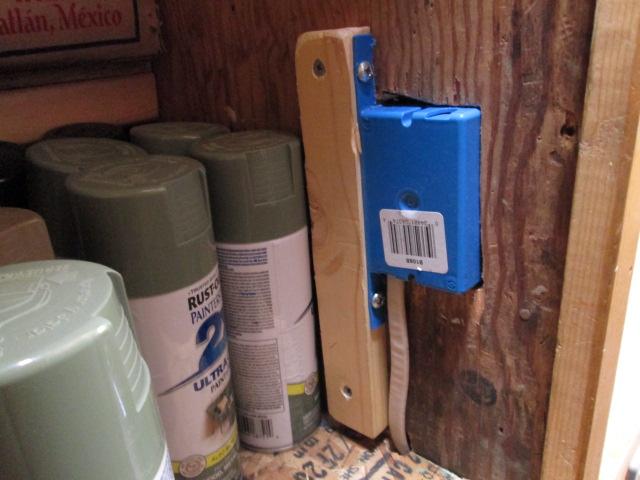
Purdy- fortunately this will never be seen, it'll work. Glued & screwed 1x2 to back side of 3/4" ply to mount box & route romex beside, Ill add another block beside to ensure romex doesn't get 'attacked' by stuff stored. Added couple of small screws to other side of box into ply edge. I Don't like this-second though I'll probably cut some conduit and cover this exposed piece romex inside cabinet.
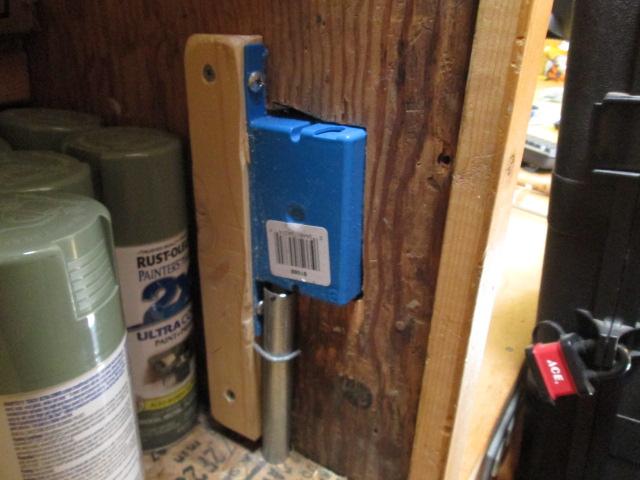
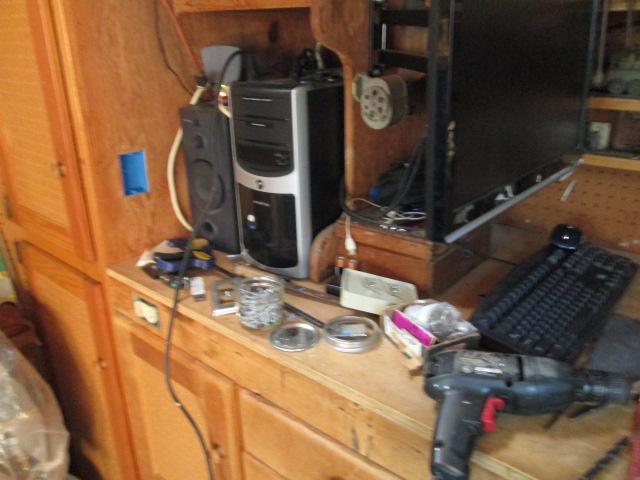
Just Got up and did it. Disconnect and 'sleeve' the romex. Ran wire to existing receptacle and tied in. Done. When I have some scrap of 1x2 Ill add to other side & top of box, staple a piece of tin across. There are some heavy items on shelf inside-often stuff getting knocked over-Don't want it hitting the box. But another day.
Nice, never thought about addressing but always bugged me having cord hanging off the edge. I've only ran into plug couple of times previously dumping the computer. Now what was I doing...oh yea, adding trim, maybe tomorrow....
-
So back to the original intent - trim the top. As I still don't know if I want to run long or stop at upright cabinet, I'm cutting 2x2 full length. I think it would look better, horizontal line running all the way across, but Ill eyeball first. May look like one continuous cabinet, make look goofy, so may stopping at cabinet because it'll need to be angled. Auhh plus cutting to 'see' and if I end up cutting to bench top length, 27" useable cut off will become 18"& 9"-hate waste.
Silly--hit refresh to see my decision ... long it is. Though when I mount ill only use 2 screws on the cabinet end incase needs to be removed. On the bench face will be screwed both from front & back AND glued.
Sanded out, notched back side to clear receptacles. Drill thru holes thru the front every 11" - drill thru holes between thru work bench 2x4. Then glue, clamp and screw it. That'll give me opposing screws every 5 1/2". Though probably never use to clamp anything I don't want it twisting loose.
Mounted-kinda fun trying to clamp into position...more fun was drilling from inside drawers, got a little vacuuming inside. Then try to mix up some stain close...
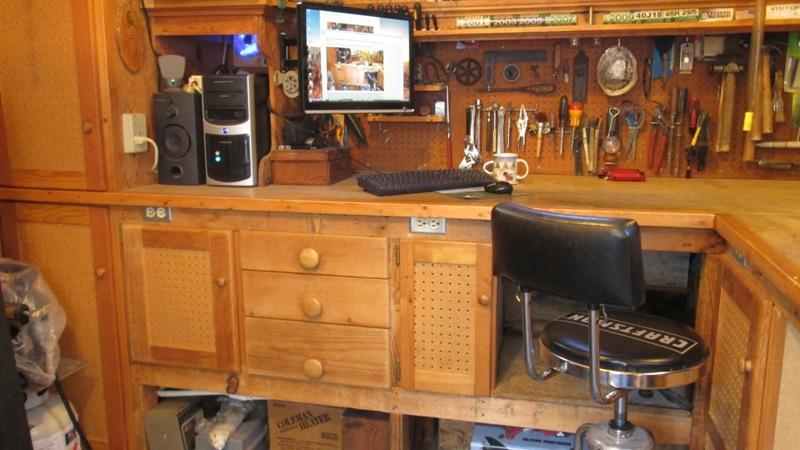
Finished. Nicer than looking at plywood edge, certainly less splinters as the edge was going away. Silly project, the additional plug almost worth the effort in itself. It is kinda nice though, simple trim. Glad I went long on the trim, odd just a 2x2 but walking in just appears wider.
Back to shop additions, modification section
Back to Our shops home page