Add Light to Drill Press
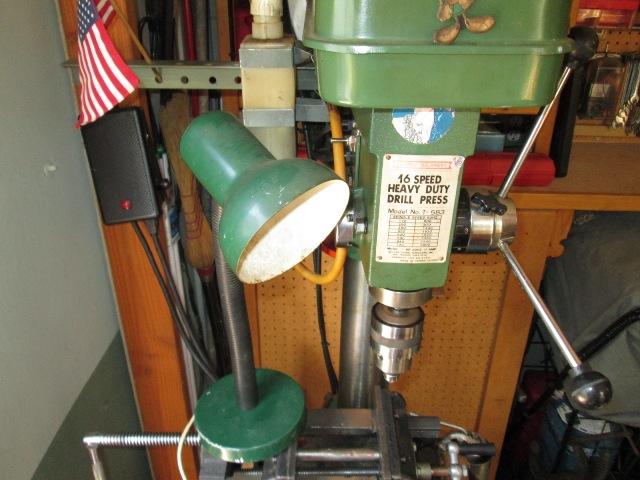
The Issue Before
Then Non-Issue After
I always hoped to find a nice old lamp to add to the drill press but just never came across one. There are some really cool old work lights out there, and really nice lamps that can be adapted. Even some of the simple machine lights from back in the day are nice. But again never came across any.
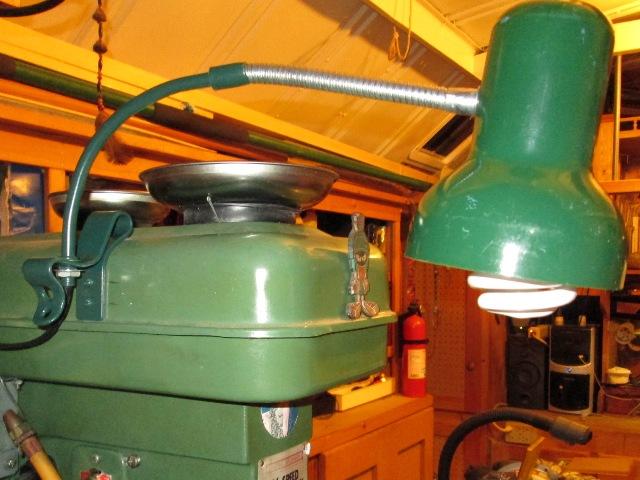
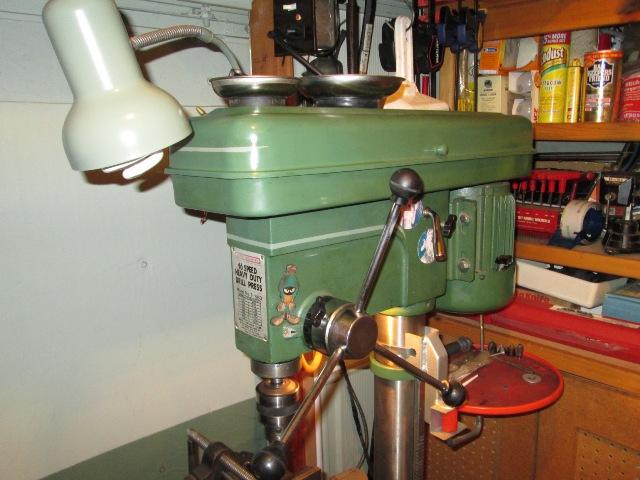
Anyway the other day I was pawing thru storage shelf looking for something, I pulled this old table lamp down out of the way, set it the drill press. Turning to retrieve the lamp and to put back on shelf ummm .....wow.
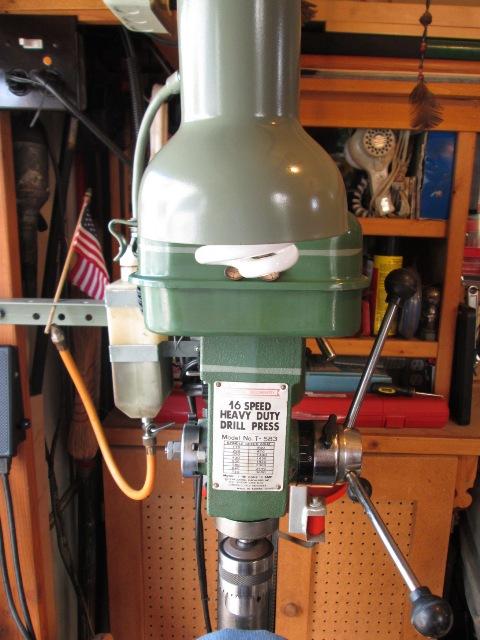
Camera was on the bench so I snapped this pic. Not what I had in mind, but something we used to have in the house years ago. The head is on a goose neck though short. But I also noted the horizontal stabilizing bar attached to press. Flipping the lamp over the end of goose neck protrudes thru and is bolted to base, sure looks like simply removing the base that it would bolt to the stabilizing bar thru one of the existing holes. Instant light.
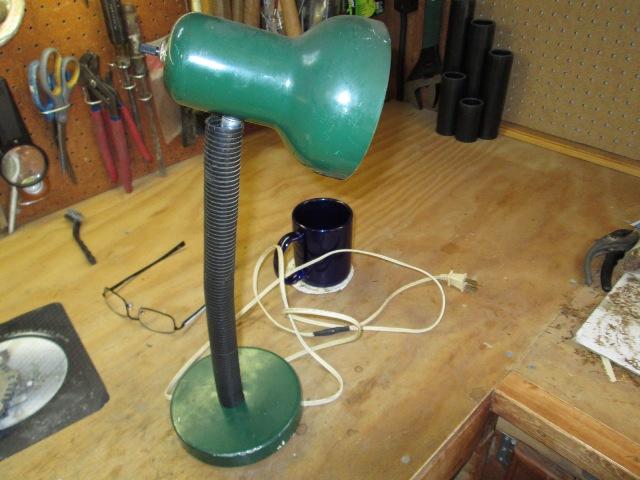
So sat it on the bench to remove the base. A shorter cord would ne nice, and removing the plastic loom cover would look better.

So disassembled completely. Flex stem is pretty short.
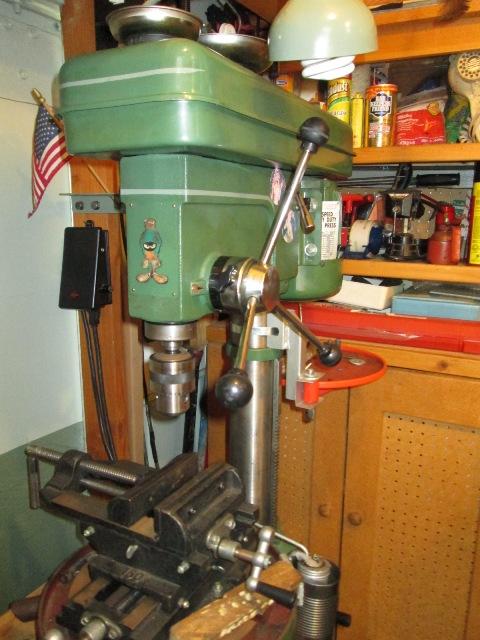
Took over to drill, holding the lamps stem up to mounting bar it fits the holes. Bolted it on to get length for cord. Cool. Looking where head would end up it will work..however is a bit low and depending on work piece might be in the way, plus if stand to right I'd be looking right into to it.Not so cool. From there the 'instant light" turned into a project that grew wings.
After playing with it for quite a while I decided it really needed to be able to swing toward front. The only way that would happen is mounting to press. Easiest would be drilling and tapping the cast head, threading the stem directly into it. But the threads on stem are not typical lamp 1/8 NPT. Plus would still leave on left side, attached to body would interfere with oiler & switches. I then figured if the rigid part of stem were bent it could hang down, attach to a piece of angle orrr.. mounting to belt cover it could swing in any direction- which would also be nice cause I could point at back cabinet which is in shadows or at the grinder.
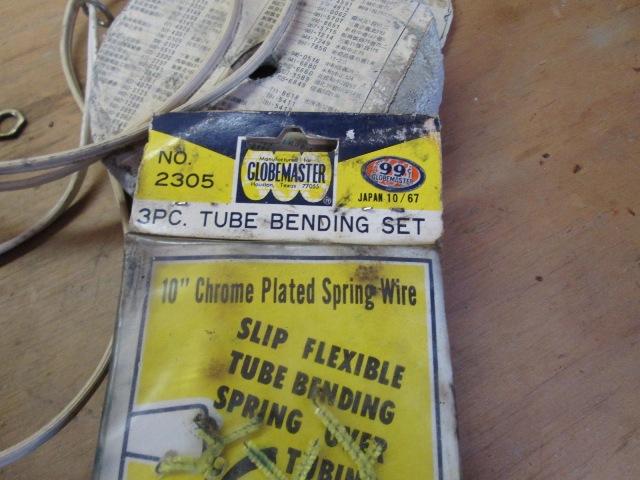
Bending the tube decided to use spring bender to minimize crimping the tube. Looking all over I couldn't find them. Recalling I had found an old set of tube benders I dug them out. Wow- brand new 1967 unopened package. But largest is 3/8". Spent another hour trying to find my set as it goes to 3/4" but no clue what happened to it.
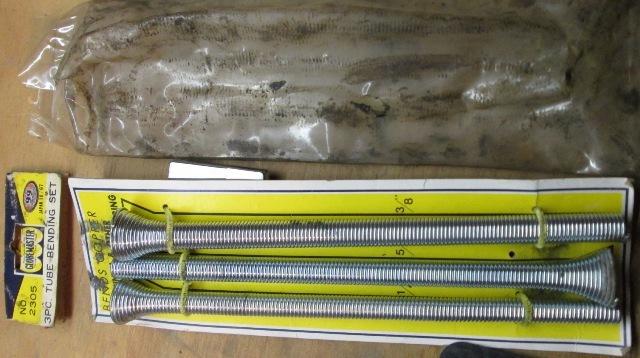
Going back to the 3/8" I was able to literally thread over the crimped on flex tube ends. Not fun but bent tube to 90°. It did feel odd though, a 99cent bin tool, it survived 47 years unopened. Maybe appropriate, bending stem on 70s light. I digress
I was going to just drill thru the belt cover to mount but that got nixed because I didn't want to mess with securing the wires-plus if belt broke.... Back to simple angle iron bracket.Cut a piece of 3/4" angle, drilled for lamp stem, held up to cover for attaching screw placement..looked like crap. Or more accurately like a piece of angle hacked on cover. This is dorkey enough so spent some time shaping a bracket.
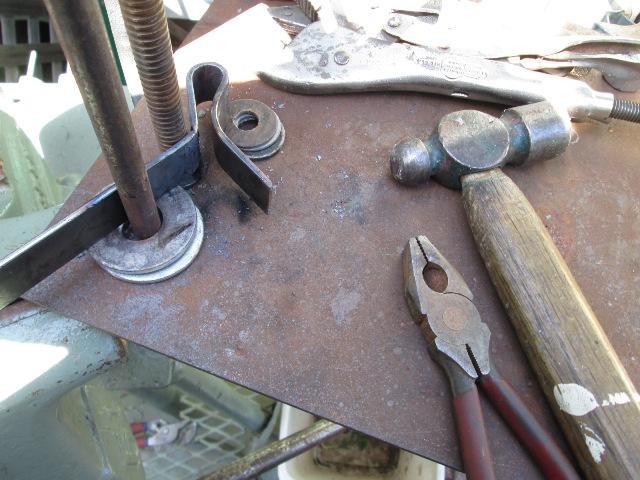
Set on my small table heated and bent.
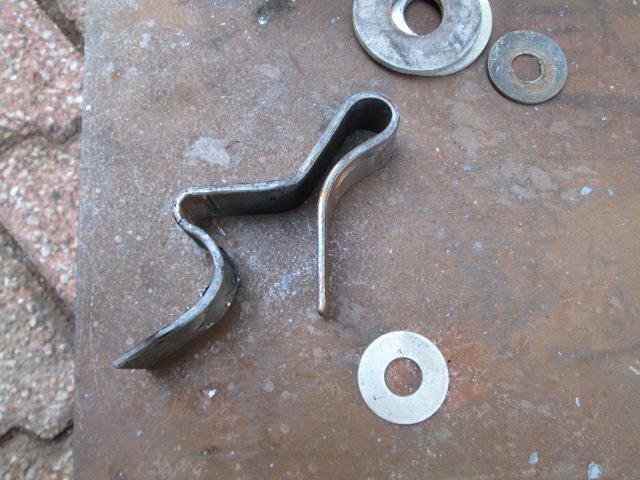
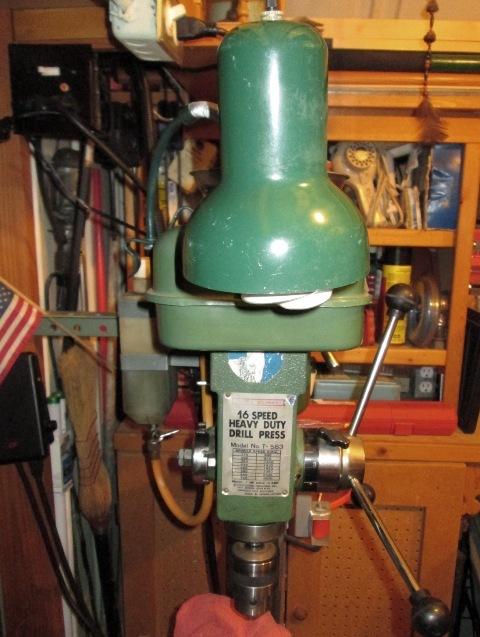
Not knowing when to stop continued to roll. Then took to grinder and shaped. Drilled mount holes, drilled the cover. Pre painted bracket and light stem and bolted on the bracket. Light and bracket will get painted again, one color, when done.
Hmm still looks dorkey...And the curly que is getting replaced with an appliance bulb. Again lamp & bracket are getting repainted. Doesn't look bad in camera- but the greens against the muddy drill looks bad.
But works pretty nice, it will rotate 180° (actually spin forever) but I need to take to hardware and find a nut to lock it and make a limiting stop. Unfortunately I didn't stop & do it BEFORE I added cord. The bulb base is a solder connection and not screwed. So Ill have to de solder, remove the cord to check the thread. Its that getting in a hurry thing.
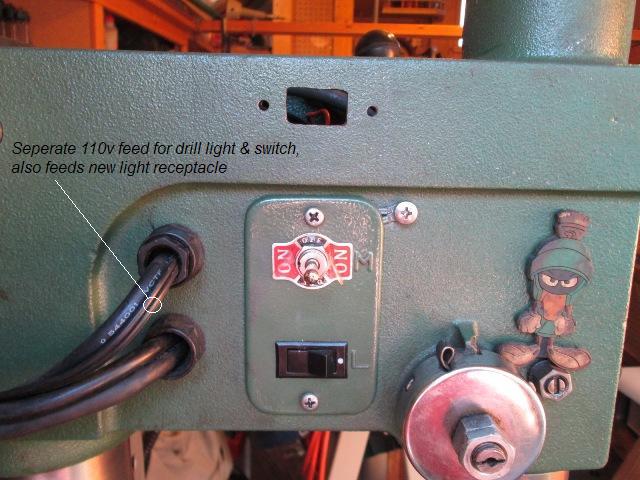
Other wise Done. Well until I went to plug in. I had thought I would use existing wall receptacle. Though has no bearing on this addition, some time back I had added a separate power feed for drills light (its now independent of drill power). My thought was to unplug the drills built in light and plug in new light but that will get old switching back & forth. It would nice if this was tied to drills light switch. So the project leaped again. Opening up the drill press to see where /how I could tie new lamp to drills wiring. Easy enough but decided I didn't want to hard wire new lamp. So Im adding receptacle on head that will be fed by drill press lamp switch. This will be worth the effort as I can replace this lamp if I ever find one by simply unplugging. Have option of lights and couple of different mount options.
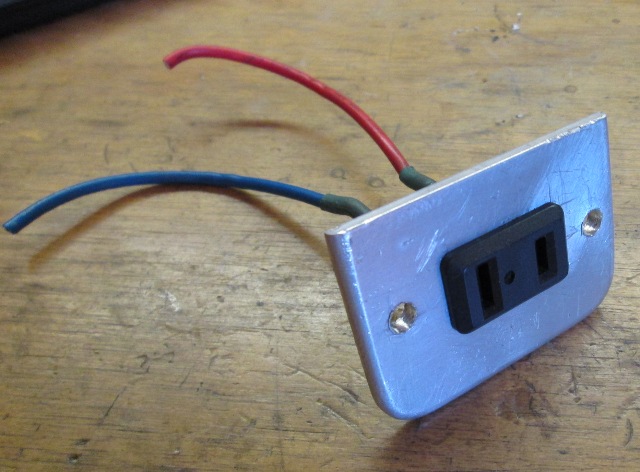
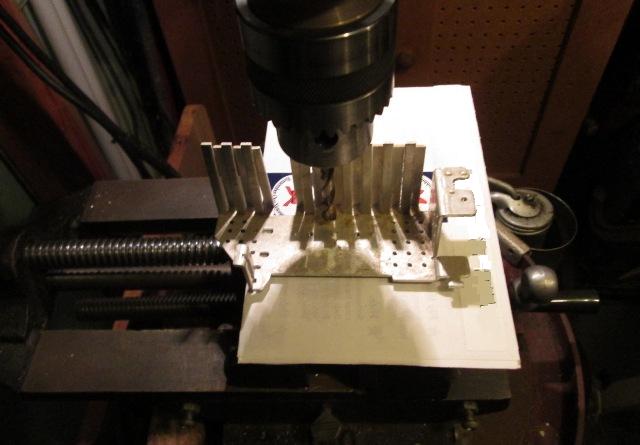
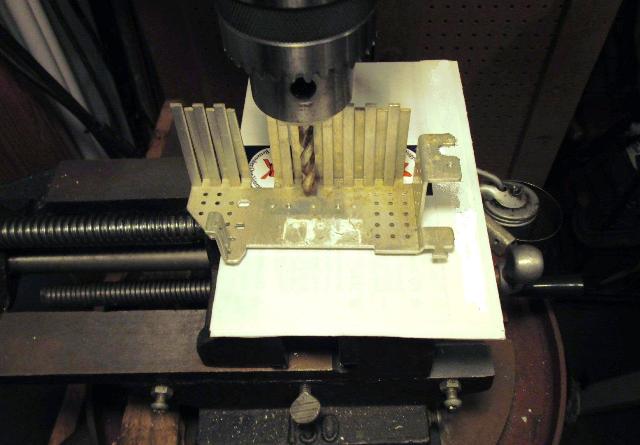
Had an old receptacle, made a small plate to match existing switch plate. Picture is plate finished but before drilling I clamped to drill. Drilled thru aluminum plate into drill head with tap drill for 10-24. Tapped the drill head 10-24. Then redrilled the plate holes larger, cut hole for receptacle. Re clamped on drill, marked drill for receptacle hole.
Drill small corner holes then a 1/4" hole for jig saw blade. Not really liking cutting hole in the cast iron head but there is a large web above & below the new hole.
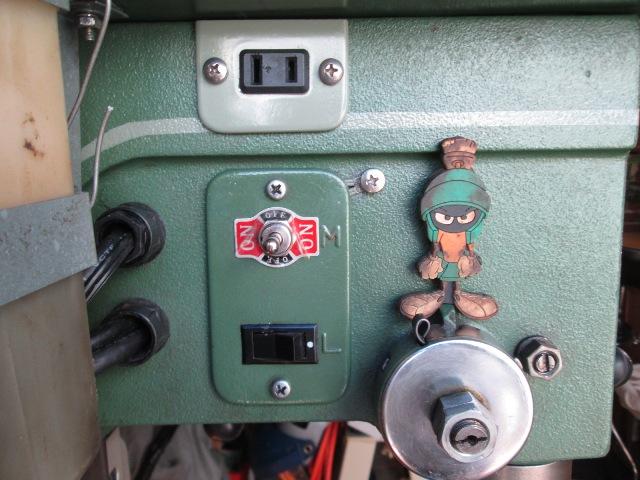
Painted and installed new receptacle. Wiring was done inside head from top easier and to ensure clear of moving parts but switched panels will come out side.
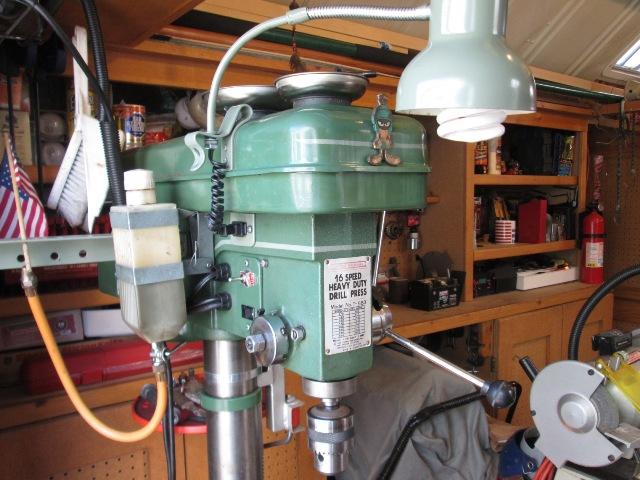
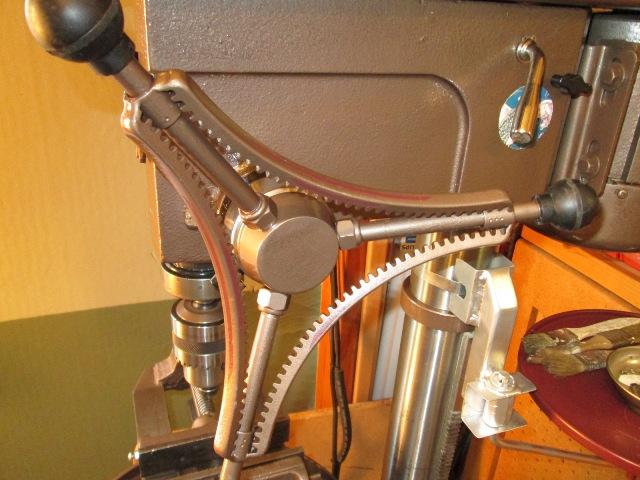
Reassembled pulleys and belt cover. I had light & bracket off, took stem to hardware to match threads. The threads are 3/8-24. Got a lock nut, once home resolder wiring. Painted the lamp & bracket, different but looks better, greens aren't clashing. One of those things though when you stop looking at it you don't see anymore. Mounted, plug in new light to added recptacle, plug in drills light cord. Works! comes on with drills light switch, but can be turned off independently.
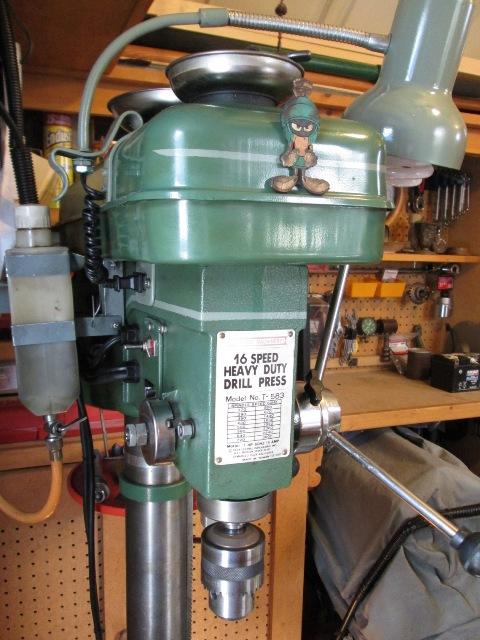
Added the striping, not sure why..,
Id really like to paint this drill, always hated the muddy color, move dumb model/spindle speed plaque elsewhere. But because of the oil think it'd need complete disassembly to clean. That aint happening for while- but hammerite bronze with dark burgundy on the head inset...But if I spend anymore time modding my dp it will be the handles. They are wallowing out, cant keep tight. Want to add a support ring about halfway up the handles.
But we got light...
Too funny-thinking about I walked over-the drive rivets pulled out with my fingers-been starring at plaque for 20 years...
Well since I reminded my self-decided to address the loose handles.Fix loose handles/ complete repaint Another page...
Back to top of page
Back to shop mods page
Back to Our shops home page