Continued table mods
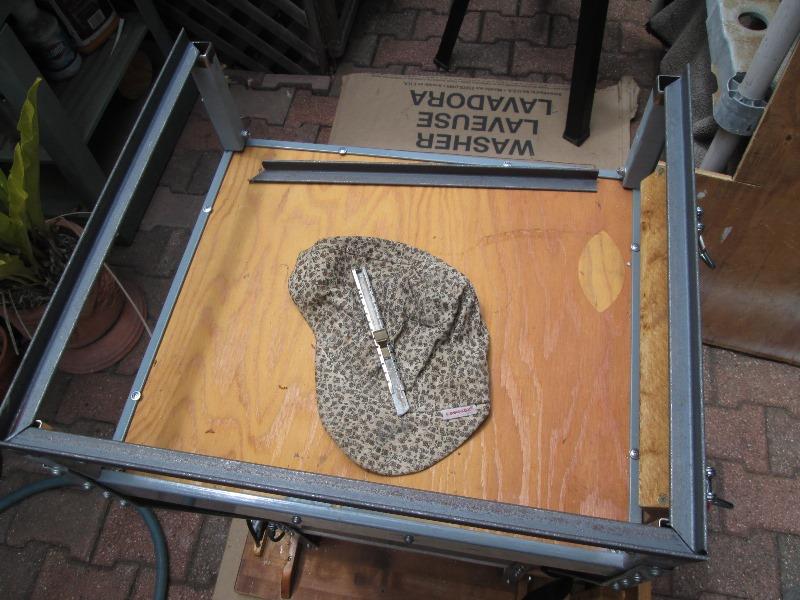
2022-original addition of table leaf for use for walking foot sewing machine. Sewing machine table leaf
Details 1.) Adding latches to lock table leaf when up so if table lifted by leaf doesn't pull hinge or if bumped doesn't jump out of cleat and fall.
Details 2.) Then replacing fixed 1 1/2" casters & feet with 4" swivel double locking caster. I need to be able to move table sideways and 4" casters will also raise table 5". Casters bottom of page
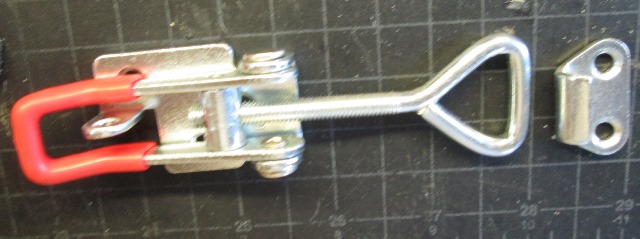
Picked up some over center latches. But they wont work. Or at least the catches, ...
I thought latches might mount to leaf support legs and catches to table legs. But leaf support is narrower, that wont work.

Latches need to mount to face of support, so means adding some blocks behind pegboard. The catches however are simply too small or what they would mount to is edge of the cleat board.
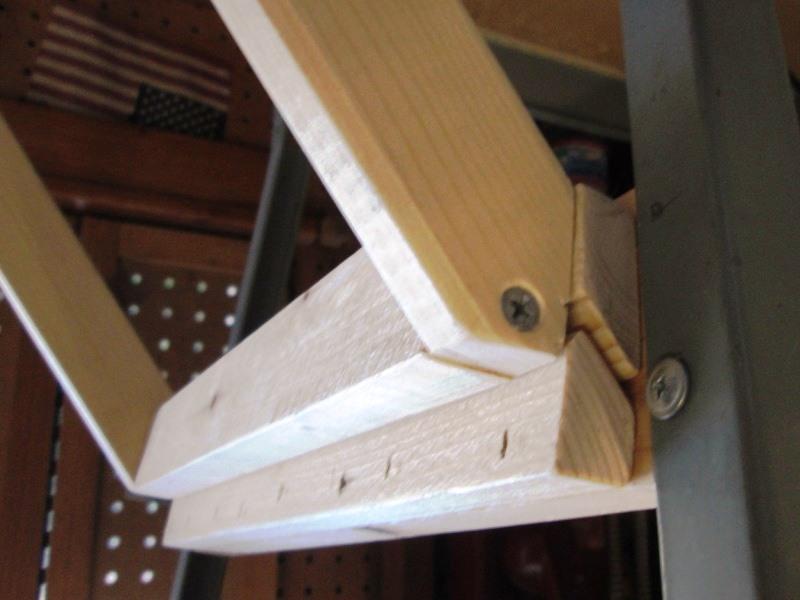
Which is what's left of 1x2 after cutting cleat, screws into edge would just rip out or split the 1x2....plus because support surface is at angle, the latch hook really doesn't want to engage the catch, pulling simply opens up latch bail. Some thought required...
What I finally came up with is making catches. I can bend the end as needed for latch to engage but more importantly I can run long, wrap around cleat and mount to the backside of table leg spreader that cleat is mounted to.
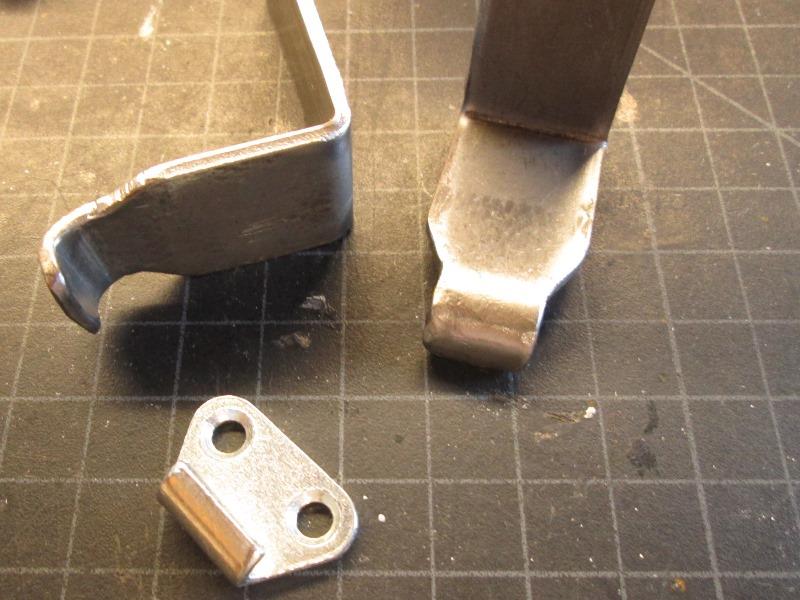
So cut some 1" flat bar and beat into shape...
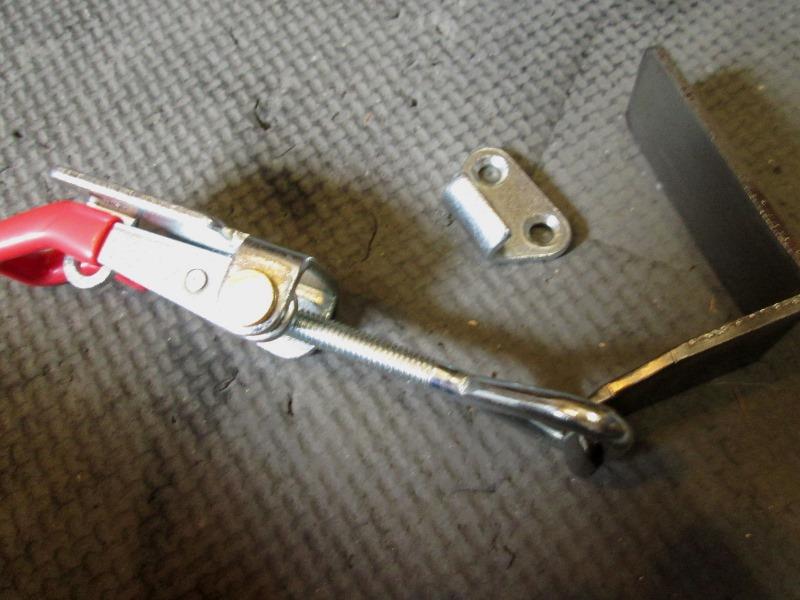
That will work. Allows latch hook to be slighter greater than parallel to base, pulling so latches bail doesn't simply open. The 'new' catches being wrapped around table leg spreader the mounting screws wont see ANY load, it will be pulled into table leg spreader which is behind table legs.

Once I figured latches mounting out cut some blocks. Cut one end at angle so slides into back side of cleat board. Glued onto leaf support pegboard, side 1x2s and into the cleat board.
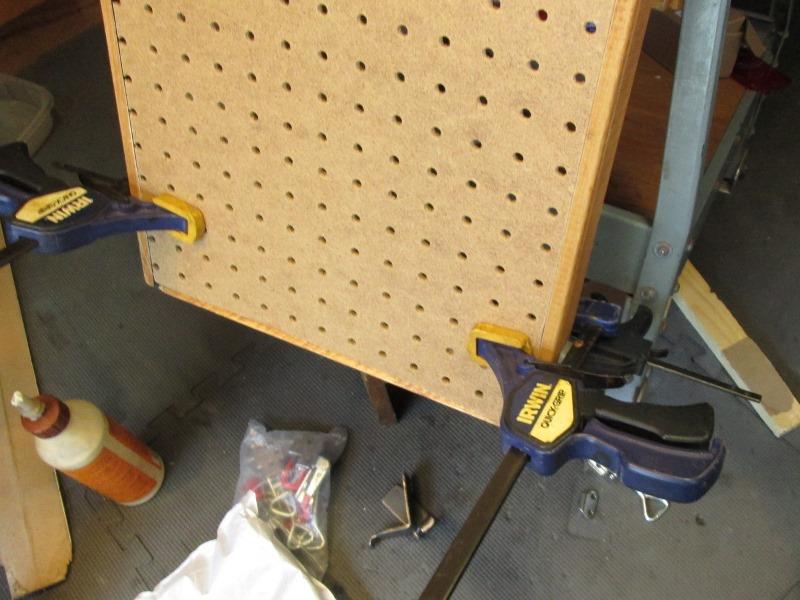
Kinda on hold waiting for glue to set. Because I haven't actually placed the latches I cant mechanically fasten. (Or my luck nail or staple would likely end up right where latches screw needs to go). Latch attachment screws thru pegboard into blocks will hold though still run couple of staples thru 1x2 into blocks.
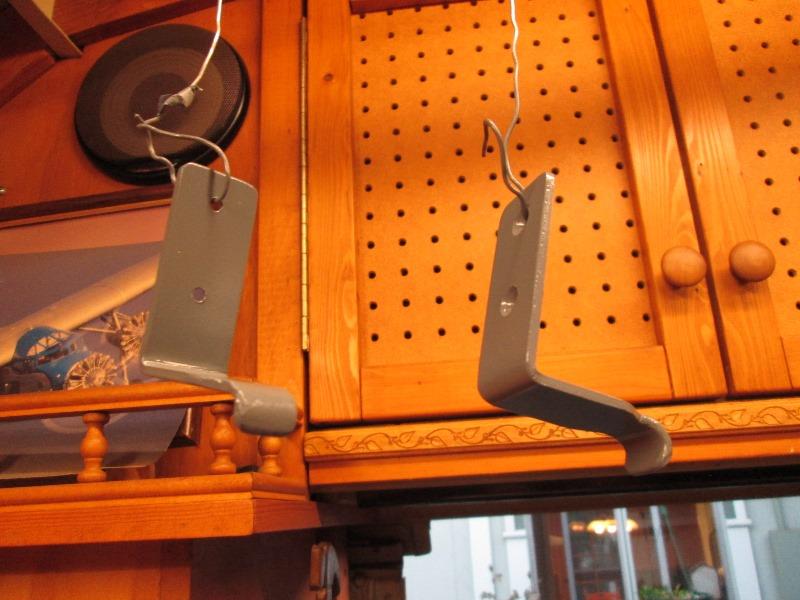
Drilled the new catches, primed and watching the paint dry....
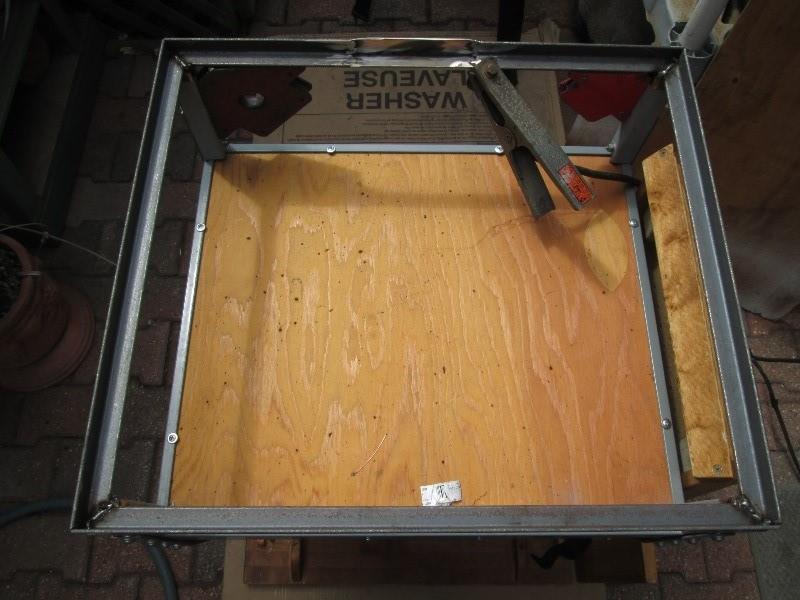
 Catches installed

- Now to address casters.
Original table set up with fixed feet in front and non swiveling casters at rear. This worked well maneuvering table around like a buggy - before sewing machine added. With the extra weight it's difficult to lift and the small casters dont roll that well. Now with new leaf I need to easily move table side ways without rolling all over. Secondly table its really low for sitting using sewing machine, need to raise table. Realized using larger casters would accomplish both. Can easily roll in any direction and using 4" casters will raise table 5".
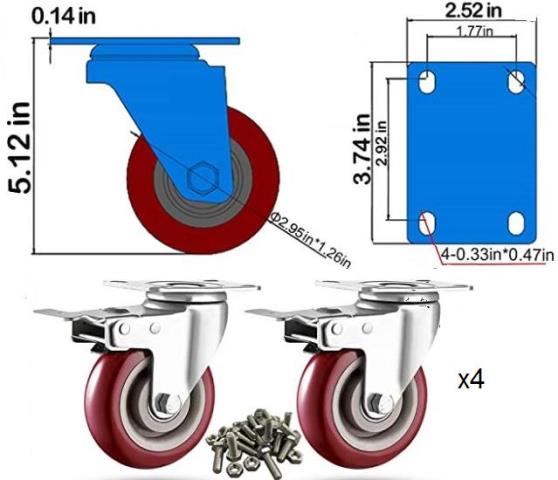
Ordered a 4 pack of casters (note drawing for 4" & 3" caster shows 3" wheel dimension?).
Attaching casters to table needs some thought.. Need to make table legs equal height as front legs are shorter to allow for caster height. Front will be easy, just unbolting the fixed feet. Welded on rear casters need to be cut off and 1" square tube will need to be extended about 2 1/2" to match front leg height.
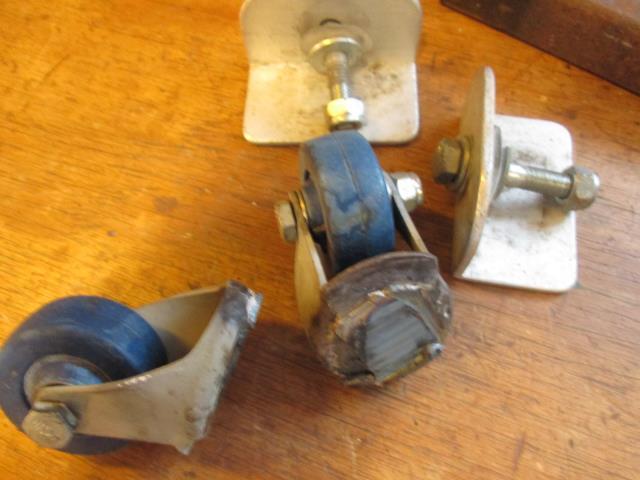
Cutting off the welded on caster wasn't so easy but got it.

Welded on short sections of 1" tubing to front legs so all posts are same height. Dont know what I was thinking. Plan was place a precut and notched plywood shelf between legs, weld flat bar between 2 pair of legs, then weld spreaders between, bolt casters to flat bar then screw plywood to flat bar. Plan completely changed.
Going to weld an angle frame all around to end of posts with leg down. Bolt casters to plywood then place inside of angle frame. Be way easier to bolt the casters, wont have to pre fit plywood before welding on flat bar. Allows placing casters inboard a bit instead of at outside corners. Plywood edges will be banded. Weight of table will be pushing angle frame onto plywood with bolted on casters. Simpler easier.
Cutting angle: 2)18", 2)20" doesn't equal 2 36" pieces of angle....few inches short.
Rather than driving 10 miles use some flat bar to 'patch'. After tacking together was suppose to take to drill press to drill and counter sink for plywood mounting. Kind of got ahead of my self. Its welded together and to table. Drilling not a problem but cant get inside to counter sink. I'll need to use right angle adapter....
Got it, only broke 3 counter bore bits. Well they were made for wood, but keeping the angle adapter square not easy, slight off center-snap. But the plywood is attached to frame. Thouhg I refer to as shelf its purpose is to stablize the frame and end of legs, mounting suface for casters. Pics of laying out & mounting casters disappeared.
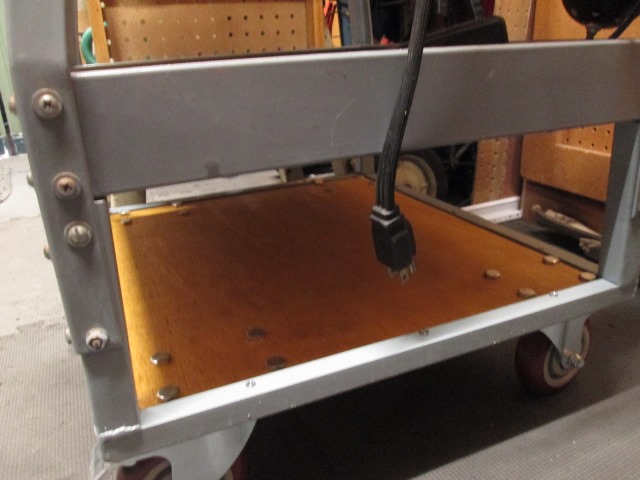
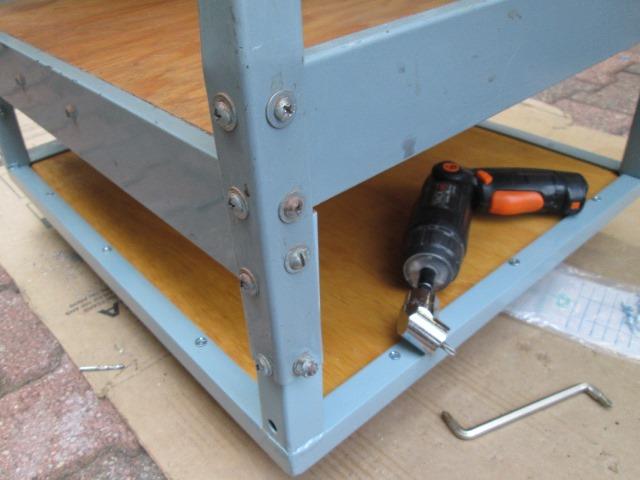
Mounted as close to edge as possible yet bolt heads clear inside leg of angle

Except front pair, pushed casters back about 1 1/2" so lock doesn't protrude too much.
Rolled table into shop, did a few figure eights. Pretty cool. Can easily roll table sideways to open leaf. Table now 5 1/2" taller, 38" to top of table. No more stooped over to work while sitting, I can also use while standing-stoked.
I'll put machine back together tomorrow.
Back to Consew sewing machine tool mods section
Back to Shop tool mods section