Add additional lower jack brackets to rear
Though a finish detail, in my opinion to rebuilding our camper skirts I split this off as a separate project. Finishing rebuilding the camper skirts one of the things I wanted to do was add additional jack brackets. On our camper the lower bracket is pretty high. Since adding the stabilizers to front the back seems to wiggle more side to side. That and when I did the skirts I added a lot more attachment between skirts and bumper. Though mostly just simply more secure when 3' in the air, jacks will be tied to each other thru bumper instead of push/pulling independently on corner mounts. Lastly giving a bit more support for the bumper, and also to not work the new bolts in skirts. Some campers come with tabs welded on bumper for lower jack mount attachment.
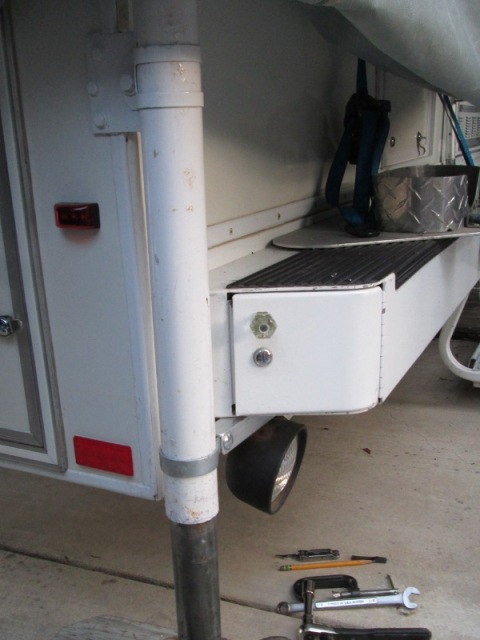
Seemed simple enough. Having eye balled this when I did drivers side skirt. Was going to add a vertical piece of angle to bumper, add 2 clamps each side. However when I actually started I looked at the passenger side to verify will be same on that side. Good thing, plan wont work. I've run into this before rear of camper isn't quite symmetrical. Right rear jack sets closer to bumper. Due to angles to utilize vertical bracket would set at an odd angle. or more specifically the angles leg wont be pointing at jack. Too bad would have added a lot to bumper and jacks.
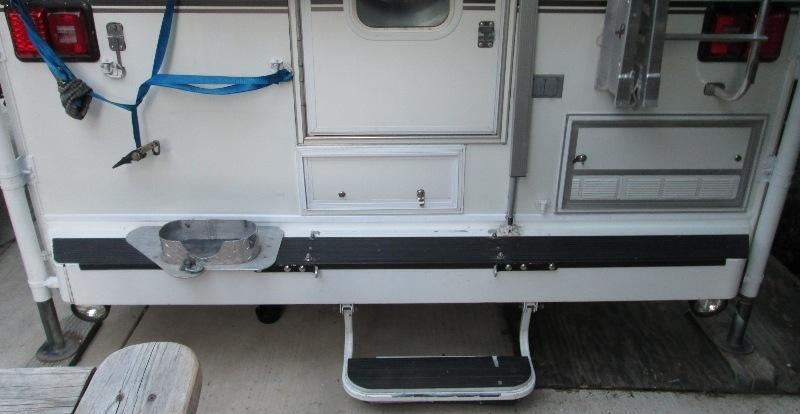
Closer inspection for options it was obvious because of the hose door on the one end and the rubber plug on other, fabricating a bracket to offset the connection hole, just isn't room. I want this in direct push/pull to bumper, and also make it at right angle to the factory mounts (which offers very little side to side resistance).
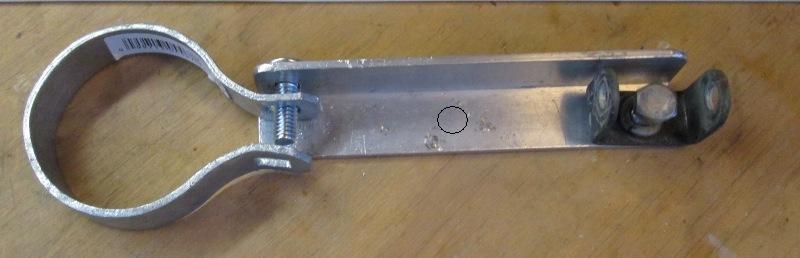
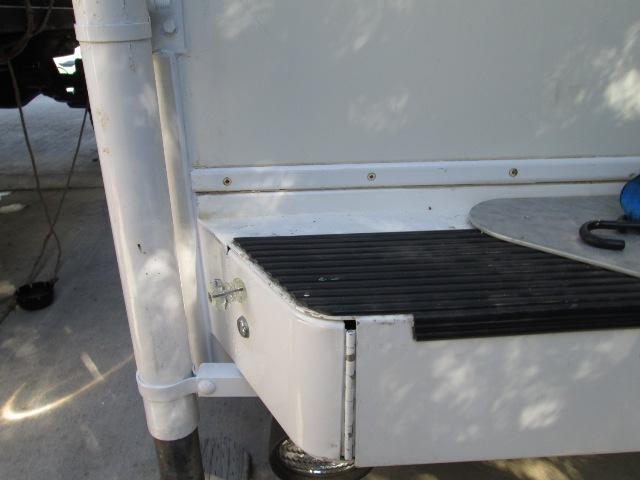
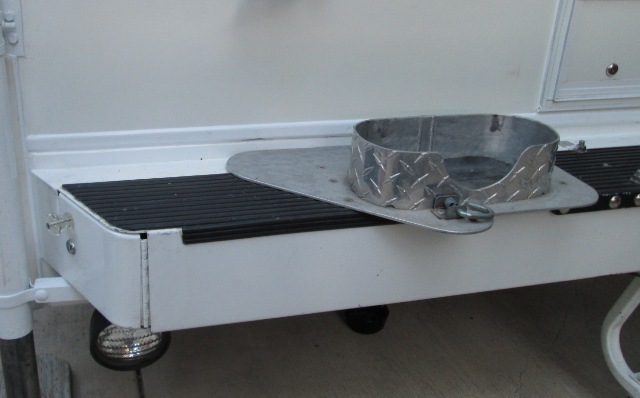
So I just added short piece of angel to bottom of bumper with a single clamp. Doesn't do as much for bumper. Not exactly what I envisioned but it ties jacks to bumper, gives needed sided to side resistance, primary goal but minimal additional support to bumper.
Brackets
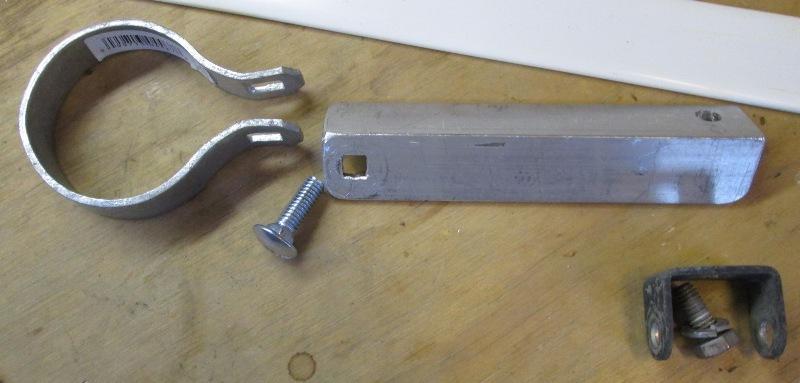
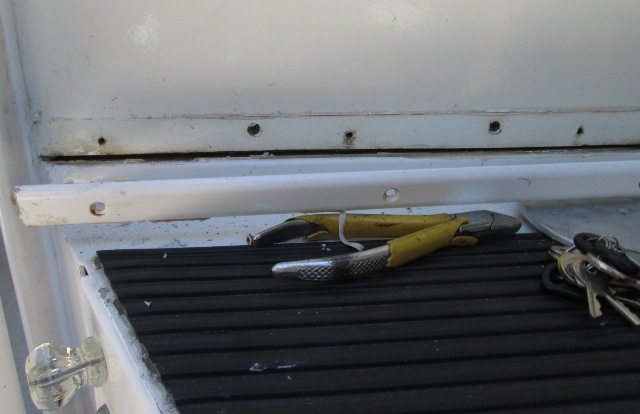
Length of angle..I had precut before finding wouldn't work on passenger side. 5 9/16" is height of bumper face, however the length worked so wasn't wasted. The galvanized fence clamps as noted are 2 3/8" ID, the jack tubes, Atwood, are 2 1/4" OD, but they do clamp tight enough for a push/pull. Actual Atwood jack clamps (p/n 85580 for elec/ball manual jack, p/n 85324 for 2" for small acme screw jack) ~$18 a pair. Fence clamps $3. If your application has a lot of rotational pull then the Atwood clamps would be better, however the fence clamps are malleable easy to rework and again do clamp fairly tight.
Install
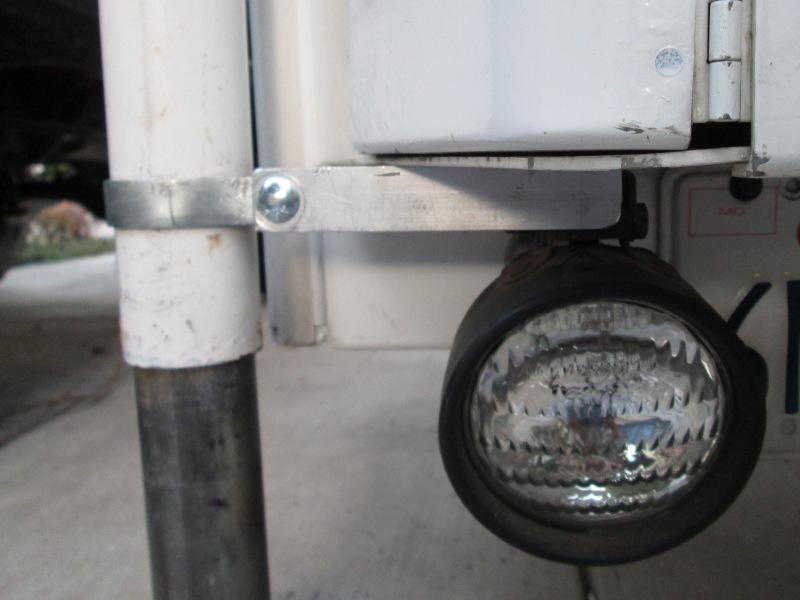
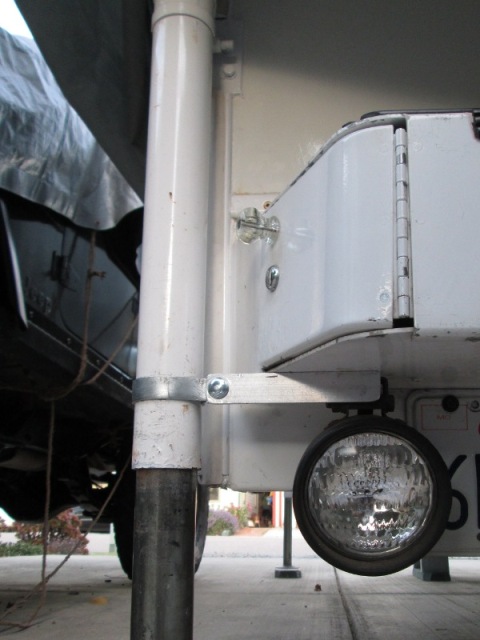

I did raise camper -all I can say is wow. I had to double check it was clear of the camper stands. I only raised an inch so I may get some movement when fully extended but hokey smoke! Effort worthwhile. I didn't expect zero with all my weight trying to wiggle. Obvious with the original lower bracket as designed its primarily only going to offer resistance front to back. But amazed. Enough so that I might add another on top of the bumper but placed against wall and cut/reweld to point at jack. If I get really bored-or I see some twisting, maybe.
But for now move on, remove the trim piece across/above bumper to re caulk, and call this project done.
Bumper/wall trim
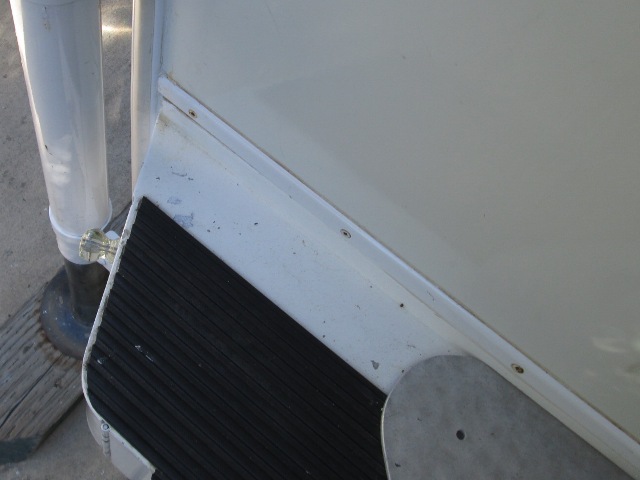
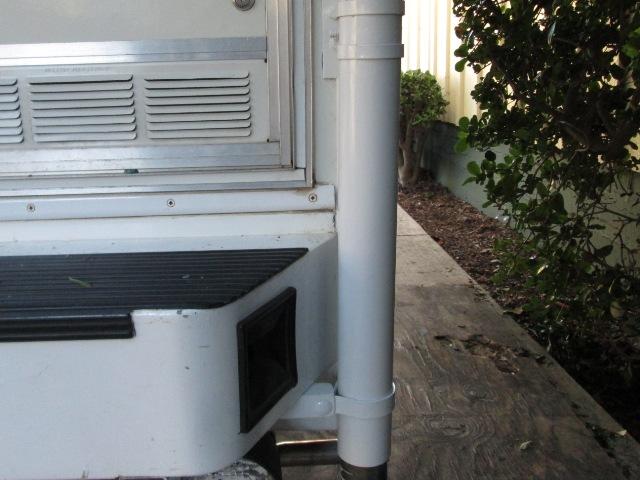
Water getting passed broken top external caulk or thru un caulked screws would have to go inside between bumper flange that s bolted to camper floor. Unfortunately I can't move down to cover seam, though that might not be a good idea if I could, might be problem as bumper does flex a tad. With the large screws thru filon above and to reach past bumper seam would need to be wider. What I do find odd no putty tape but more is they just didn't simply use the self stick vinyl seam cover. The filon is screwed-so the additional screws to hold on trim don't do anything? If I had removed this before I ordered the seam cover for the passenger skirt I would have ordered enough to cover this. Writing this though I realized the ridged trim does serve function. As lower edge of filon is screwed directly to aluminum frame, it probably would have come loose long ago. It also keeps the filon flat. Still I am puzzled this wasn't sealed.

Back to Ourelkhorn Camper Modifications page