New roof = No cab lights; installed wireless solar LED ID lights on cab roof
First try at ID lights without drilling new roof-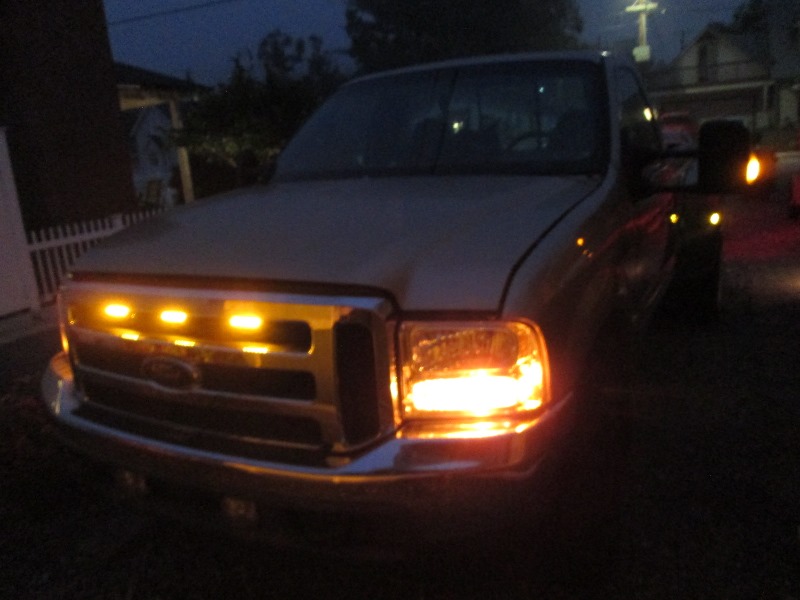
Recently replaced rusted out roof panel in truck and then installed ID lights into grill as I didn't want to drill new roof for cab lights. While this work around may have satisfied legal lighting requirement, driving truck with out cab lights bugged me.
FYI
I'll mention what the lights mean. Yes the 5 cab lights have a purpose and state something. Like when a rear red light comes on means vehicle is braking. The 3 center (ID) lights mean presence of wide vehicle (80" or more), the 2 outer (clearance) lights show width
Excerpt from Federal NHTSA light codes;
Front Clearance Lamps: Required for vehicles (80") 2032mm wide or wider- Show vehicle's width- Minimum 2 yellow at widest point - symmetrical - on the front or near the front - facing forward as high as practicable
Front Identification Lamps (ID): Indicate presence of a wide vehicle- Exactly 3 yellow on the front - center - horizontally spaced 150 mm (6 in.) to 300 mm (12 in.) apart as high as practicable or on top of cab
AS majority of aftermarket cab light installs are on standard (less than 80" wide) trucks, spacing requirements I imagine dont apply.
I had seen these C.O.A. solar powered, 3M tape mounted wireless lights but couldn't get past the price. I decided to try installing off the shelf after market hardwired lights but use molding tape to mount like the COA lights so only 5 holes instead of 15 would be needed. I found lights that had a full solid base to accept 3M tape for mounting, and replaceable LED bulbs verse circuit board. (which all the cheap lights leak/sweat internally and the LED circuit boards fail with no way to fix).
Ordered them, $35 and some 3M molding tape but after arriving I pulled the lights from old roof panel to get some placement measurements and found under the siliconed bases ALL the drilled holes were badly rusted. I had zinc primed, painted & siliconed before and after install including the mount screws. They hadn't leaked into cab but within in another year or so would have rusted thru. Rather amazed how much rust, though 10 years old. And right there I decided no way am I drilling even 5 holes into roof.
- back to square 1. I want roof lights so revisited the Cab Over America wireless lights.
Pros: They require no drilling thru roof, require no wiring.
Cons: Other considerations, other than initial cost, is the solar battery packs have limited life span and will need replacing within 3 years. Currently $125 for 5 replacement battery packs. caboveramerica.com. Lastly is the lights are operated by a remote fob, they do not tie into dash light switch, not a real issue in my opinion but is for many. Available w/ clear, amber or smoke lens and clear LED with filters if you want amber lights.
All that said...Ordered the C.O.A. lights.... Lots of information about installing on their web site, several you tube videos. Basically after measuring where you want them, cleaning roof is peeling tape and sticking down. The mounting plate can be slightly shaped to fit roof curve if needed.

Each light is 4 pieces: Aluminum plate with 3M tape and studs for lens that is mounted to roof, rubber base that sets on top, battery solar light pack that sets in base then attach the lens (color of your choice) with small nuts. Kit comes with 2 remotes, cloth tape to help place lights and amber filters to change light color.
Mine are on the mail truck and should be here shortly. I wont go into much detail repeating the installation. My spacing will be to try to get as close to window as possible with the least amount of curve.
Installing....
Note installing does not take much time, however instructions state after applying metal plate, allow tape adhered to roof to sit 12-24 hours before installing light, so allow for a second day to mount battery/lens and nuts
First is washing roof then measuring and marking for placement.
Second and main task in my opinion is laying out the center light. Everything else is measured from it. (NOTE if leaning on your roof place towel or something to keep elbows from denting, be careful.)
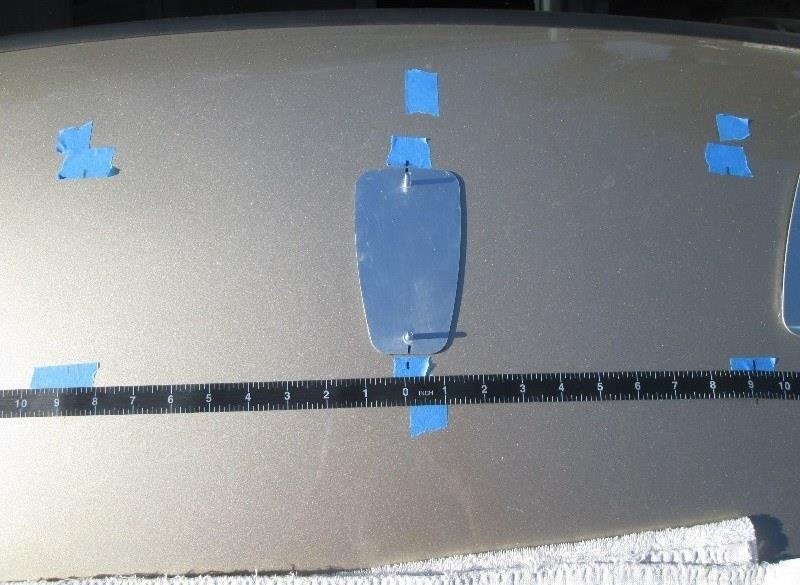
The included center 0 tape helps. Measuring across from doors above and below where light will set to mark center so that light is perpendicular to windshield. Not shown but I set rubber base on the mounting plate to get distance from windshield. Then removed the rubber base while holding mounting plate in position then measured to front edge of mounting plate. Want it as close or forward as possible but need to minimize the curve. On mine center light plate is 5" to front edge.
Double checked distance from doors equal. Placed a piece of blue tape at front and back edge of plate, marked with center lines.
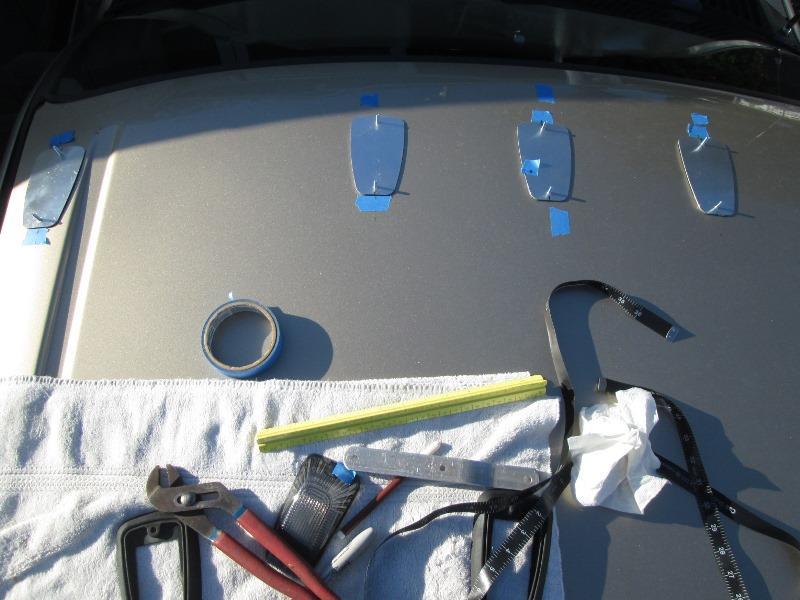
Once happy measured out either side 9" for next 2 lights. I want mine mounted straight across so 2 outer lights are slightly closer to window. Remeasured everything and eyeball making sure they were where I wanted. With locations marked then its slowly shaping the plates to fit curve of roof. Mine a little more than 1/16" crown so slight bending of plate to ensure full contact of mounting tape. Once bent to fit its time to install.
Rewashed area under lights with alcohol. Marked center on mounting plates then remove backing film from mounting plate tape. Holding by the screws carefully align back edge to blue tape and center lines then lower front edge watching center lines. You only get one chance. Once down firmly push plate and hold, making sure plate/tape fully contacts roof for at least 30 seconds.
The outer lights marking width of vehicle I want as far outboard as possible. On early 2000s Ford there are indentations on roof, factory placed light inboard of this but I think to close to center lights. Personal choice. However between roof ribs and door surface is compound curve so a little extra shaping required. Slight twist along with bending to make plate set flush.
Once marked and plate shaped, I again washed with alcohol, and placed outer mounting plates. It is recommended to let the plates set (12-24 hours) before mounting lights to ensure tape is bonded. Especially if plates bent to shape, tightening the nuts securing lens can pull the mounting plate up.
Next day...
Inserted the LED/solar battery packs into rubber base. Installed the lens and secured with 8-32 stainless acorn nuts (I'm a block from the pacific ocean so didn't use supplied nuts). I installed finger tight snug. Because the plates are shaped to fit roof the base and lens my have a gap. Urge is to tighten to close the gap-dont! At least for a while, the longer the tape sets the stronger the bond. Over tightening, beside risking cracking lens, is creating an upward pull on the plates possibly loosening the 3m tape.
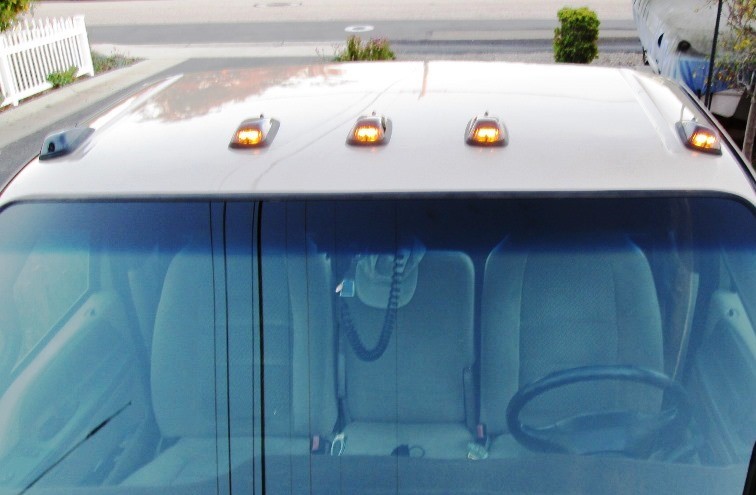
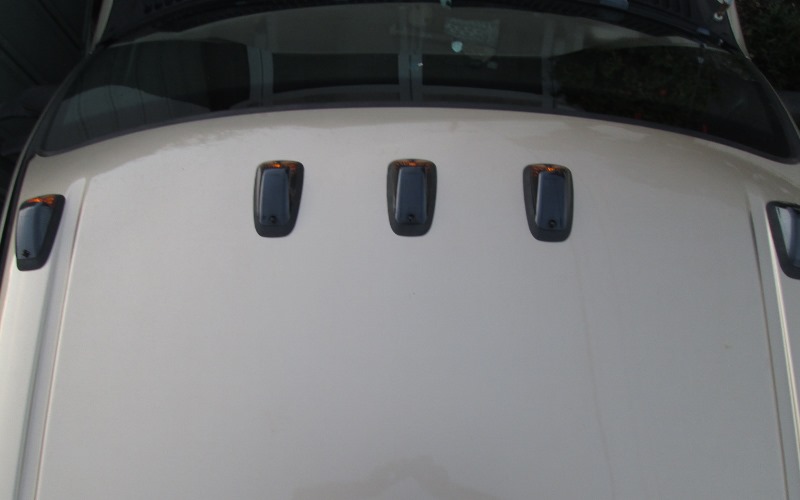
I do have one light that doesn't come on- C.O.A is sending replacement. However I'm pretty stoked. I used 2 amber filters on each light to more closely match other amber lights.
Even with the doubled filters lights are pretty bright
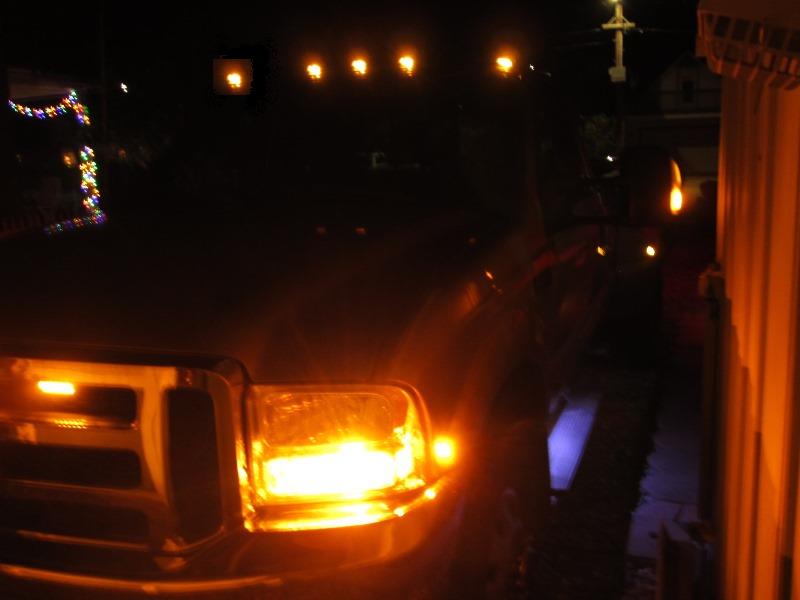
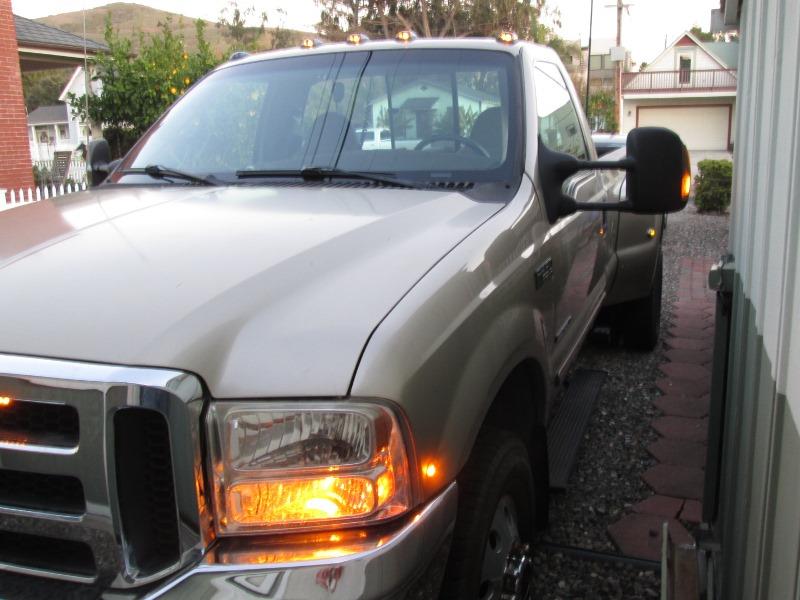
Nice, cab lights!. These were so easy to install, no drilling. No dropping head liner to rewire. Really like them.
My only dislike and rather minor, is the remote fob for turning on /off and not tied to trucks light switch. Just need to remember. Due to we haul a camper and cab lights reflected off nose I had placed a manual switch on original cab light wiring to turn off. Though wiring is no longer connected I could use the switch and its pilot as reminder to turn off the COA lights. Second is somehow attach one of the control fobs on or to dash. Things that could be done..
Update:
Added an in dash pilot light as reminder/indicator when cab lights are on (or off) that is controlled by the COA remote. Swap buttons between COA remote and the new remote (On/Off instead of symbols).
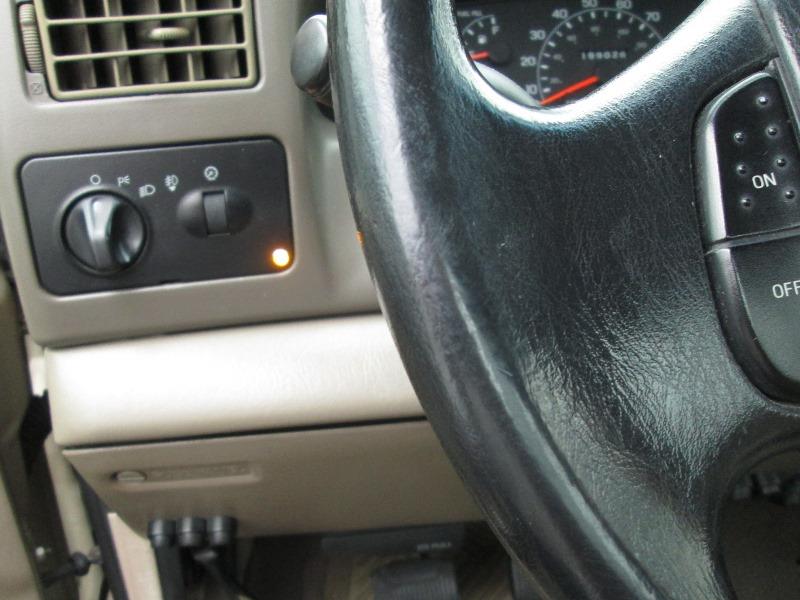
I used a small RF remote controlled transmitter/receiver that switches a small LED pilot paced in dash. Fortunately I was able to pair new receiver with the C.O.A. remote so it both turns on/off cab lights and the new dash mounted pilot light. I was unaware these could be had. The new remote reciever is mounted behind dash, powered by truck sends power to pilot when cab lights turned on.
Unit I used was the least expensive but ordered a 2 pack to match the COA remote 2 button style. https://www.amazon.com/dp/B09CYMB6FS
IF I could I'd use the new RF remotes as they say on/off instead of the silly symbols on the COA remote- couldn't figure out how to get the lights in paring mode. But this works.
AND FIXED, swapped buttons. The silly symbols bugged me.
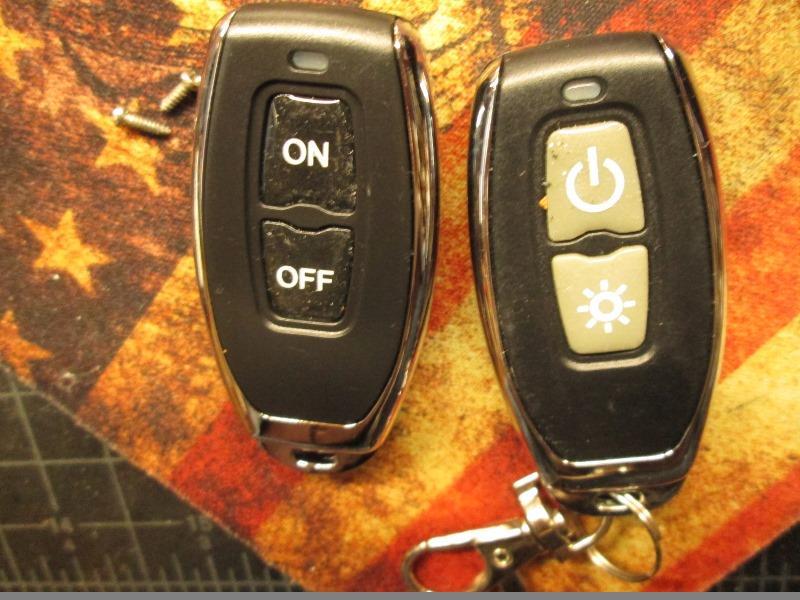
On the left is unused remote that came with the receiver, right is the COA remote. I thought would be as simple as swapping the rubber button pad between the 2 remotes, however the COA ON is the starburst pattern at bottom of remote, OFF is the power symbol at top. Opposite position of the pad I want to use.
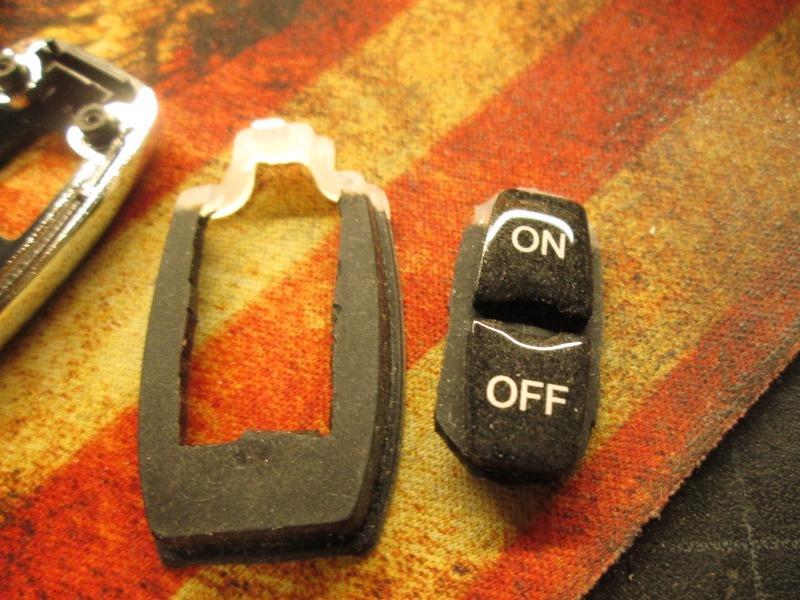
So I cut out the center of button pad of unused remote...
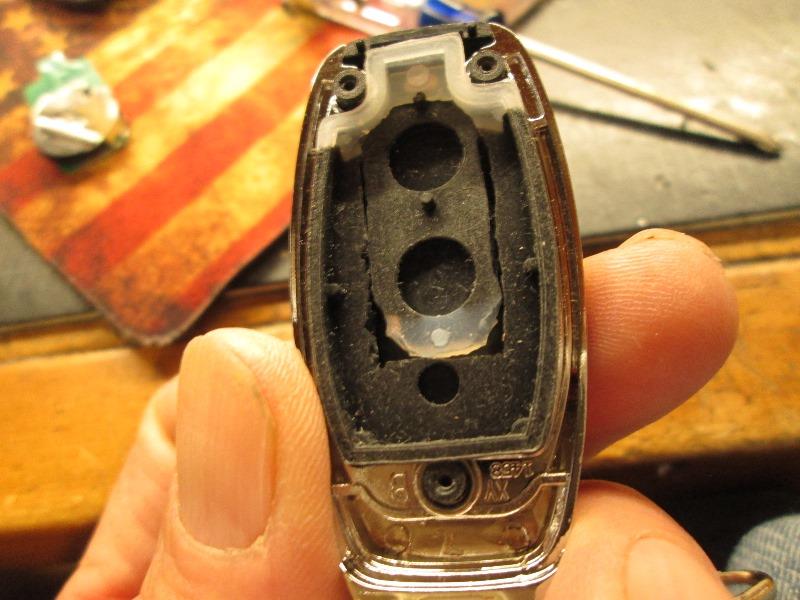
Placed into the COA remote with the center piece rotated. Cutting the silicone pad even with new sharp razor blade not that easy. Close enough to work
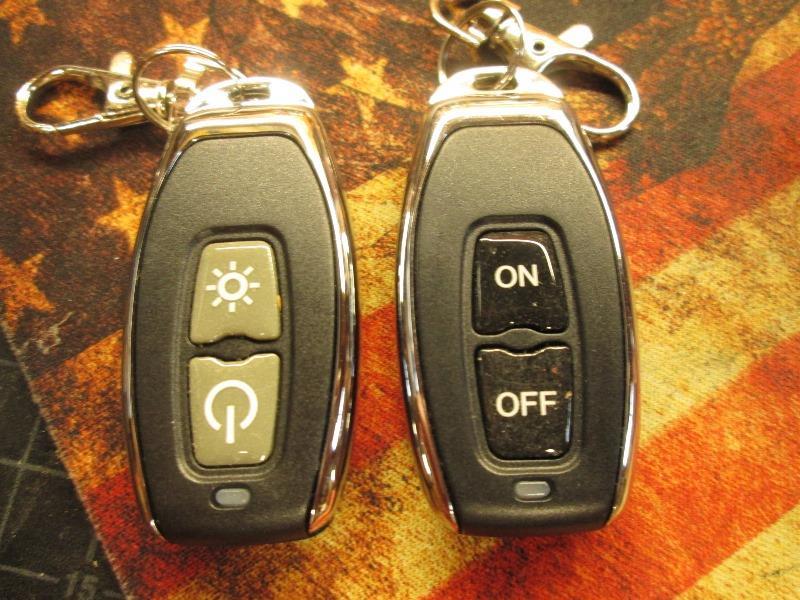
Modified COA remote with cut/swapped button pad on the right. Spare COA remote on the left which Im also going to modify. Just a lot more intuitive turning on/off.
@ notes, currently wired to constant power but the reciever once programed retains memory so it 'could' be powered by trucks lights switch so its only powered when truck lights turned on. Would save the minimal milliamp standyby power the reciever uses. I have enought parasitic drains, however if lights turned off before cab lights turned off, indicator pilot reminder defeated. I'll likely rewire though and tie to park light power to get rid of constant drain, albiet minute.
Made a short video showing the RF switch, no real info.
Video link to ~ 5 minutes https://youtu.be/jN5affA9Uew
Just FYI. Another unit is https://www.amazon.com/dp/B07TGHNQZH. It comes with relay, handles more amps and has case to cover receiver board. I used a loose piece of shrink wrap to isolate the board.
Back to our F250 truck page
Back to Ourelkhorn Camper Modifications page