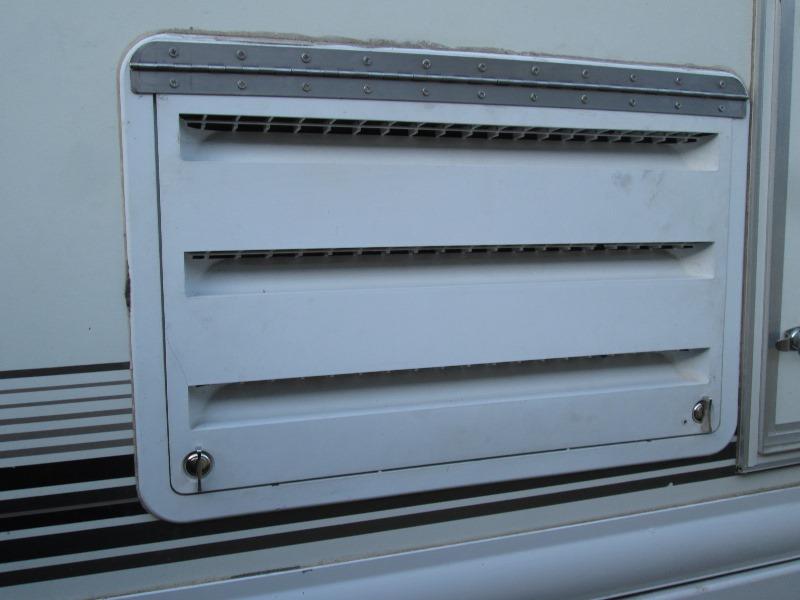
Convert refrigerator cover to hinged
Our refrigerators lower side wall cover has warped to point top clips barley stay engaged. Then I broke one of the twist pin locks. To keep it from falling out on the road drilled hole thru cover and screwed it to frame. Really needs replacing but it worked.
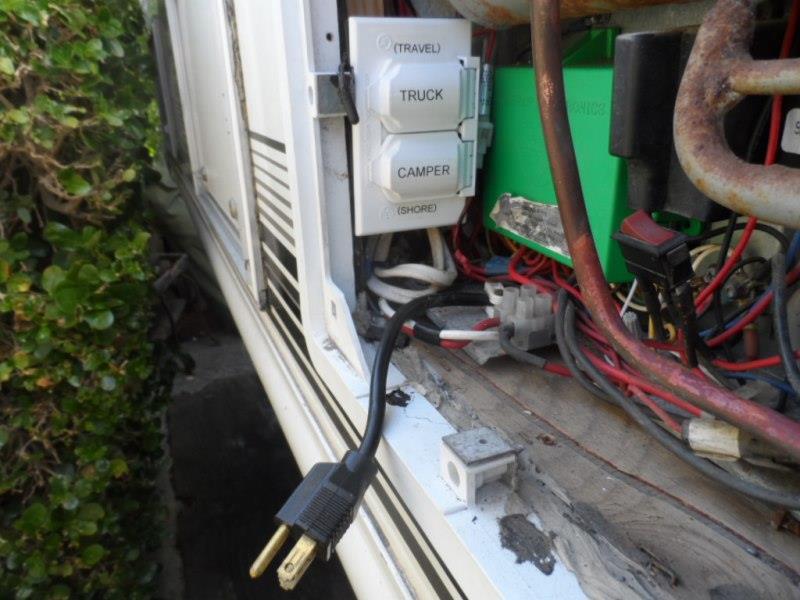
Recent addition of a split AC receptacle to plug fridge into camper source or inverter supply from truck necessitated revisiting as I need easier access to back of fridge and its power cord. Decided to try and hinge cover. Never understood the way these RV wall covers are designed.
Unsuccessfully looking around to see what others may have done, went with first idea, ordered parts to add piano hinge to cover
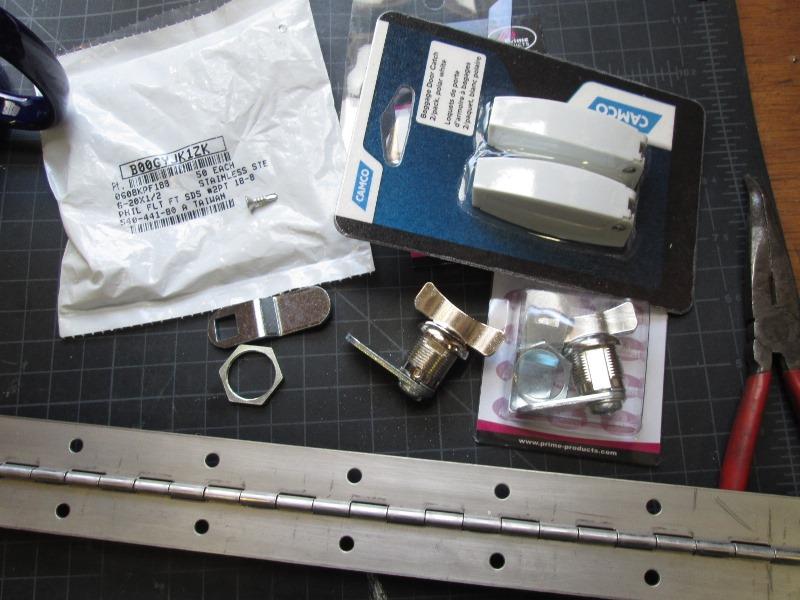
30" Stainless piano hinge
bag of stainless #6-20 x1/2" self tapping screws (still drilled 7/64" pilot holes)
2 non keyed baggage locks
pack of baggage door catches
Should mention the hinge and screws. I went with unfinished, not polished or plated as I intended to paint white. However the color sort of matches aluminum trim on other doors so leaving raw. But its the screws, most full hinges come drilled for (and may included) small #4 screws. I went with #6 coarse thread as these will be in plastic. Just more grab. Though I pre drilled pilot holes 7/64", I used self tapping screws. They will further self clearance the holes. The reason is I want to minimize any pressure screws might apply trying to expand the holes, in plastic that would lead to cracking. 2nd is self tappers, the points are not as sharp as they will be thru and exposed on back side.
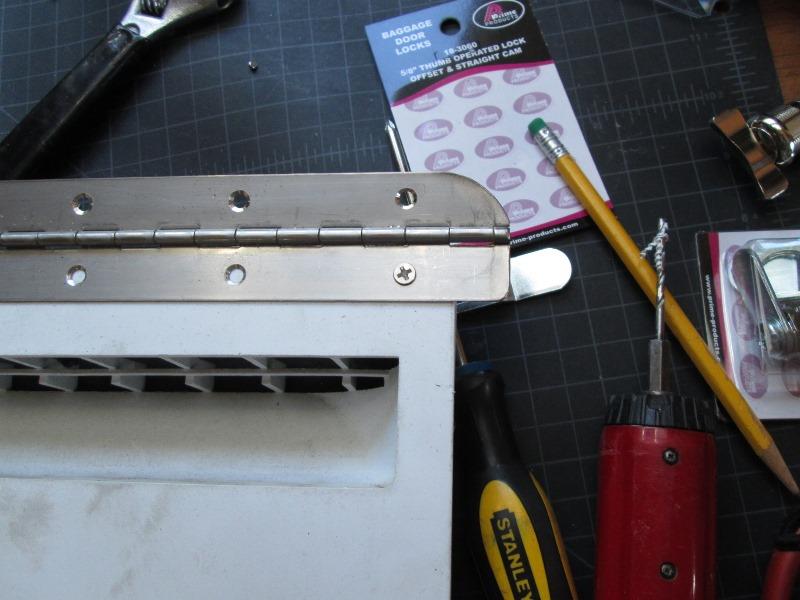
With that said using #6 screws required enlarging the holes in hinge. I used a countersink bit on drill press, a large bit 3/8" or so would work. Just want to increase the counter sink to accept #6 screws but don't want to punch thru.
Several back and forth trips to camper to get length, cut both ends of hinge to get holes symmetrical. Then several more trips to match radius of frame.
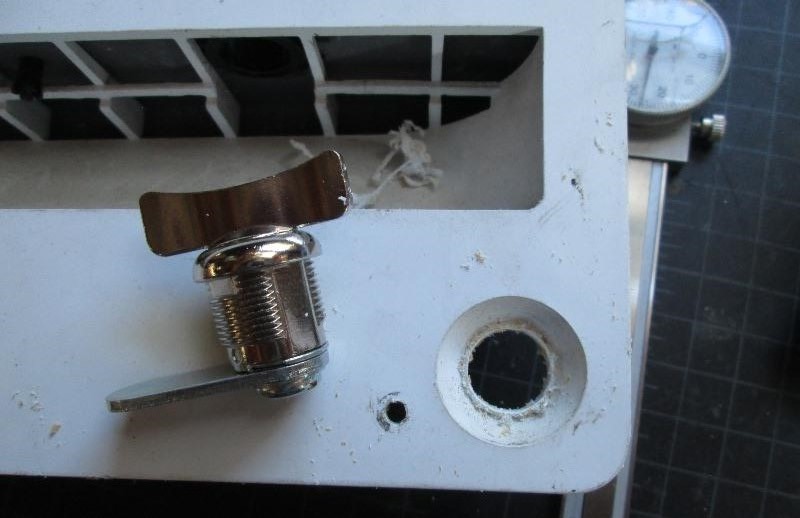
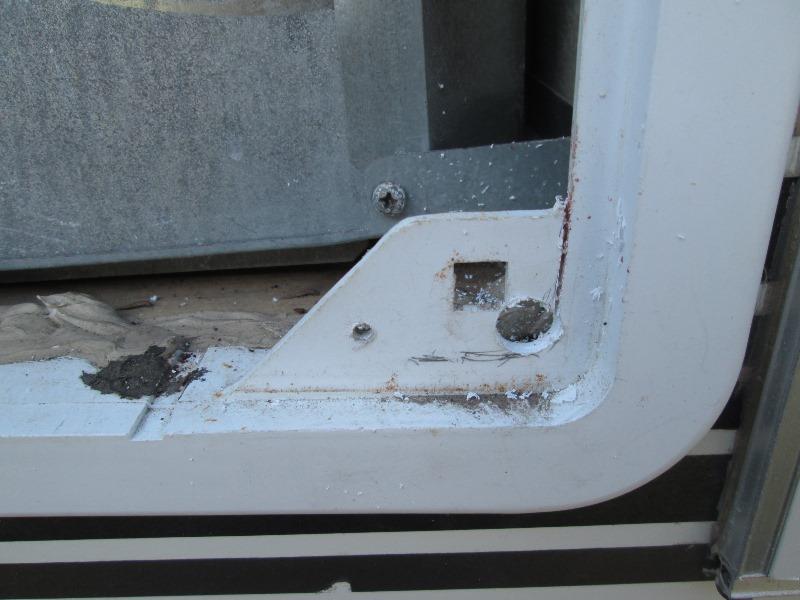
With hinge ready to mount, changing the twist pins to thumb locks. First enlarged the thru holes in cover to 5/8", width of flats.
Then filed top and bottom increasing to diameter of lock body. Once lock inserted this serves to capture so lock doesn't spin.
Before mounting you need to verify swing. These are 90° open/close. My right lock rotates clockwise to open, left side is counterclockwise. Reason is the latch arm needs to swing down to catch lip of frame to hold closed but needs to swing to center of frame to open. The latch arms can set one of 4 postilions on the square shaft, but also the washer that engages the stops can be rotated. Complete adjustability of orientation of arm and position it hits stops.
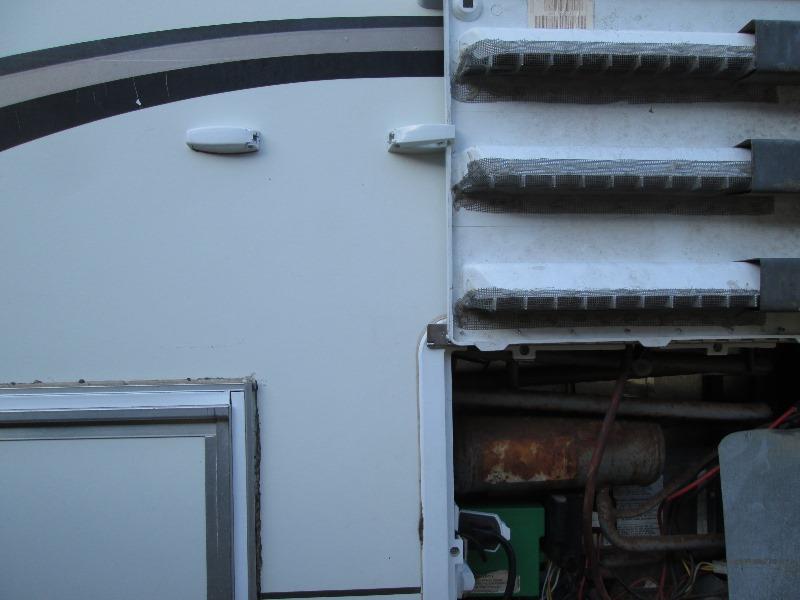
Inserted and hand tighten nut. These are in the original recessed holes the material is a bit thin. Don't over tighten nut as this will pull lock into cover, handle will rub. Once set I used hot glue around back side of lock body to capture the nut and add stability. This was a bit fiddly. Now to modify frame to accept the latch arms and get arm lengths
Drill hole in corner then used blade removed from hacksaw to cut off excess plastic.
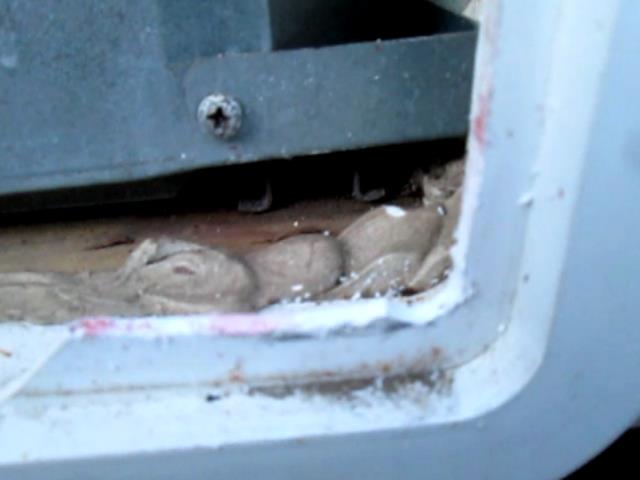
Nice fuzzy picture, bottom lip is what latch arm engages.
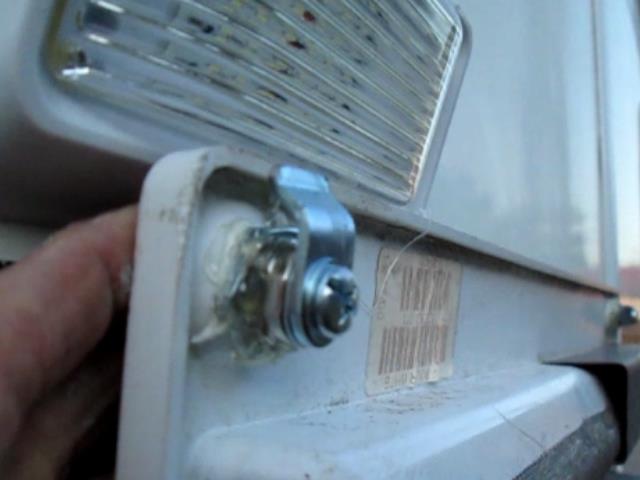
Used the included bent arms, shortened quite a bit so doesn't hit bottom of frame (or hang outside of cover edge).
Mounting the cover. Sat cover in frame, install a screw at both ends thru hinge to frame. Verified cover swings freely clearing frame then drilled remainder of holes both in frame and cover. Remove the hinge and ran a bead of caulk. where hinge sets. Though to seal, mostly for the surface adhesion of hinge to plastic. Reinstall hinge on cover then to frame.
Once cover installed adjusted the arms to snuggly latch. This involved removing the arms (DON'T LOSE the WASHER!) and bending a few times. Mostly don't want to tight (grinding the plastic) but snug enouhg cover doesn't move.
Install the hold open catch. Got lucky as height even with existing latch. No more screwdriver to open, no more laying cover on the ground in harms way if I need to do something at back of fridge. Or walking around to fridge half expecting cover to be gone. Normal use just to access the power cord likely wont be using the hold open latch. Flick the latches, swing open, move cord, re latch. Easy access.
Short 'action' video...https://youtu.be/SI8MUt8-guA
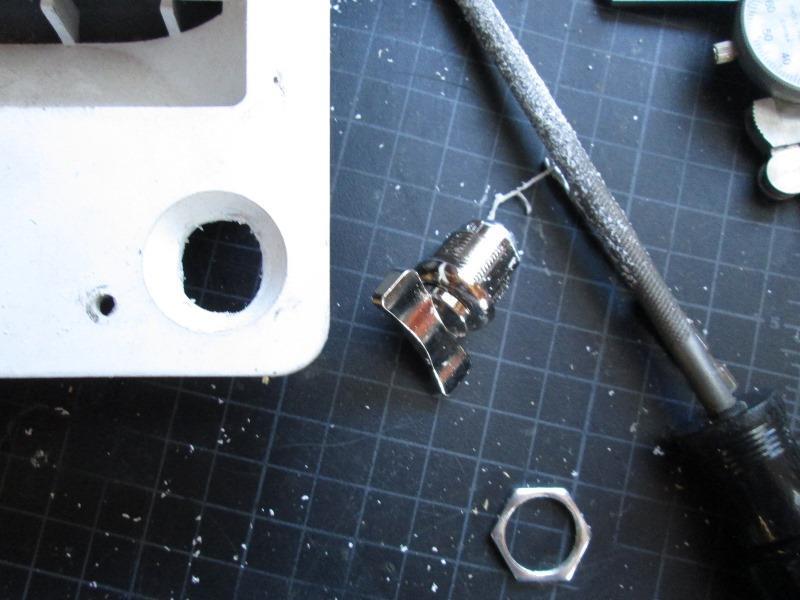
Related inverter install page Truck inverter
Back to our F250 Truck page
Back to Ourelkhorn Camper Modifications page