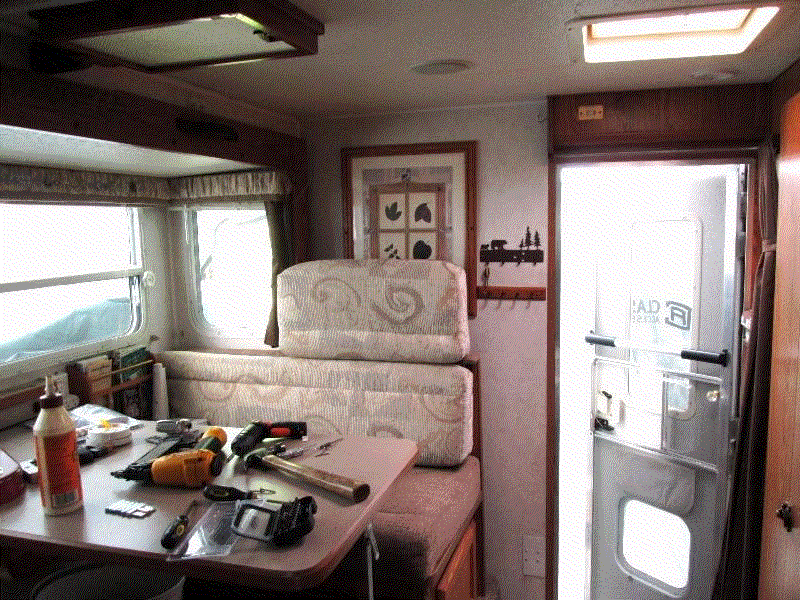
A place to sit
#A Intro/ fixing existing front seat bottom platform
#B Angle rear seat bottom cushion
#C Angle rear seat back cushion, add stays to contain bottom cushion
#D Recut front seat back cushion
#E Rear seat head rest...and done
#F Well change the now too large picture behind seat
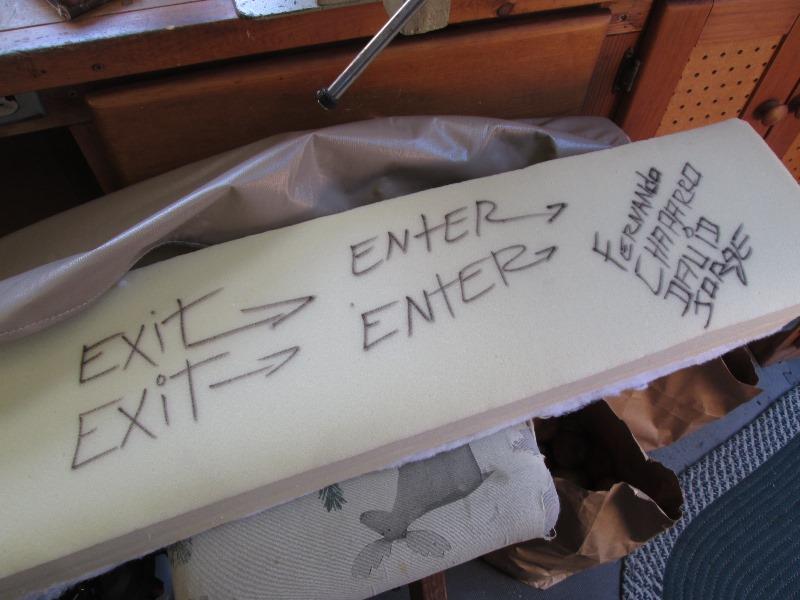
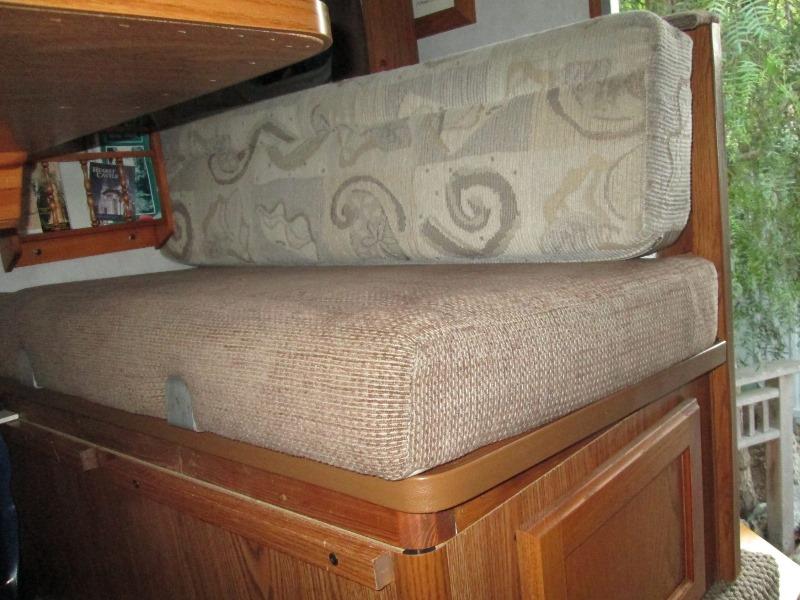
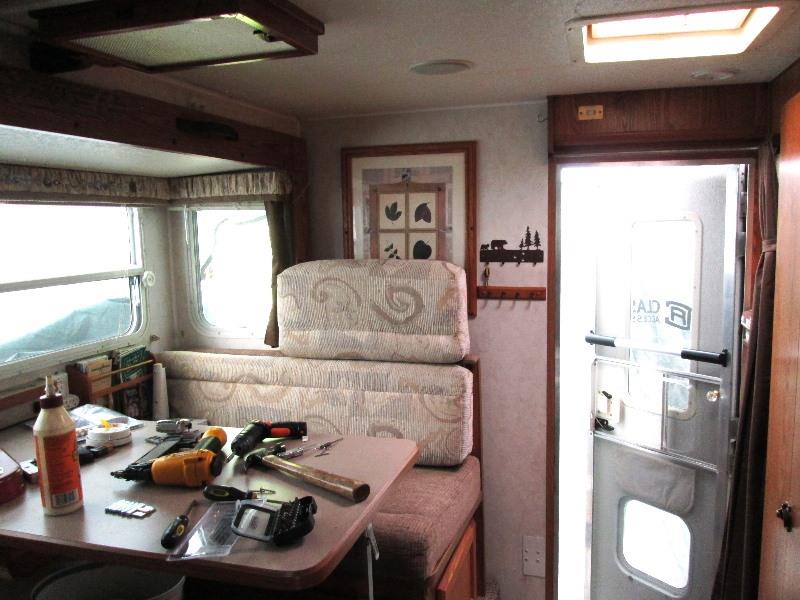
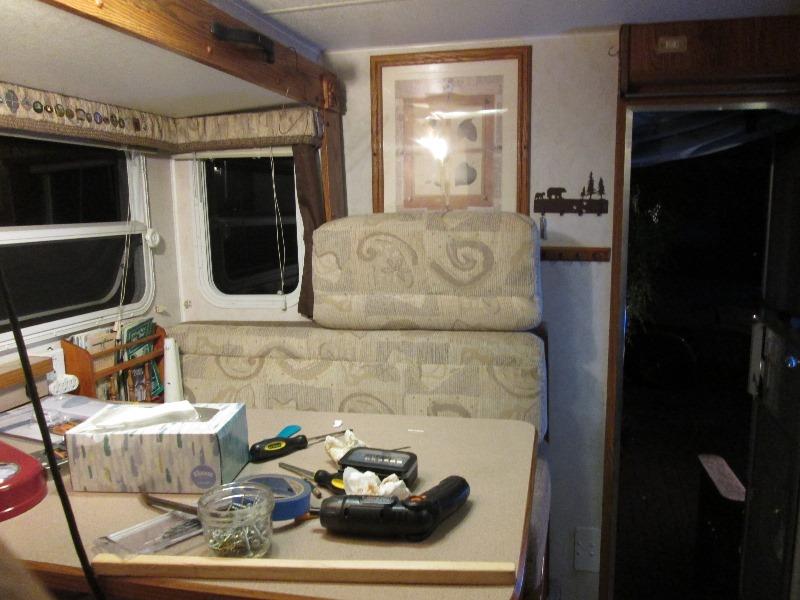
I happened to have a piece of 1/4" Plywood-some old cushions from an old bolt together couch, made of rolled 1 1/2" foam, about 24" X 4' long when unrolled. I also had a bag of batting left over from a speaker project.
I cut plywood to width of Dinette and at a height to catch my head. Made large back rest! When I finally got it into the camper, tilted to just the right angle and set in it...ohhhh nice.... but it wasn't that comfortable. Felt like you were going to slide off. I figured out it was the dinette cushion bottom being flat. I simply placed a piece of 1/4" ply with a 2X4 underneath at front edge of cushion - wala!
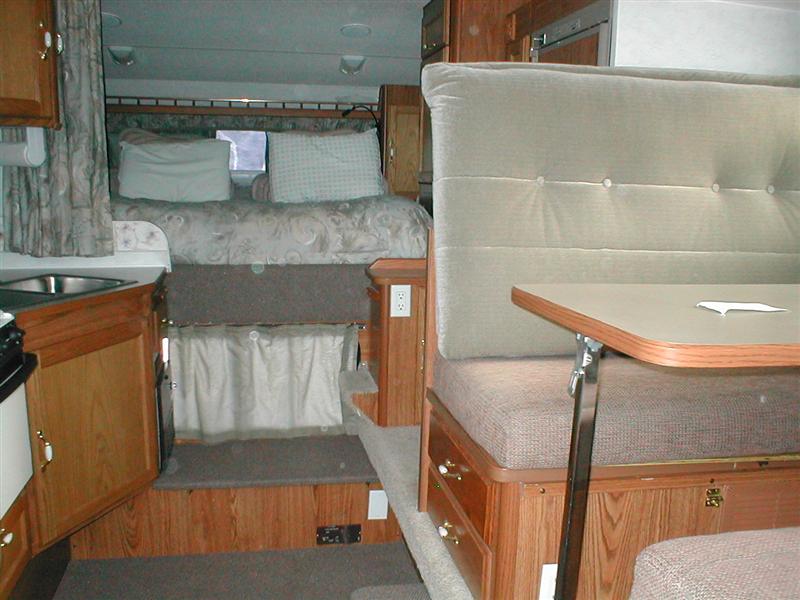
Which worked to angle seat bottom...
Couple of issues, the 2x4 is always sliding out or the cushion is or both. Second, as we generally sit across from each other and I hadn't done anything to other seat, we're always playing musical chairs.
The comfort overrode issues but finally addressing both the sliding seat bottom and the other seat to make it more comfortable.
First the sliding seat...
(Note: This is what I did to fix-however next day I took out replacing with wedges under seat box lids getting rid of ply and 2x4)
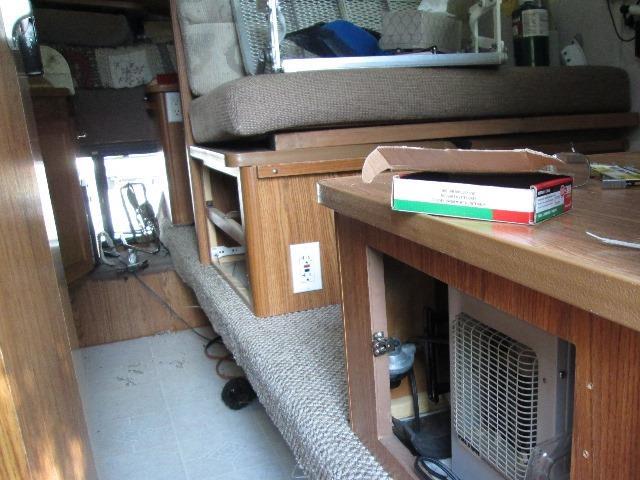
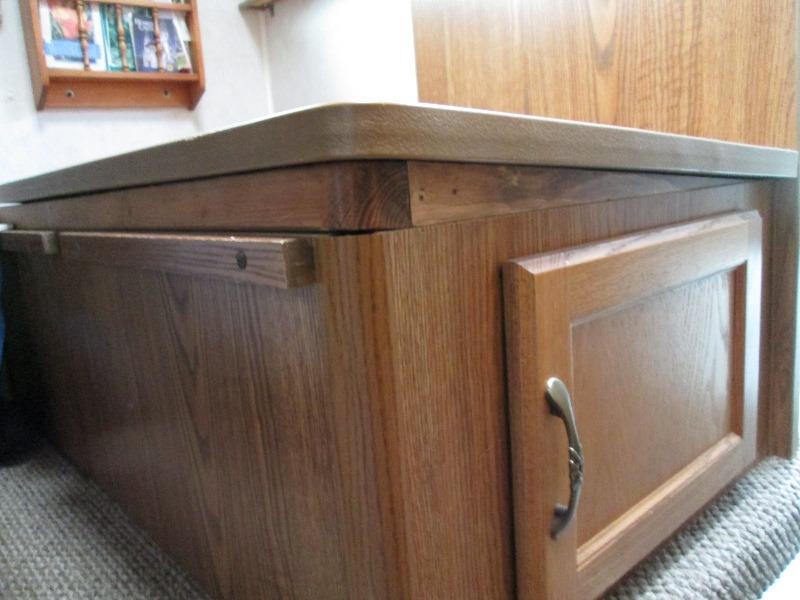
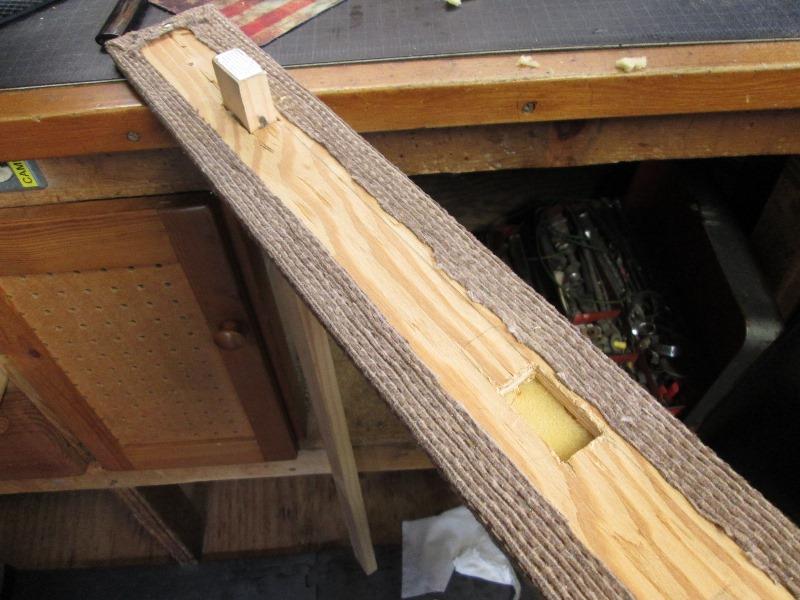
The sliding seat bottom. Working with what's already there simplest was just attaching the 1/4' ply to the 2x4, the pinning it to the seat box.
I ripped the 2x4 in half length wise, didn't need to be so wide. Then cut a notch into it for the ply and stapled ply. Stapled a piece of 1 1/2" lattice across the front to contain the cushion
Not that really shows but simply drilled holes thru the ply and top of seat box. Glued 2 dowels into ply so it just drop into seat box holes and keeps from sliding.

Also added a snap buckle strap to keep the large cushion upright and on seat. Sometimes while traveling, though often falls against table-couple of times it was out in the aisle.
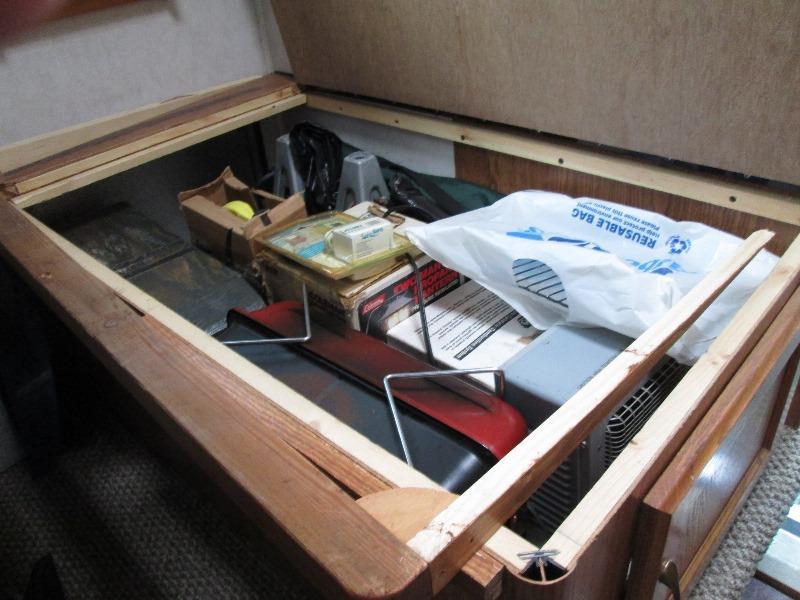
That was easy-so easy kept wondering why I hadn't done originally. Continuing on to the rear seat but not wanting the extra 2x4 and plywood to slope bottom I used wedges under seat box top to slope. Worked so well came back and redid this seat bottom-getting rid of the extra plywood and 2x4 (that I just fixed)
back to top
Angling rear seat bottom.
I briefly thought about making another back cushion. However matching material I bought 16 years ago unlikely. Second is window on back wall.
But more is the other seat box has a full hinged top we frequently access. Goal is to angle bottom and the back cushions for comfort & support.
So whole different approach to get rid of the 90° seating...
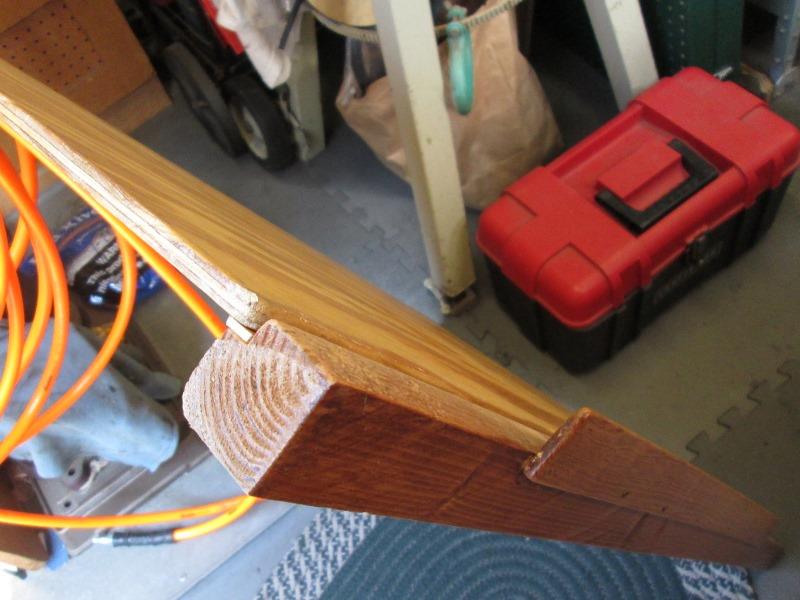
Instead of angled platform underneath cushion, as top is hinged, is add spacers under it. No extra pieces to be removed. Then build a small support to tilt the back cushion.
Used the cutoff from other seat for lead edge, split piece of 1x2 for angled wedges. Got to make a taper jig for table saw.
Glued / staple small piece of 1x1 so 'wedge' cant slide out. Drill center of lead edge to screw to prevent moving sideways.
Stained and installed. Angle seat bottom. Its close to 5°
back to top
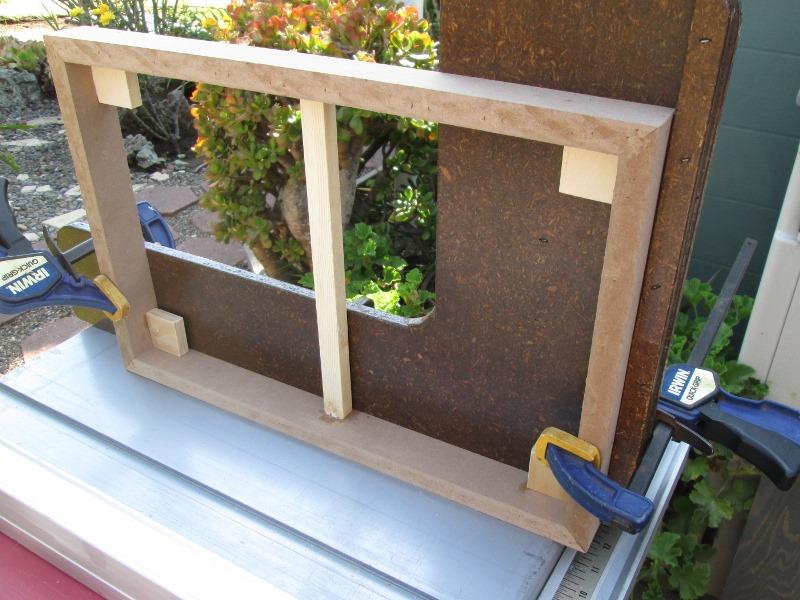
Angling rear seat back
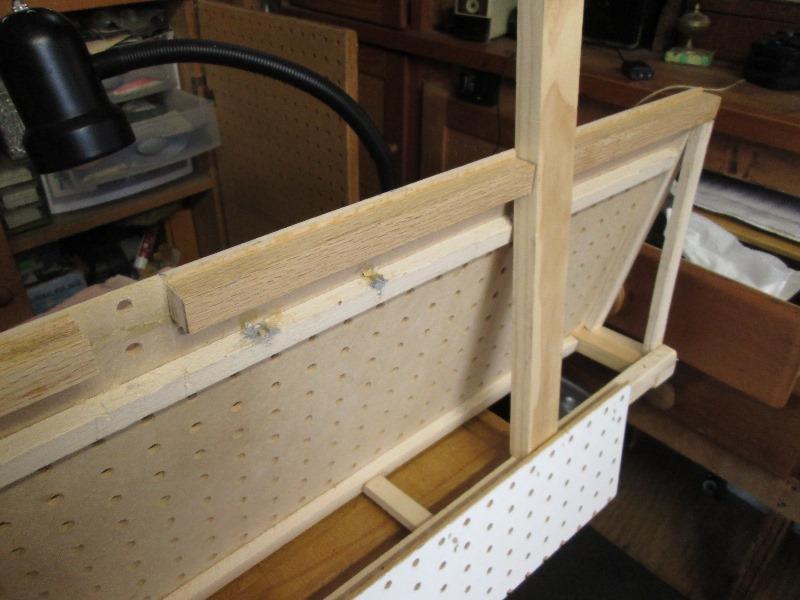
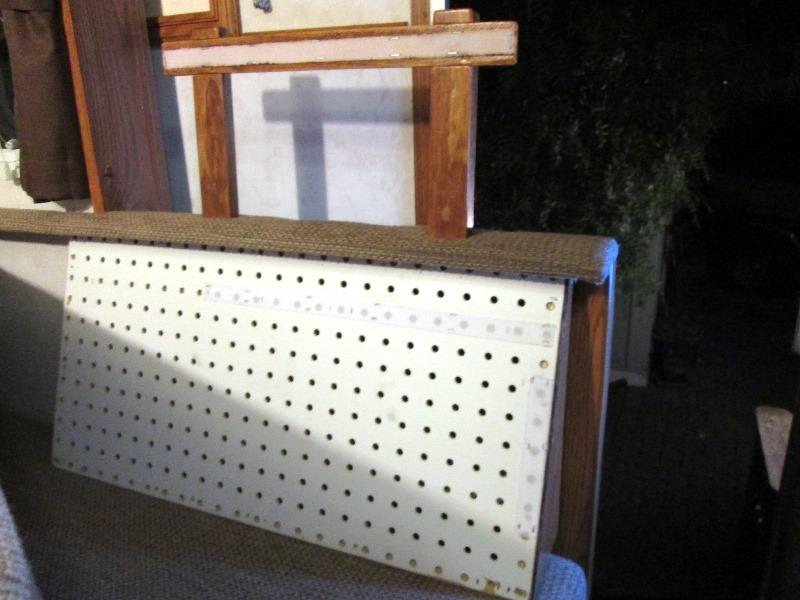
The back a bit more involved. Had a piece of pegboard and a bunch of scrap cut offs. Built a small angled box to support back cushion at angle.
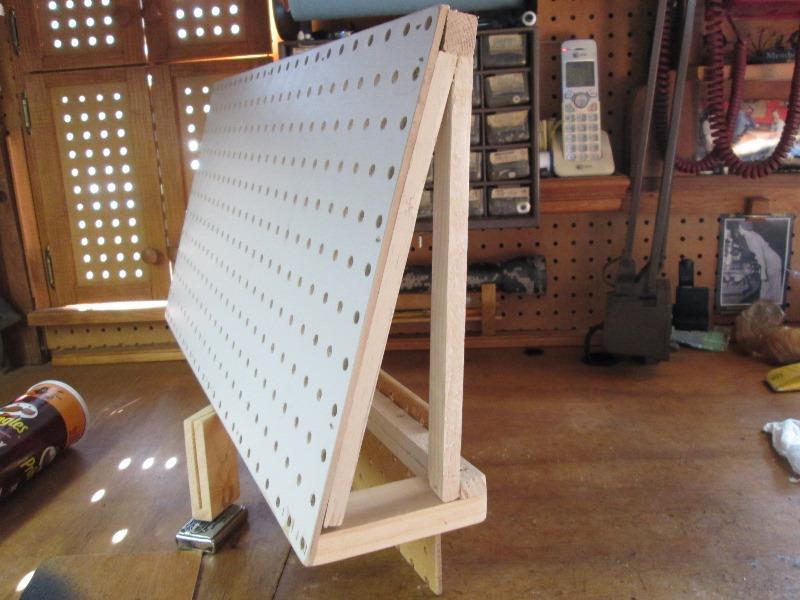 Basically the pegboard leans against seat back, small frame to sit on bottom cushion.
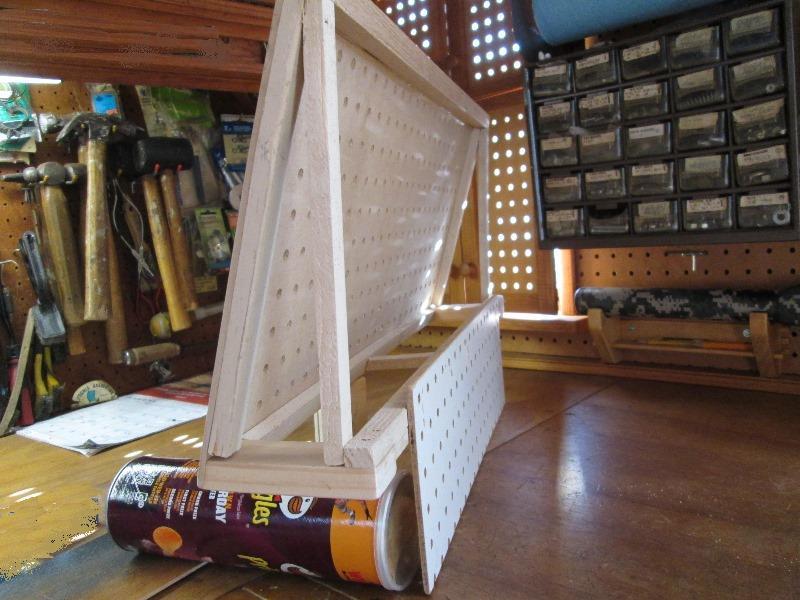
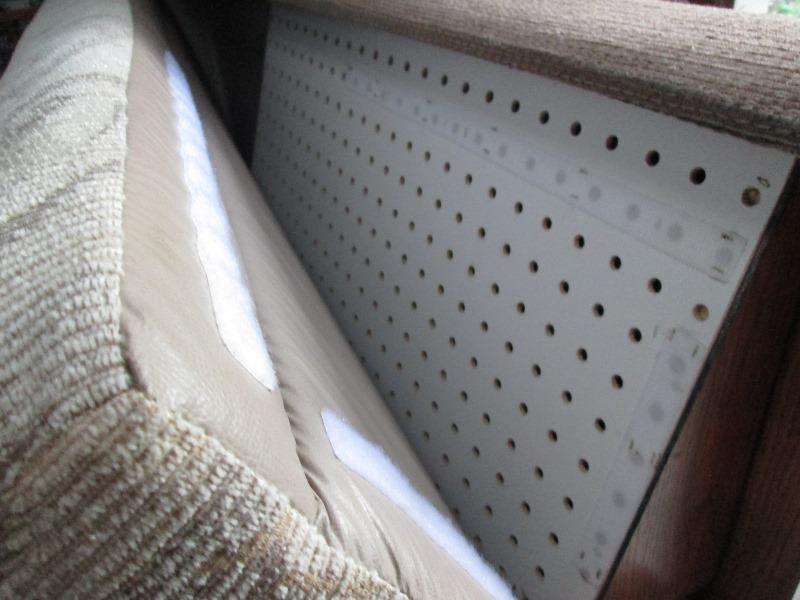
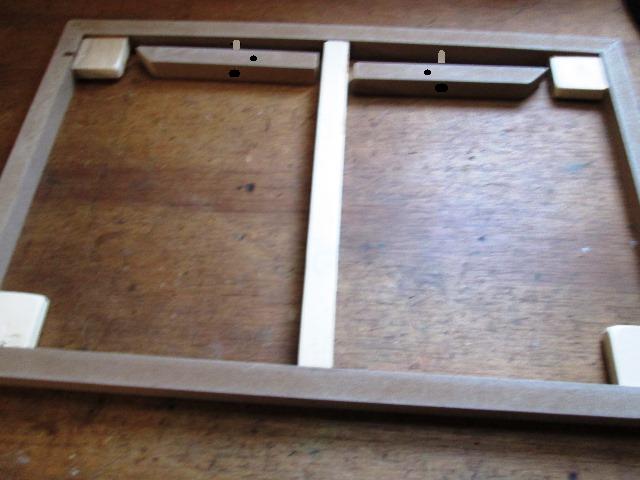
The vertical 1x's are only to attach plywood cover so cant see behind, though do add structure. Small scrap of pegboard to sandwich between bottom cushion and wall to contain. Ran the 1x strips to full height, this keeps top of cushion away from the top 'cap' that was used to contain the back cushion. When leaning back cushion would squish enough was always hitting cap with your back.

Added piece of matching paneling to cover space.
Placed in camper. Snug fit. Sand every thing round and smooth. May add something to ensure or minimize friction wear between 'box' and cushion TBD. Sat back cushion on...
Gotcha.. Little rack needs slight relocation.
As back cushion is now angled and further out it no longer is compressed to bottom cushion by the top back cap to contain.
So adding velcro strip to seat back cushion and the new box.
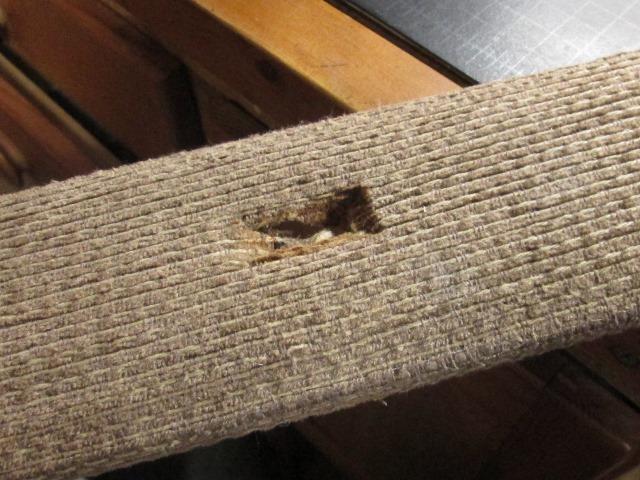
Removed the material to sew velcro and discovered this...wonder what they are doing now 20 years later.
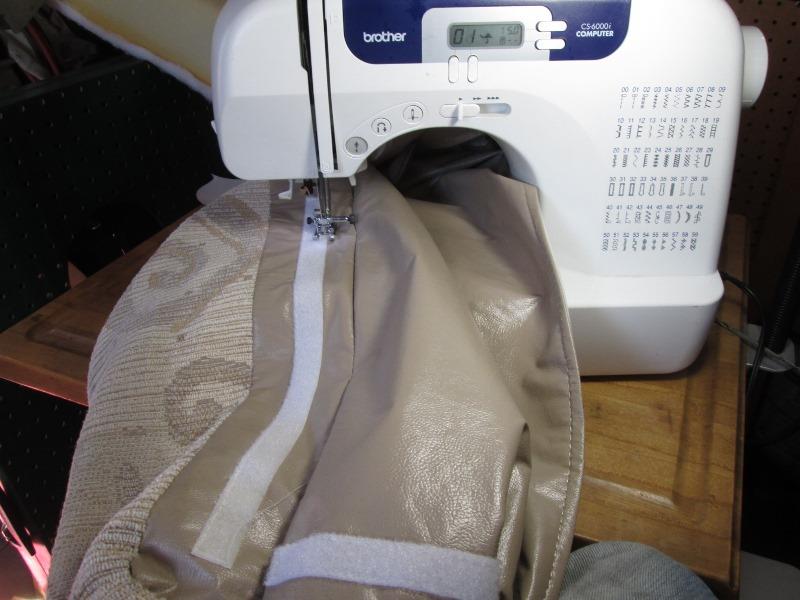
Used sticky back velcro to place and sewed. There is a cloth backing inside so vinyl shouldn't tear.
As the back cushion is no longer compressed to bottom cushion nothing holds bottom cushion. Plus it walked out on its own too.
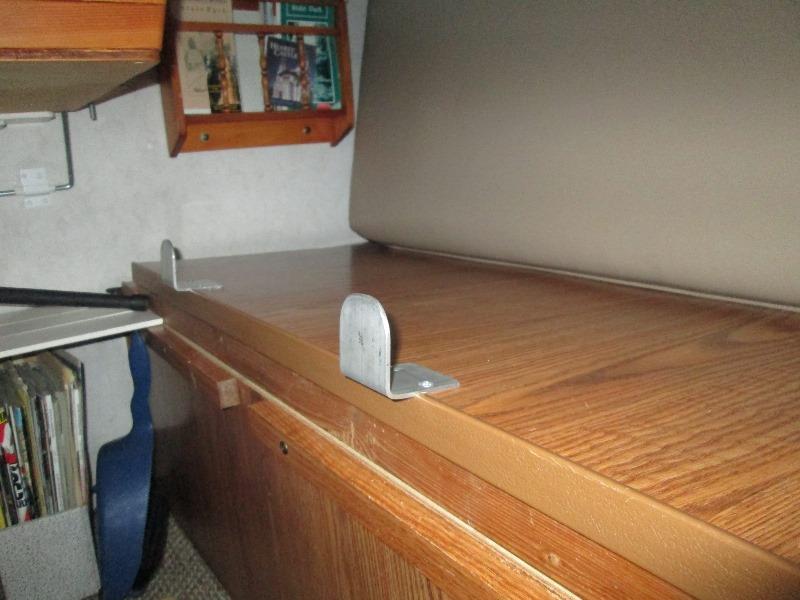
Folded couple of stays out of aluminum flat bar. While this works well as cushion sets about 1" beyond seat box, small area of contact compression so likely add length of lattice between temporarily. Need better solution, should be full width.
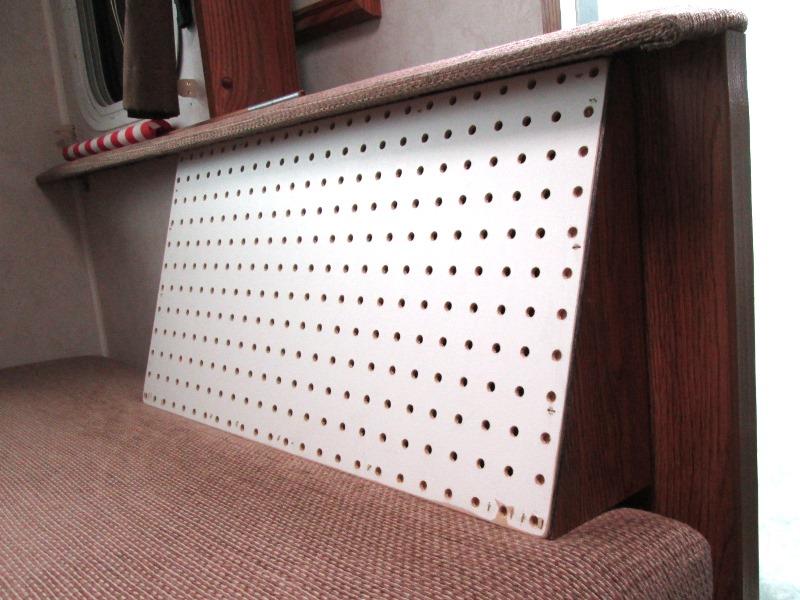
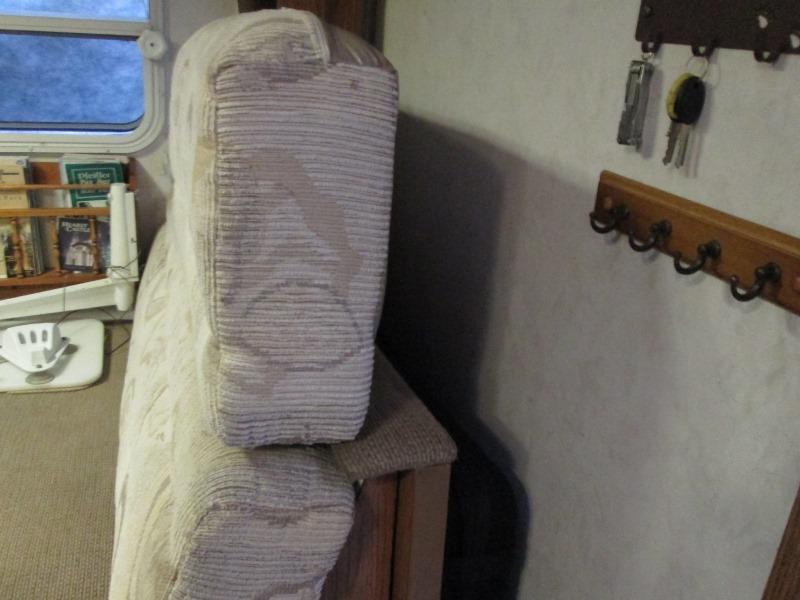
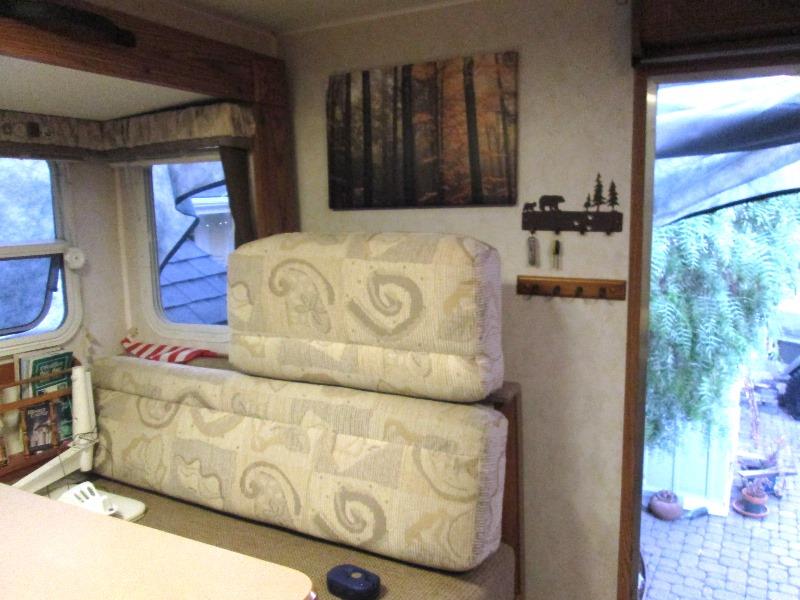
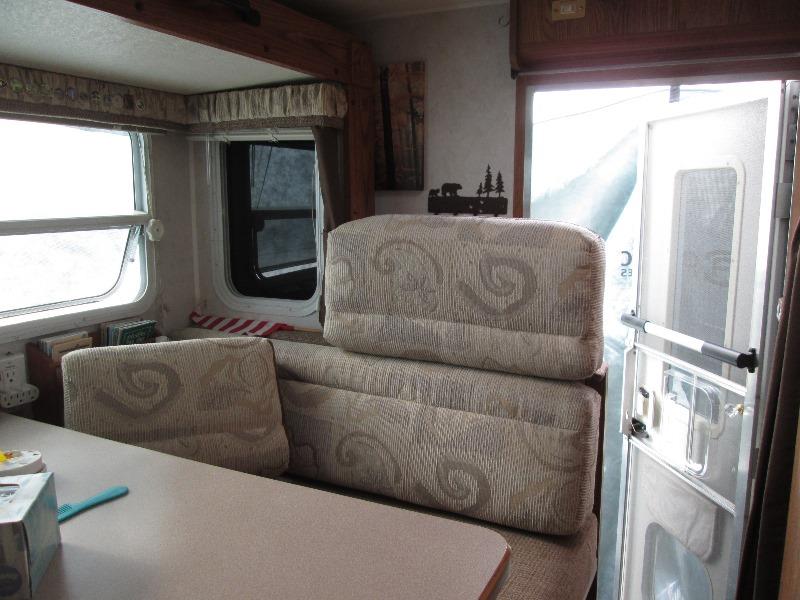
And done. The back ended up about 15°. Its actually pretty comfortable. Might still be wrangling for the big cushion but loser wont be settling for the bus stop bench. Bonus is both cushions are now completely restrained.
The only thing is now that this is done and really like - I cant help but think of revisiting the big cushion side. Though its seat box top is split, only half hinges, I could add the wedge under both halves and get rid of the large plywood. Both its weight and handling when accessing the storage. Maybe...but do have a lot of time....
Addressing front large cushion
Well revisiting the large cushion...
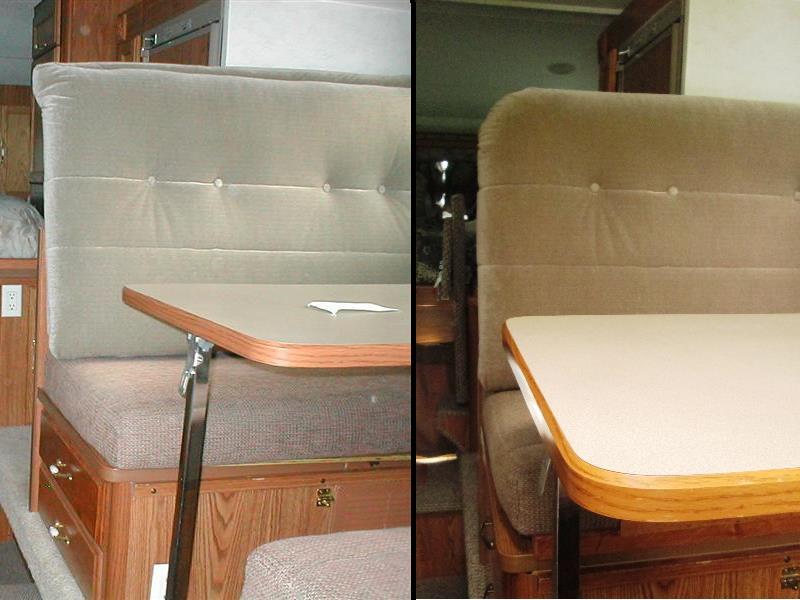
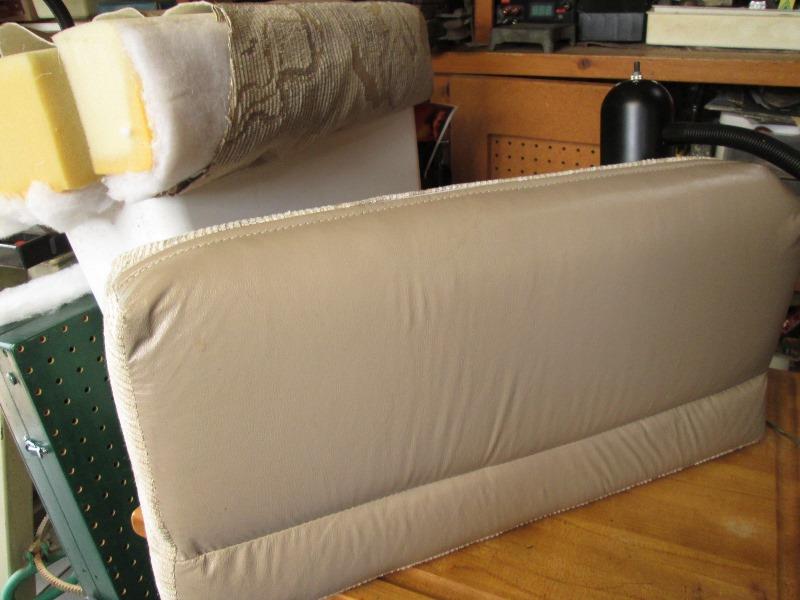
Initially looking at replacing what angles the seat bottom similar to the rear seat likely but what I should do is address the back cushion itself. The large cushion is about 3" taller than it really needs to be and the corner became untucked few years ago. Be nice to cut shorter and round the top corners. So took it to the shop
.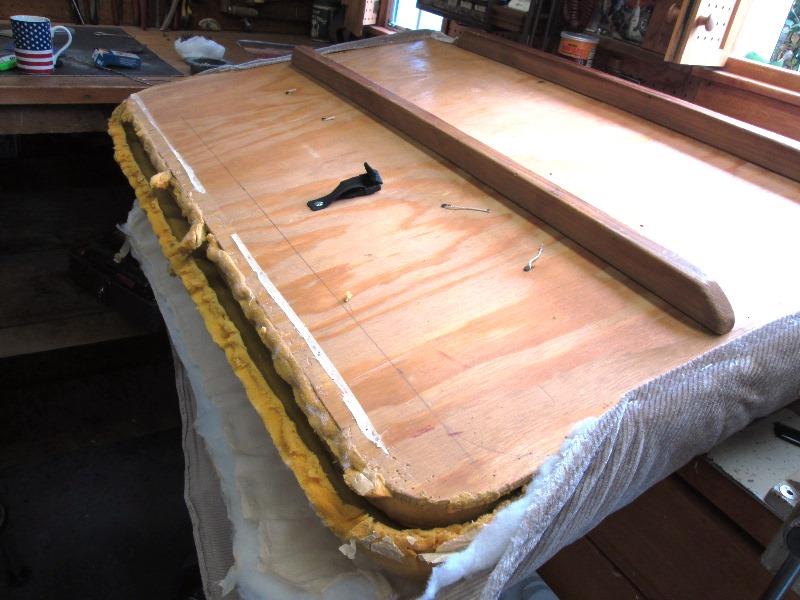
Peeling back material what I discovered is I had cut the back board round. Didn't remember that, less why I ended up tucking corners square.Think it was extra batting to make to top roll didn't lend itself pulled around corner. At any rate cut the board 3 1/2" shorter and duplicated radius. Pulled the material, folding to make corners round.
Visually nicer, less obtrusive, wont be constantly tucking material back into corner but its actually more comfortable. Instead of back of head resting against top it lands on the nape of my neck- could fall asleep without head bobbing around.
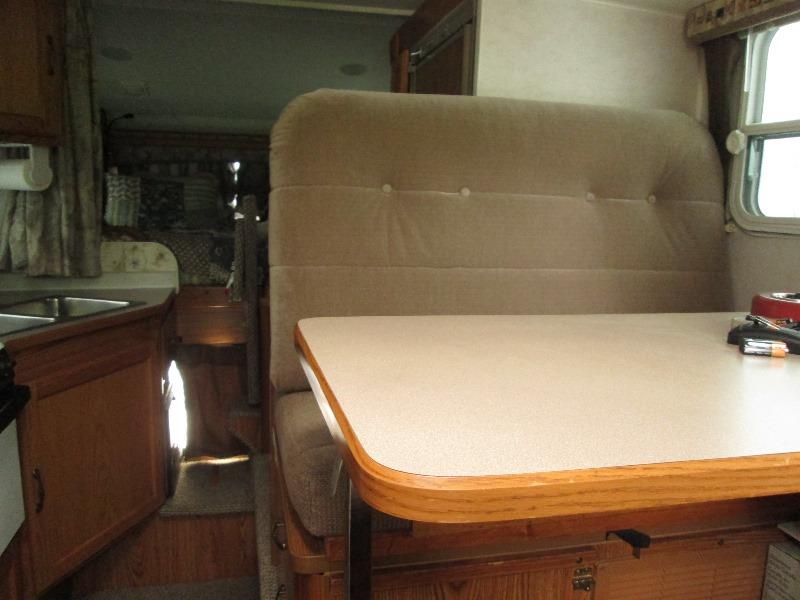
Replacing cushion it dawned on me, the original seat back cushion is behind the large cushion. It doesn't need to be there, I had left in case we wanted to use dinette as bed. Which has happened once in 20 years. More importantly I could use it to extend or make a head/shoulder cushion for the other seat! Which was kind of the whole motivation for this project, making rear seat as comfortable as front seat
Rear seat head rest
Would require something to support it but could be cut shorter to not block window...So without hesitation took to shop. I need to see if I can cut/resew the cushion into something usable before trying to figure out how to support it.
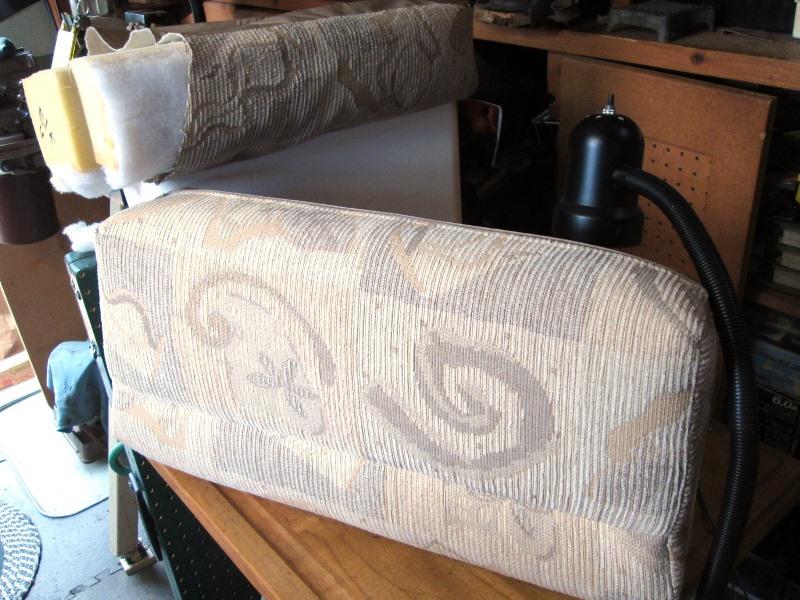
Wow- major pain. The cushions have 2 chambers with internal zipper for the smaller roll of foam. I ended up having to cut material about 3" longer than finished foam to have material to reclose the end.
But 4 hours later got new 'head' 24" cushion done. Biggest problem was folding material over to close end, inside out-just a bear. If I pursue (later) completing the small cut off section into useable cushion (to fill space if ever wanted to use as bed again) it'll be without extra pocket and make new end panel out of other material. It will need a new zipper. Now to mount
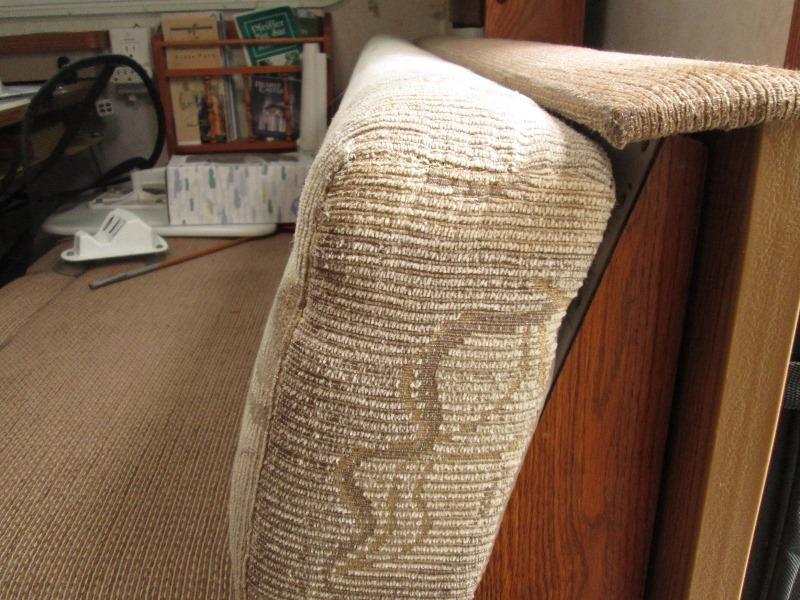
From newly angled seat back. Puts new head rest about middle of seat box 'cap'. I hee hawed around playing with different ways to mount. Cant use back wall as dinette is part of slide out. Cant attached to seat box wall its to far back. What I finally came up with is inserting some 1x2s thru the cap attach to inside of dinette wall. Sort of plug in like a car seat headrest. Use velcro to attach head rest to them.
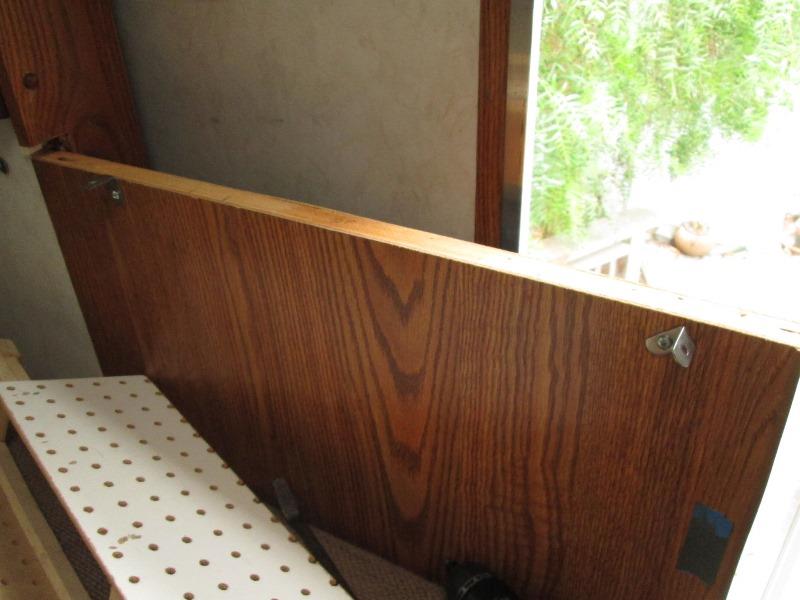
Marked underside of cap where it joins dinette box half wall and where I want 2 uprights. Removed the cap.
Carefully cut 2 square holes thru cap plywood with oscillating saw, managed to do without cutting material.
Then X cut material. Inserting 1x2s thru cap will capture material and its plywood hole will help support the vertical 1x2s.
I had to cut notches into top of new back rest box to clear for the 1x2s.

Assembled head rest support adding a piece of lattice, this is what velcro will attach to. Stained. Support goes thru top cap, once height figured out, screw to box wall. The clearanced cushion angle box will sit as was before and be removable.
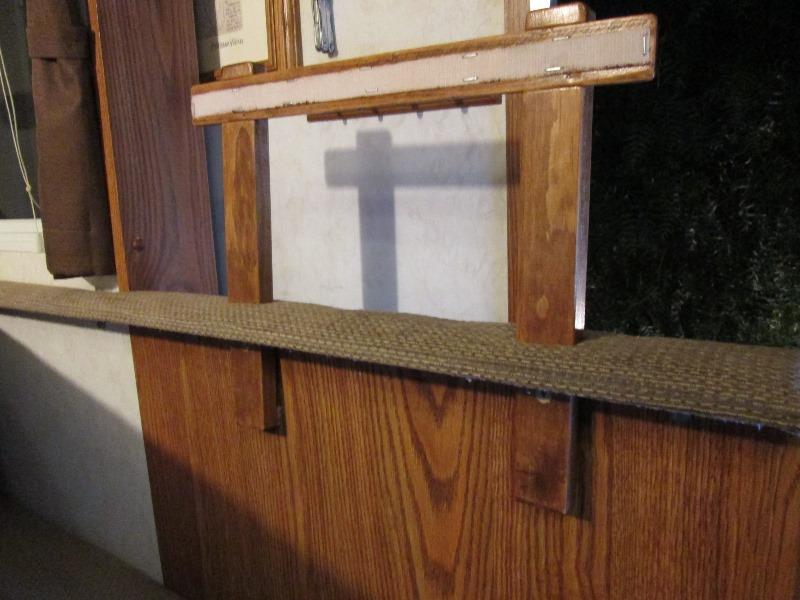
Re mount cap and headrest support. Glued small 1/4" blocks at bottom of support uprights to angle top back a little.
Slip angled backrest box in...
Mark the headrest and sew on its velcro to attach to support.
Margaret came out and tried it.."Ahhhh" was her response so successful project. I think were done.
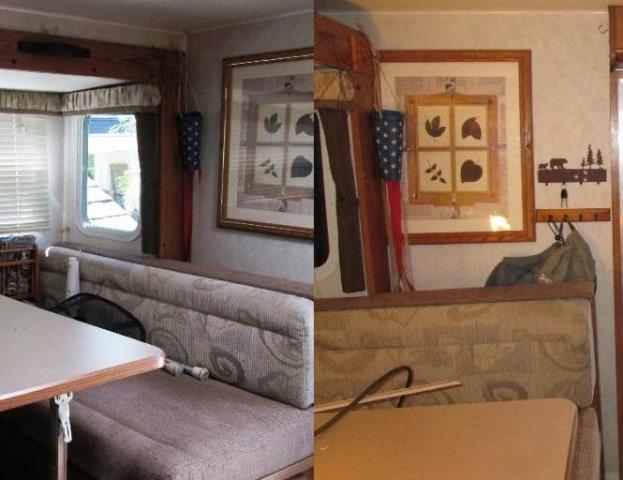
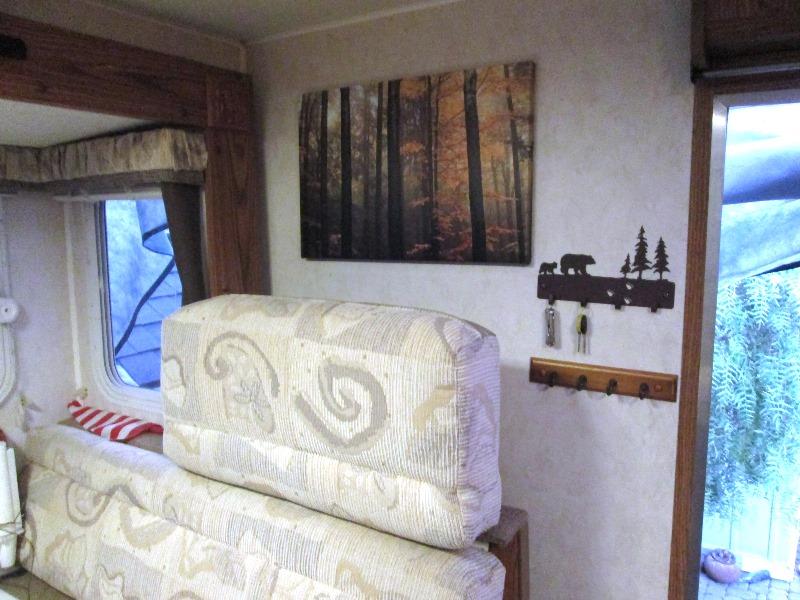
Well except for the now too large picture..
Mean time I went back and replaced the under seat plywood on the front seat with wedges like I had done rear seat. Required 4 wedges due to split seat box lid.
One thing I kinda saw but didn't dwell on was the picture on the wall. Now that seat back is so high looks a bit funny but...all about comfort. Function over form, but we ended up changing print.
Tried moving picture it up. Helped, looks a bit better but we both agreed turning it sideways looks way better- fits the space so looking for some kind of print to replace the picture.
debating...
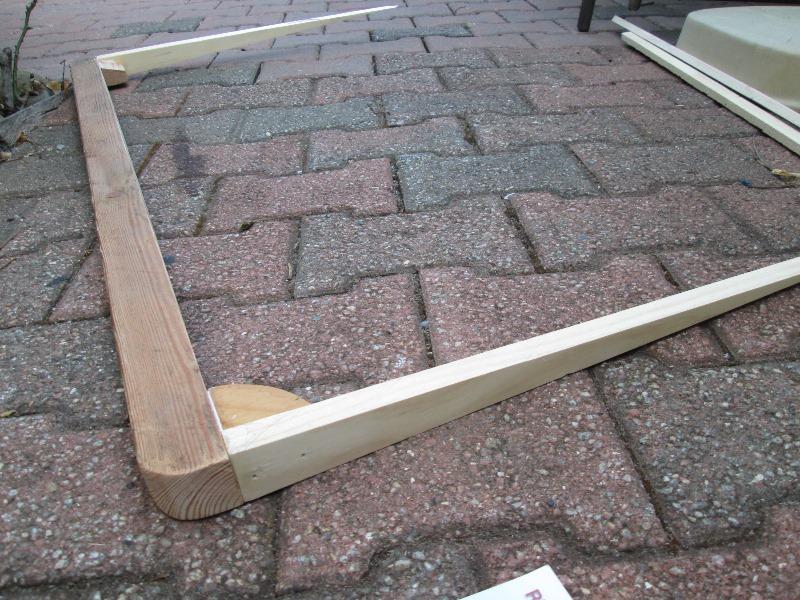
Picked autumn scene- colors kinda match interior. We have limited space between slide and rear wall so removed print from frame. Added some corner blocks and center brace.
Getting ready to cut frame thickness from 1 1/2" to 3/4".
Wasn't sure but got it cut. To hang using some of the cut off material. Drilled 3/16" holes thru 'wall mounts'. Then partially drilled thru mounts into frame to mark for dowels. Glued dowels into picture frame. The mounts get screw to wall, picture will simply set on top with the dowels fitting into holes in mounts.
Much better seating comfort, full back rest for rear seat, easier access to the storage boxes, fix the too high front cushion...
Just need to get out of Dodge and try it out.
I'd mention if you use dinette as bed, sloping seat bottoms by using wedges under seat box lids may not be an option or at least a bit more work. Wedges could be removed, possibly dowels into holes to locate instead of screwing.
Sewed up remaining piece of cushion, could be used for whatever but mostly to have IF needed to make bed.
Be the first to admit looks a bit-well-actually is a tad on the pooh side, more functional than form but sitting comfortably makes it look better :)
Back to Ourelkhorn Camper Modifications page