Replacing bath sink stopper
-
Our campers bath sink stopper is a pain
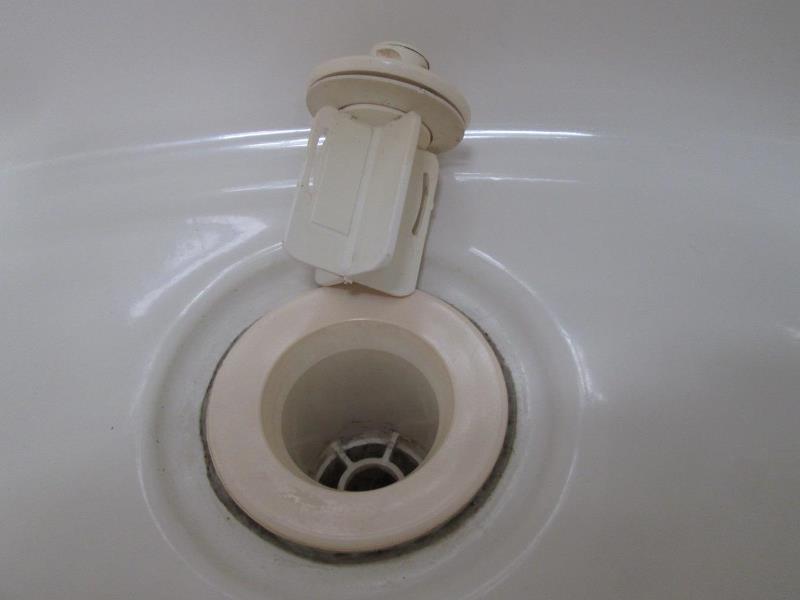
To keep open it needs to be EXACTLY placed so 2 wider wings are aligned with the slightly narrower diameter of sink flange.Just a royal pain. Slightest jar and it drops. I just addressed the kitchens sink stoppers for Margaret so doing this sink for me
This sink we do fill with water on occasion. As the plastic is yellowing and I want to retain ability to hold water decided to replace with pop up closure.
Couple of issues, the sink/faucet has no allowance for a pop up rod. No room under sink for standard pop up tail piece.
Looking around I found spring loaded pop up, just push to open or close. What I don't know is if I can install due to limited space. With a good idea this probably wont work went ahead and ordered. $12 bucks to try
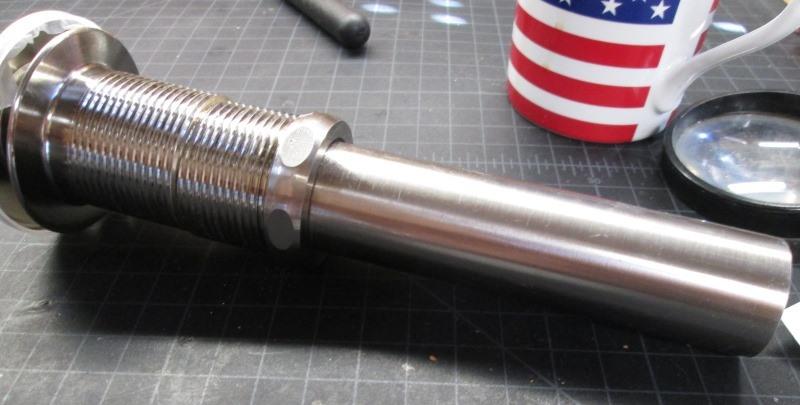 Arrived-Nice unit but threaded section way too long.
Not a recomendation however this pop up lends itself to being modified to minimize length under sink. This was the only unit I could find that that had no overflow port, seperate removable tailpiece and looked like the thread section could be shortened. Amazon link. (Note 2 months later as this worked so well was going to order 2 more and redo kitchen sink but price increased by $6...)
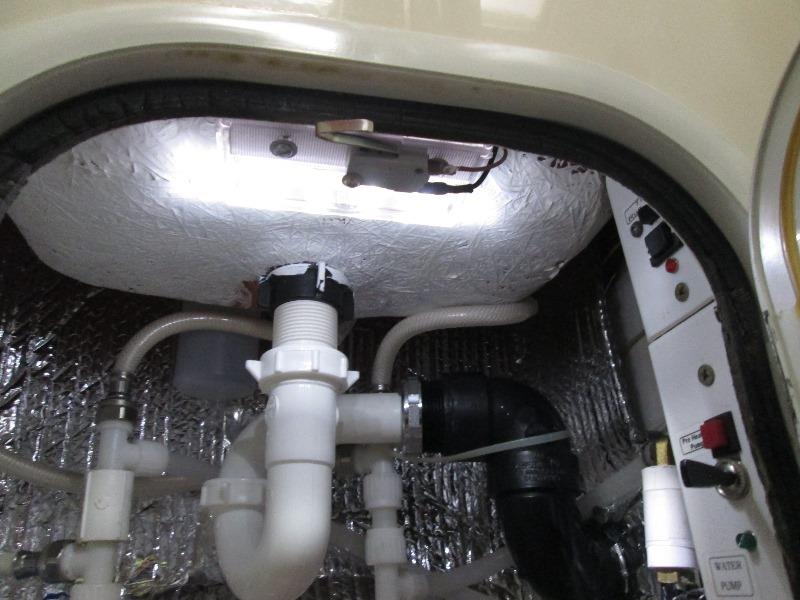
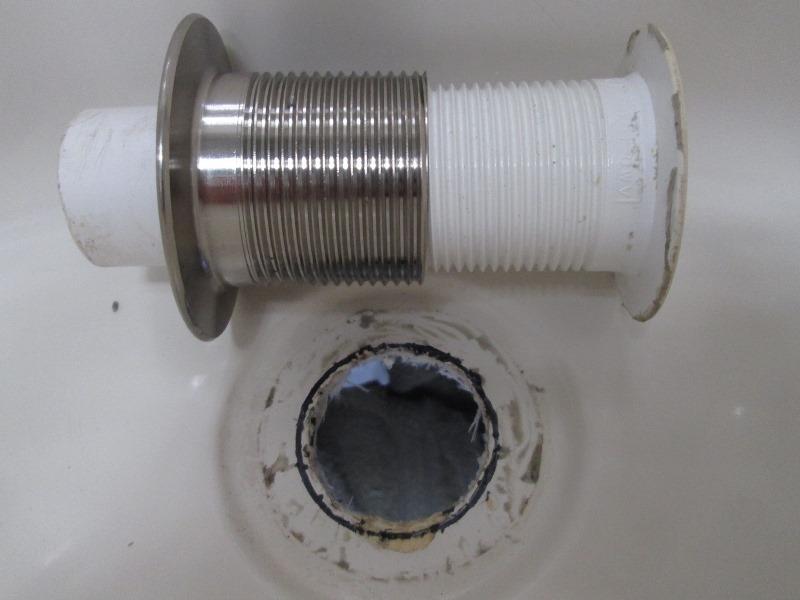
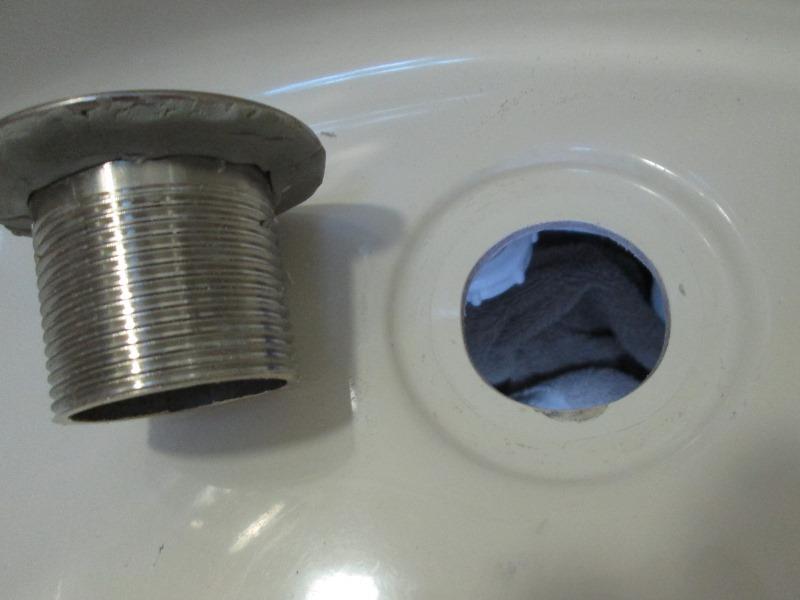
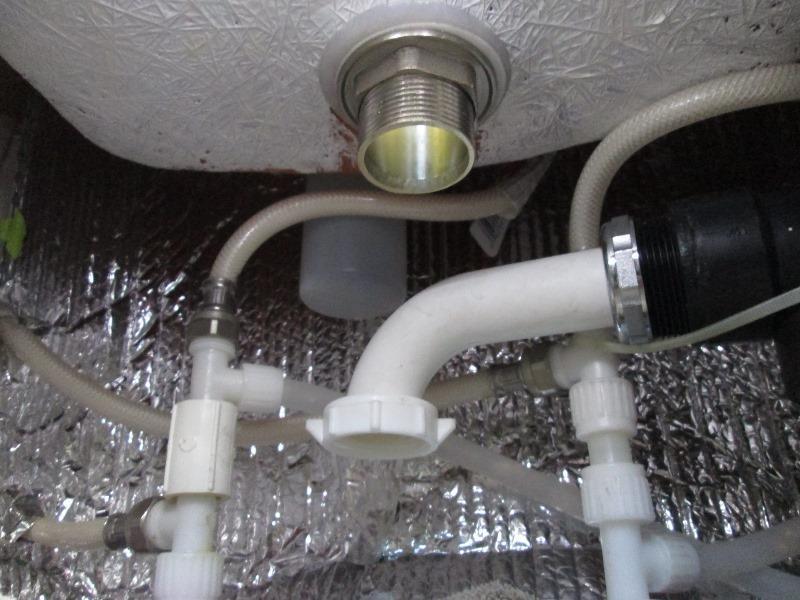
Just for reference showing current drain. I had actually removed factory 1 1/2" drain and replaced with this 1 1/4" few years back. One of the goals then was gaining space under sink for access and storage so installed as high as I could. bath drain rework. Gained a lot of room but biting me now as far a adding drain pop up.
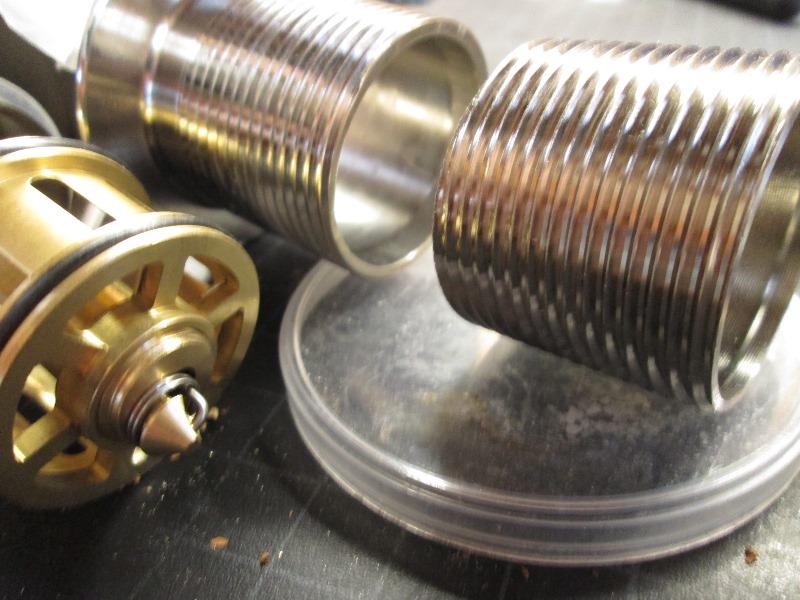
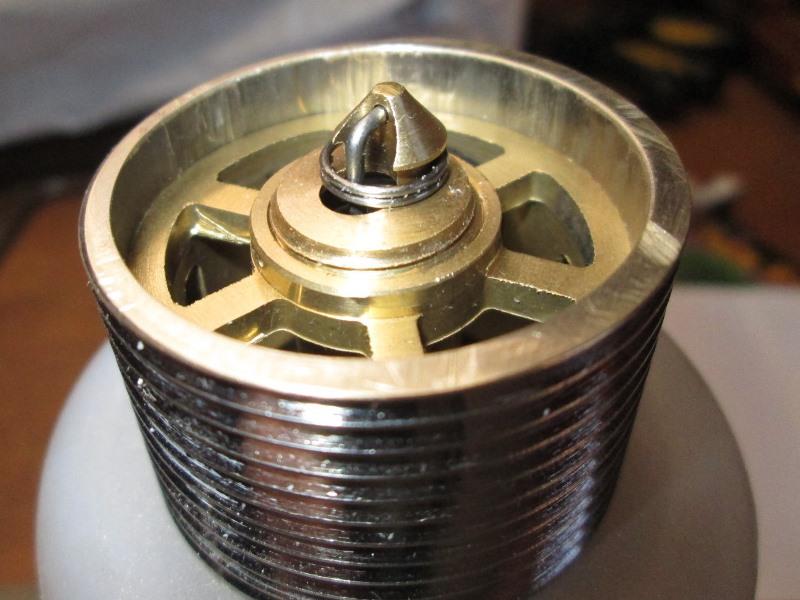
Looking at new pop up the interior of tube is machined.
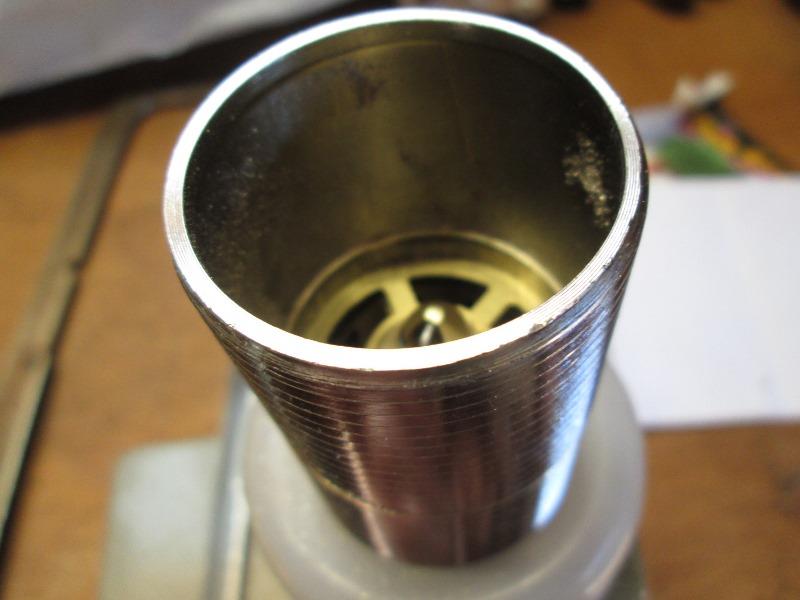
Hard to see but inside about 1 1/2" down is a ring that acts as stop for stopper. It is the same diameter as the end of threaded section. Meaning if cut there would be a face for tail piece tube to butt against, enough surface for gasket and not interfere with the pop up.
Verses trying to cut anywhere else on threaded section wall would be too thin. What I really can't tell if it will be enough to allow installing. Guestimating I might need another half inch, but cutting would minimize how much I'd need to drop P trap if needed. So hacking away
Ran the mounting flange nut down to where I want to cut to act as guide for hack saw helping stay square.

Filed smooth and spent a bit doing figure 8s on some emery cloth and deburing.
Reassembled..I 'could' shorten another 1/8-3/16", but if its that close be better off to just to drop P trap. Mostly because if dropping P trap required it likely will add at least an inch so fine tuning pop up pointless. Then again I'm not sure how short tailpieces can be had, Dropping P trap might add several inches and this project nixed.
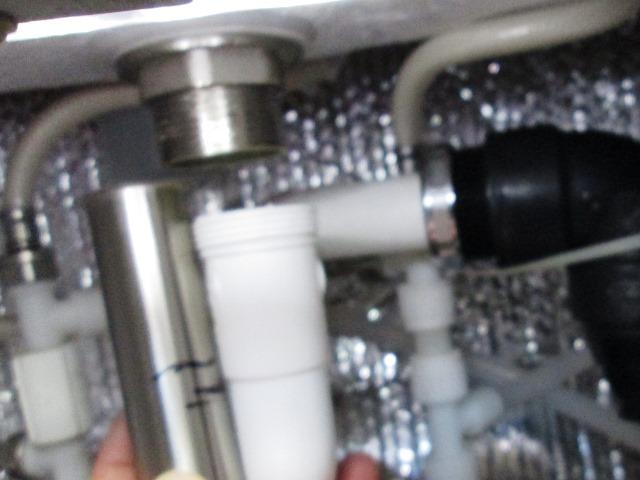
Holding up cut pop up before taking anything apart, all I can do is try and see what happens...
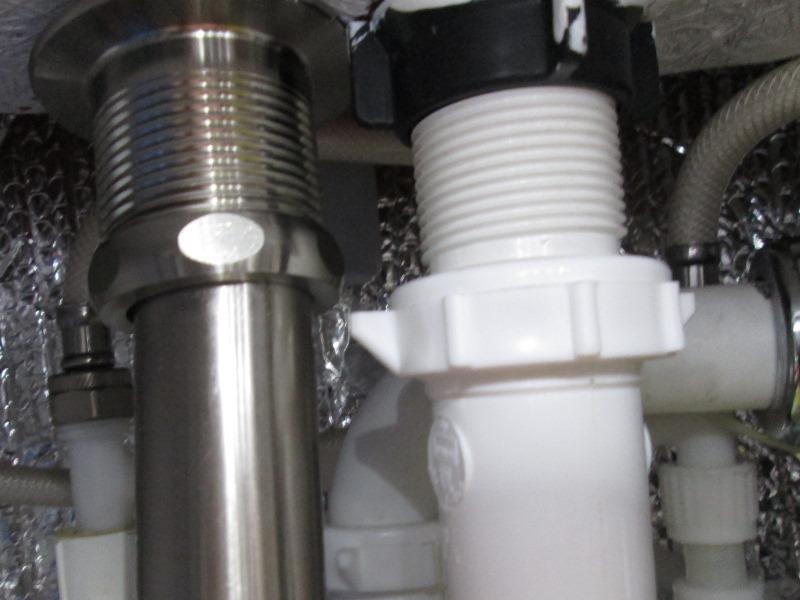
WHOA! I honestly didn't think this would work... Enough room for both tailpipe to P trap and tailpipe to flange thread nuts.
Did see that the thread size is larger so need to open sink hole.
Used a file to remove about 1/8" on diameter 'till it dropped in. Using putty instead of supplied silcone gasket to minimize flange hieght.
Used heat gun on low to warm flange so putty flowed easier. Also liberally lubed threads, nut & gasket underneath with water proof synthetic grease (SuperLube).Guotensnug.
Marking tailpipe to cut-still cant believe this is working...
And installed. Note the thread on the flange is a bit off. Wanted to use a plastic nut but nothing else would thread so used included nut, again with lots of lube. I've taken to many old metal drain fittings apart to appreciate.
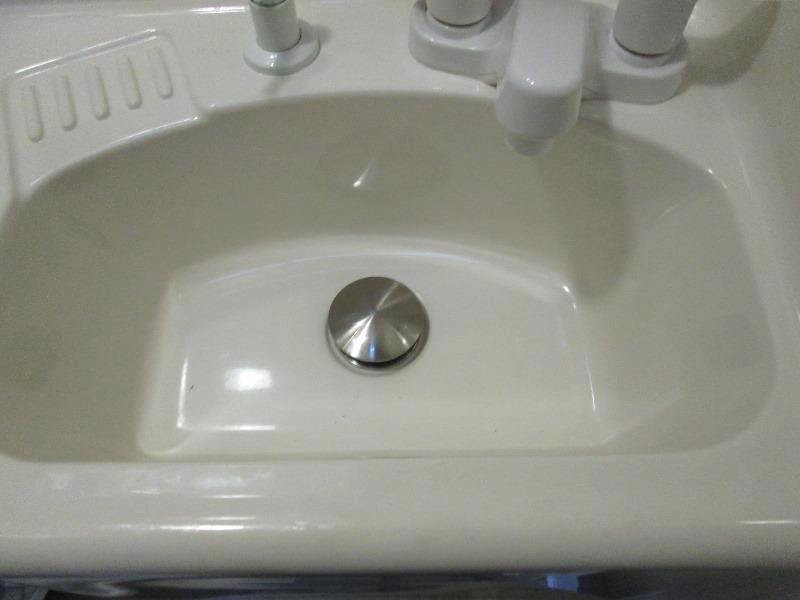
Insert the pop up stopper
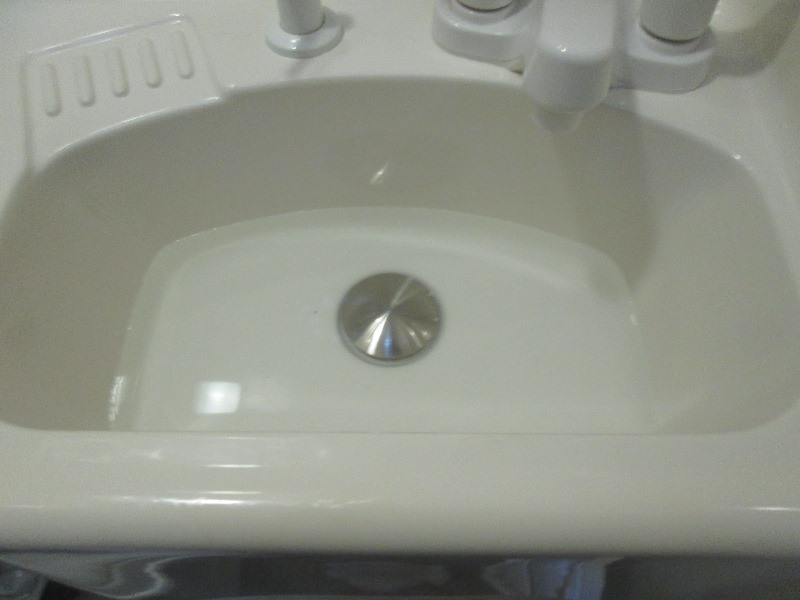
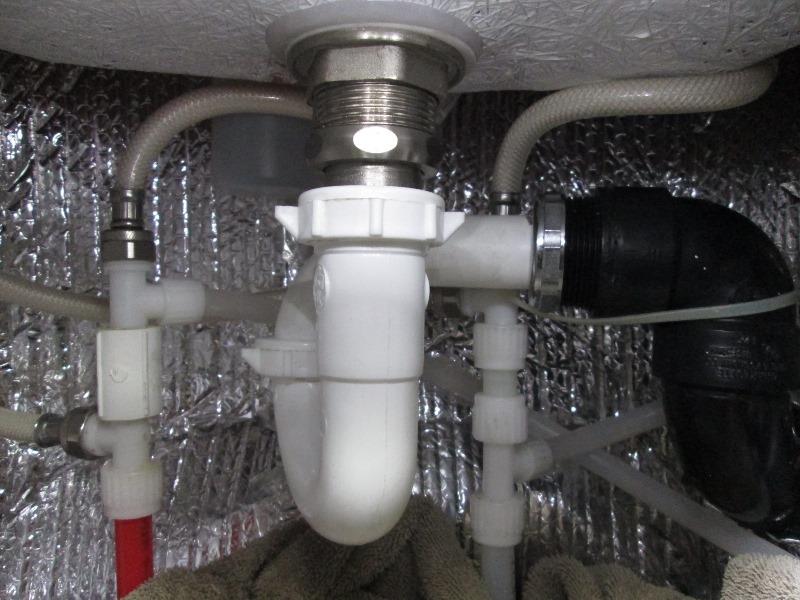
Stopper down, filled sink to check drain connections
 And open...like a ball point pen, push to open push to close. The entire stopper assy with basket lifts out to clean or retrieve something that may have fallen in drain. Projects like this, going in half expecting to fail and it works seem especially rewarding-but bottom line is a sink that functions, no playing with the silly rotating stopper.
Back to the top
Back to Ourelkhorn Camper Modifications page